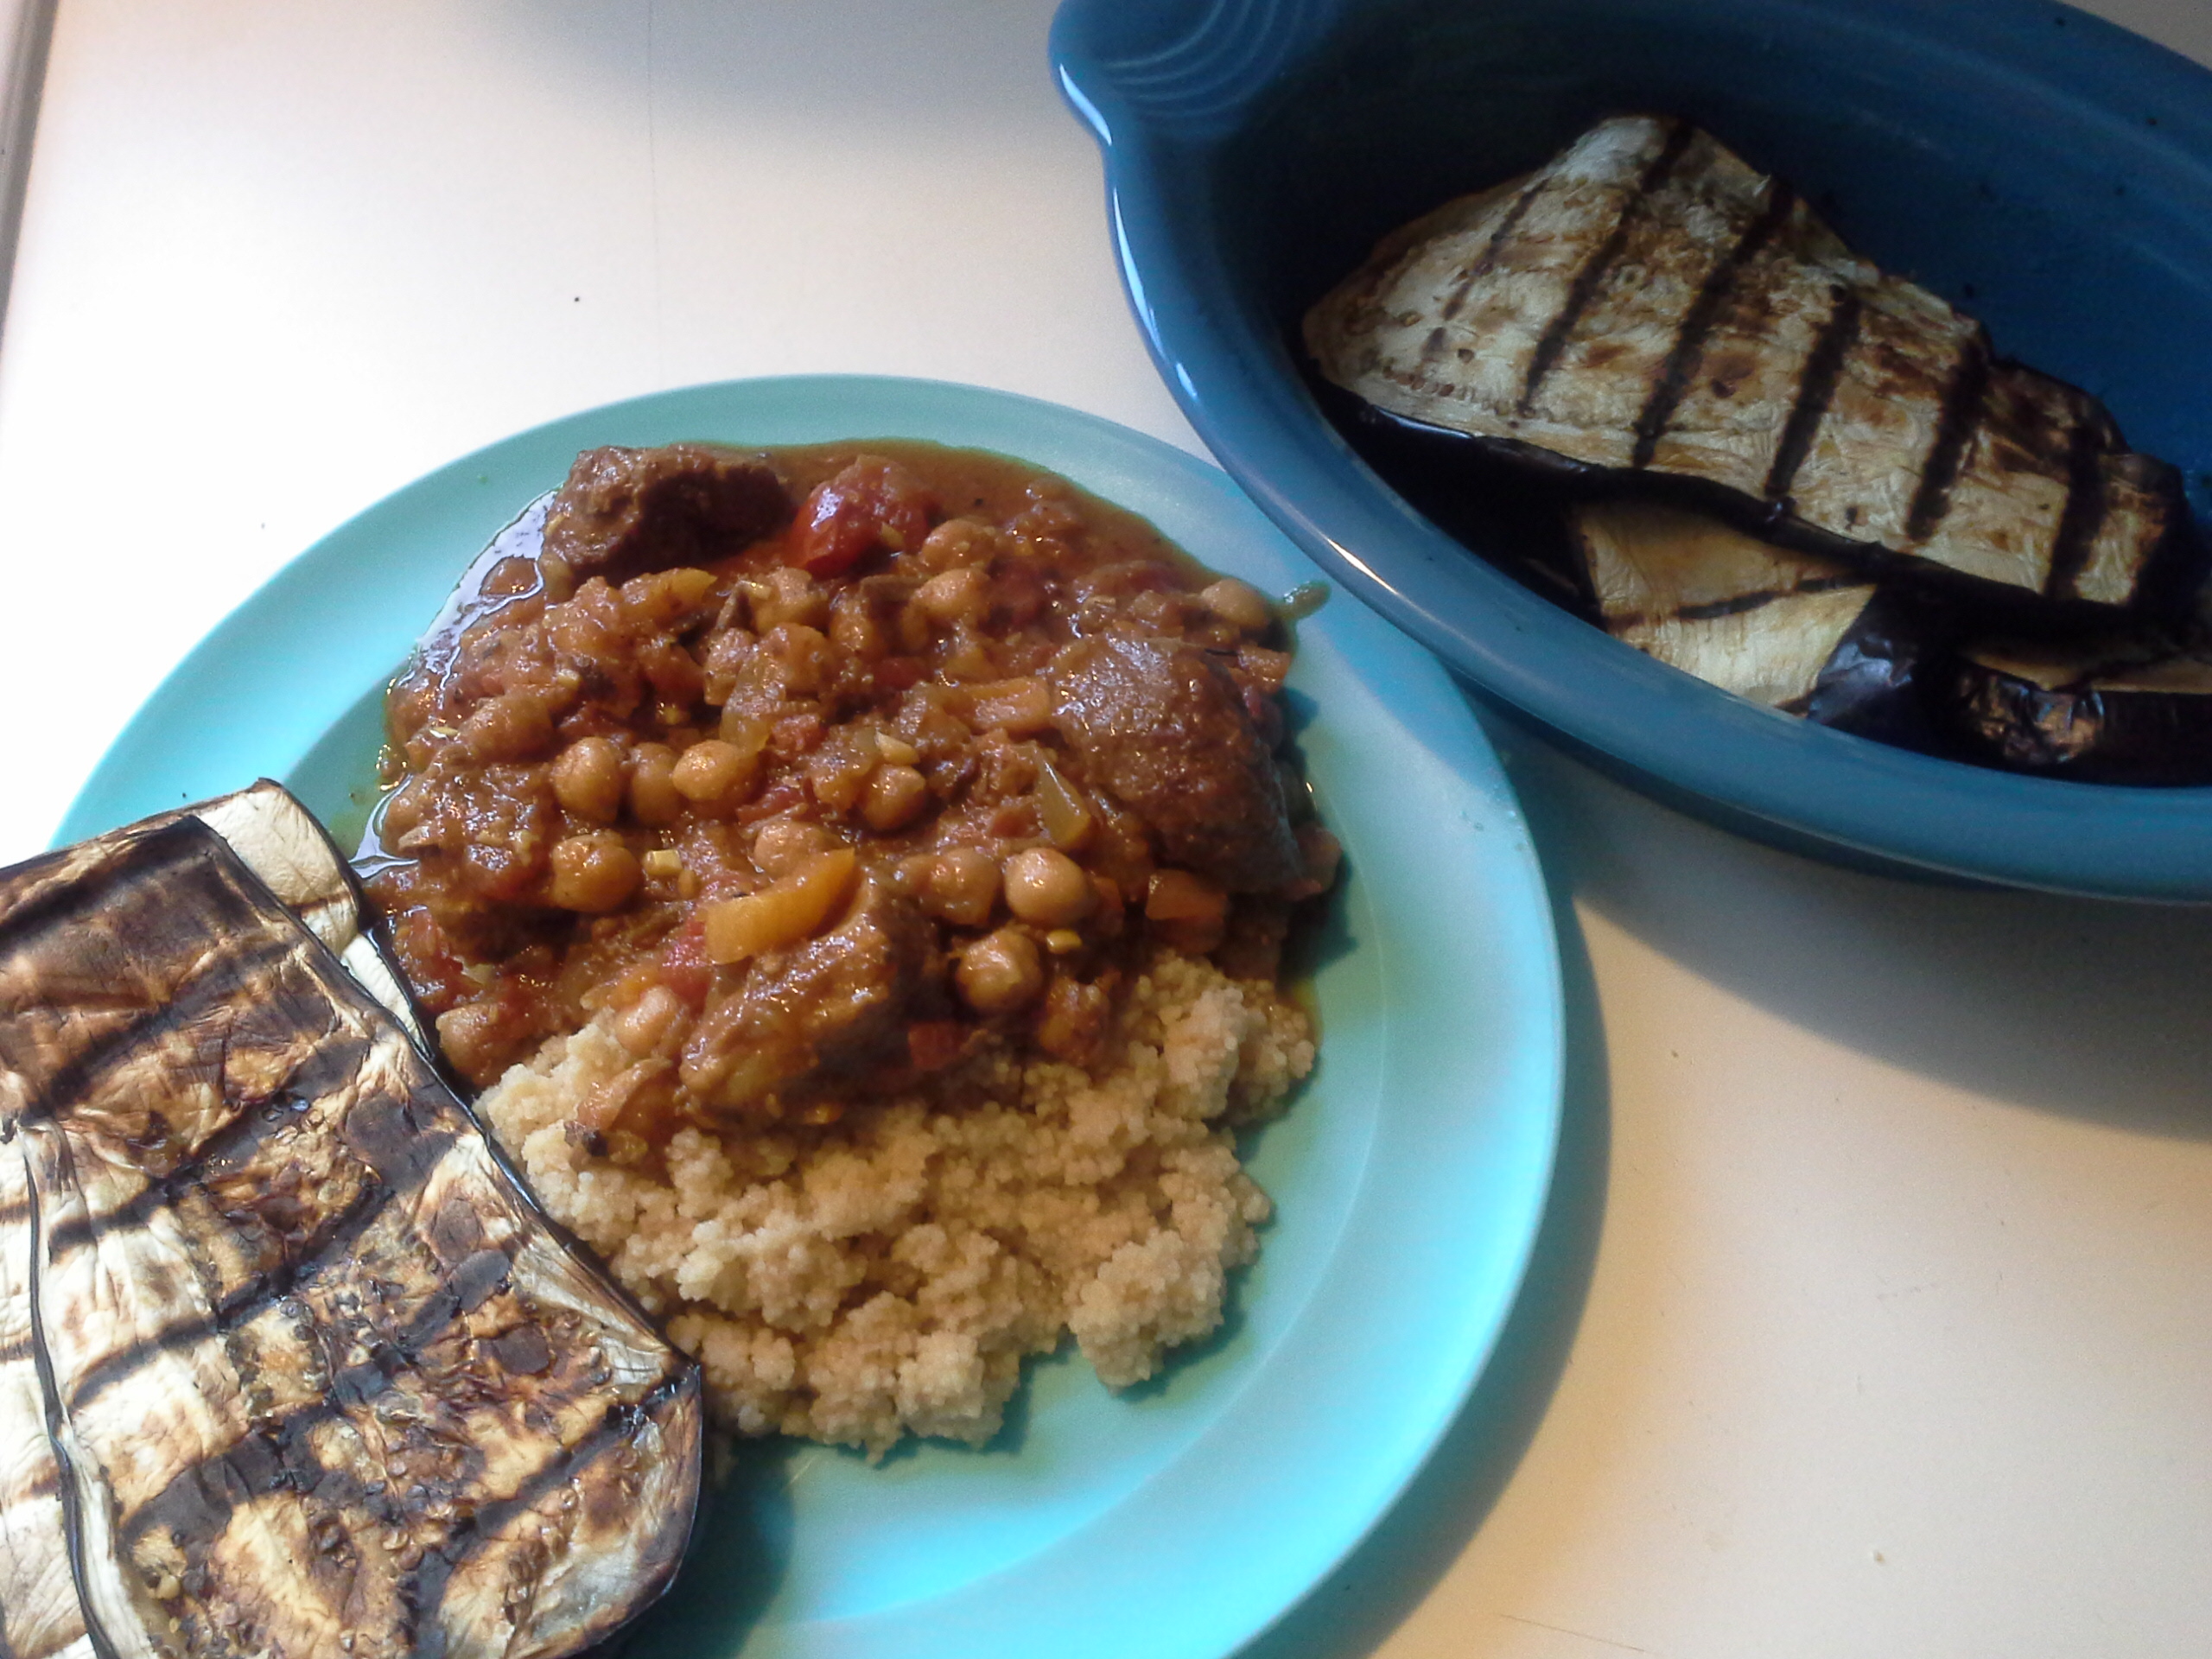
Lamb tagine with herbed couscous and grilled eggplant
Sorry it has been such a long break in writing, but we’re selling our house and I feel like I’ve been banished from my kitchen! However, I did sneak in to make some lamb tagine recently and took some pictures of it. Don’t like lamb? See below for substituting beef! For you moms who are dealing with hungry kids and no time for cooking, this nice thing about this one is you pop it in the crockpot in the morning and have dinner when you get home from work. Disclaimer: that does mean some work the night before.
I learned how to make chicken at a Moroccan cooking class at Cooks of Crocus Hill. It is my go-to for company that I want to impress. This is its sister – lamb tagine. The secret is that isn’t all that hard to make and you can do it all ahead. It is all about cooking it low and slow. Since lamb takes a long time to cook, I usually get it to the point where it needs to simmer the night before. I pop it in a crock pot and put it in the fridge until the next morning. The lamb/beef needs to go all day in the crock pot so it is just fall apart tender. The bonus is that it gives all the other flavors plenty of time to meld together into the ultimate comfort food. If you are entertaining, no need to keep running in the kitchen or worry if your guests are late. This is the most forgiving recipe ever.

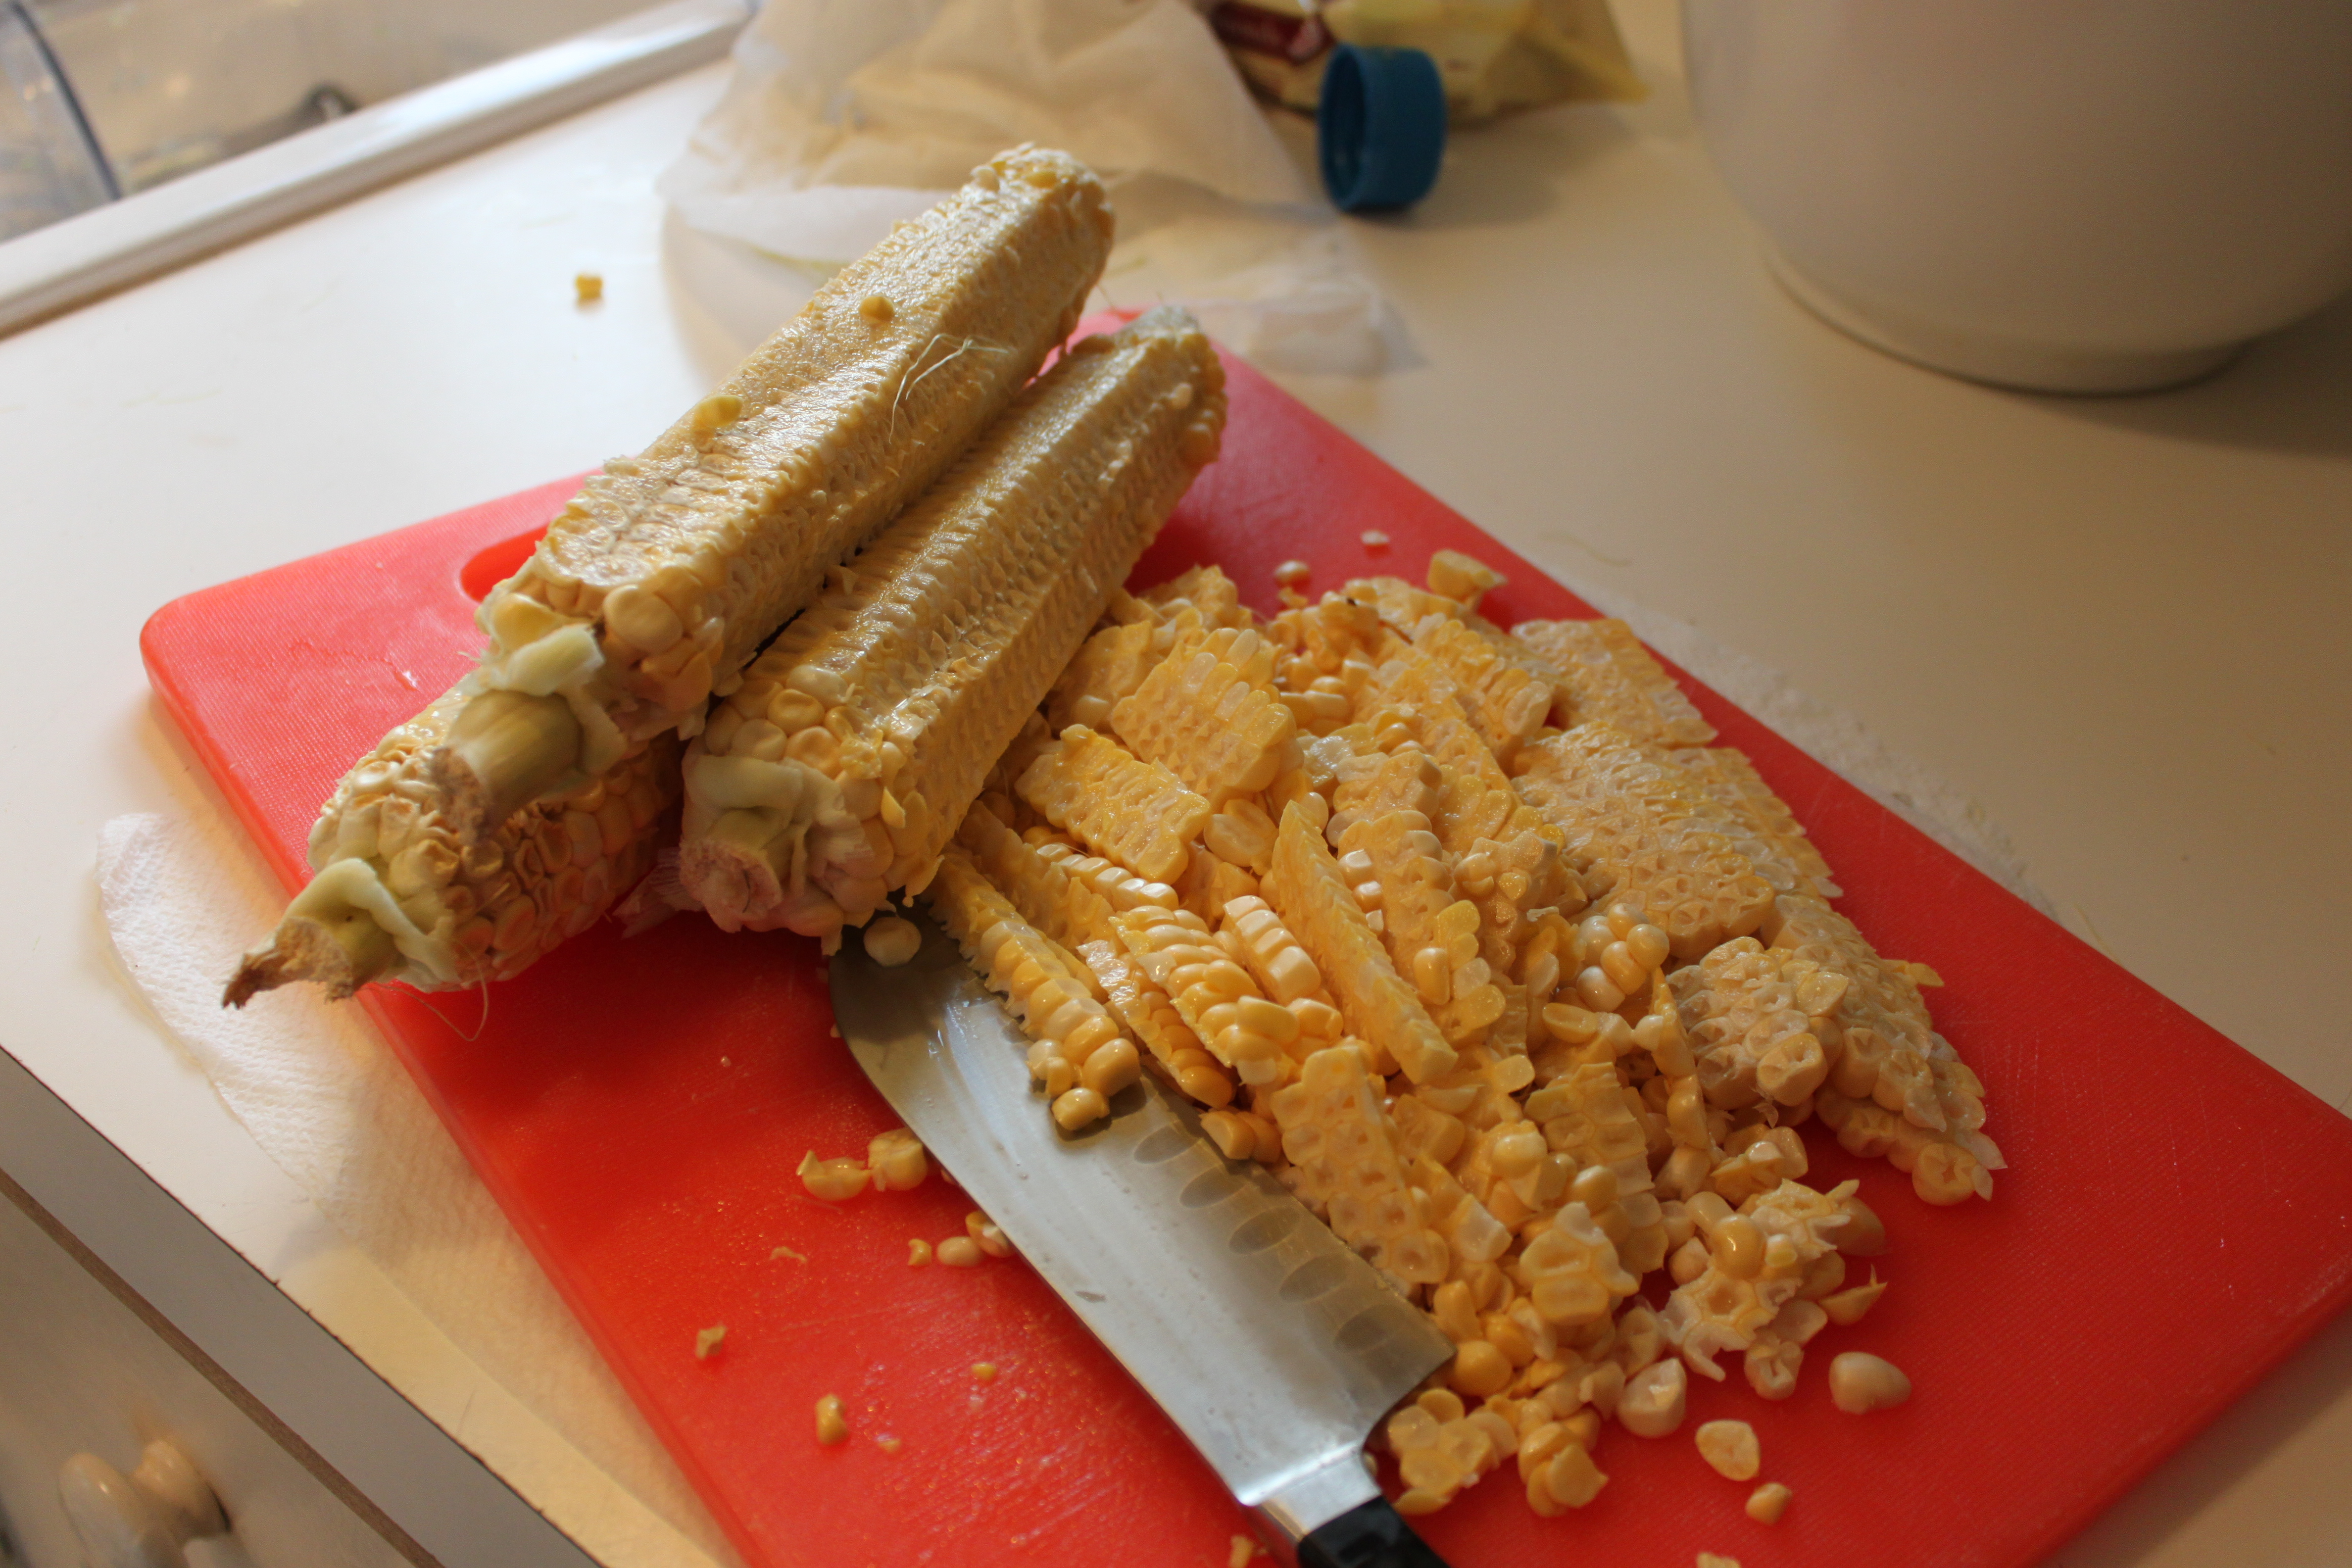
Prepping your ingredients makes it easier
We love lamb, but if that is not your thing, you can substitute in beer. I would recommend cuts that are meant for stewing since you also want the beef to cook for a good long time. The main thing you are looking for are tougher cuts of meats that turn tender and delicious with cooking for a long time. Look for Chuck, Chuck Shoulder, Chuck Roast, Chuck-Eye Roast, Top Chuck, Bottom Round Roast, Bottom Eye Roast, Rump Roast, Eye Round Roast, Top Round, Round Tip Roast, Pot Roast, Stew Meat. The beautiful thing about these meats is that they are cheaper than fancier cuts. Also, cut down on your prep time by picking out your package of meat and then bring it up to the meat counter. They can cut it up for you in a machine in back. Tell them you want large pieces since they will shrink with all that cooking.
If you are not familiar with tagine flavors, it is a Moroccan method of cooking meat. Tagine is actually a kind of pot that is shallow with a tall cone with a point on top. The steam circulates during cooking making the meat tender. In this recipe, the crockpot fills in nicely. The flavors are a mix of turmeric, cinnamon, allspice, nutmeg, saffron, ginger and cardamon. The dish is a mix of meat, tomatoes, chickpeas and dried apricots, so there is a great mix of textures as well. You can swap in or out anything into it. Sweet potatoes are good and any other veg that can handle long-term cooking.
I find that prepping this one is helpful. It tends to go more quickly than you think, so having the onions, garlic and fruit cut up and ready to go makes life easier.
Serve it with the herbed couscous, the recipe follows.
Lamb (or Beef) Tagine

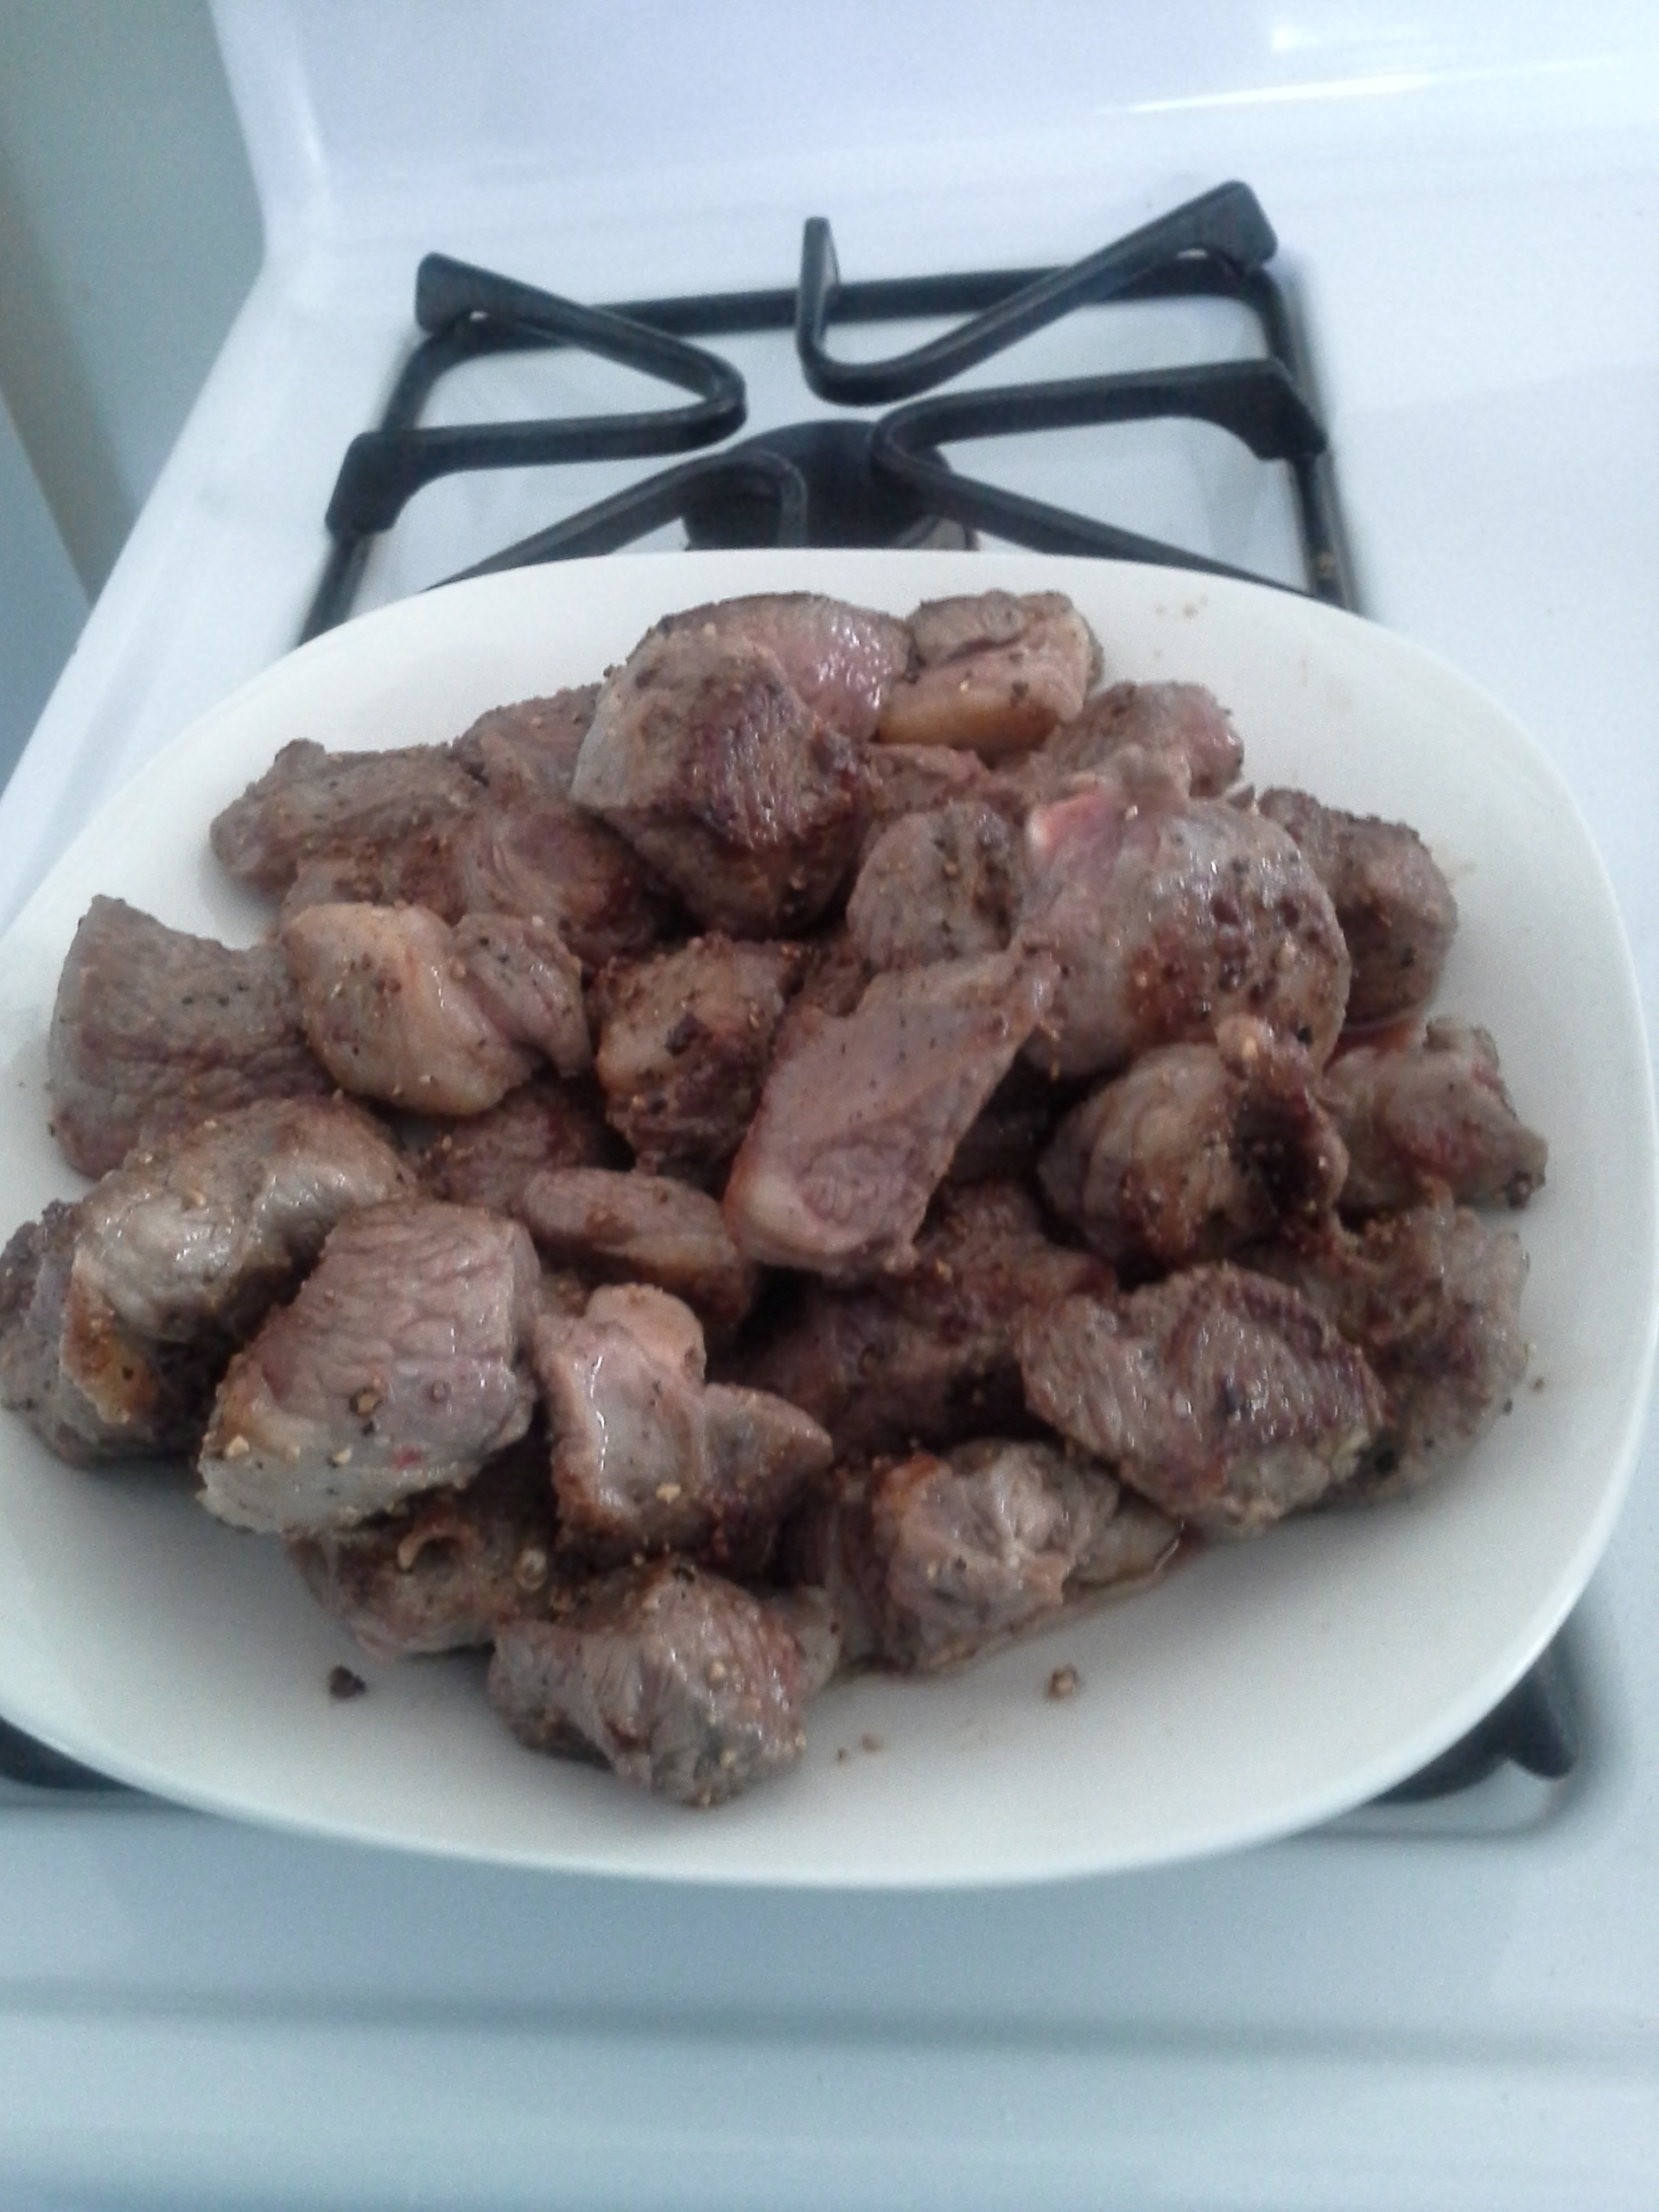
Brown the lamb in small batches so you get a nice crust on the meat
Vegetable or olive oil for sautéing
Half of boneless leg of lamb, about 2 pounds, or similar cut*, large cubes, or 2 pounds (approximately) of beef – see note above for appropriate cuts.
Salt and pepper
1 large onion, chopped
12 cloves garlic, minced
2 T Ras el Hanout**
2 large pinch of saffron soaked in 1/2 c warm water
2 cinnamon stick
2- 15 oz can of diced tomatoes
2- 15 oz can of chickpeas
1 c apricots cut into strips (any dried fruit works, just go with what you like)
* I get our lamb at Costco. A boneless leg of lamb is huge, so I cut it in half and freeze it. Cut it into larger cubes – about 2″ cubes is great.
* Ras el Hanout is a Moroccan spice. The recipe follows or you can buy it online. I like Saffron Restaurant’s version of it. It is a Moroccan restaurant in Minneapolis that sells their spices online (although be sure to get their Ras el Hanout and not the tagine spice. The Ras el Hanout is better). Williams Sonoma also makes one, but they have redone theirs since I last bought it. Premade ones are expensive, but you generally get a lot in a package and you’ll

Use the onions (and their juices) to pull up the tasty bits attached to the pan
spend more buying all the ingredients to make it yourself if you don’t have most of it on hand already. For those of you with big spice racks, make it from what you’ve got!
Cut and dry the meat with paper towels. You want to make sure the lamb is as dry as possible. Season with salt and pepper (I usually just season the side that is exposed to me, then make sure that gets put down in the pan, then season the other side once the meat is already cooking).
Heat 2 T of oil over medium-high heat in a heavy frying or braising pan, ideally avoid non-stick pans since it is hard to get a nice crust with those. “Sticky” pans are much better for this. Add lamb to the pan spaced out so the pieces don’t touch each other. You’ll . You may need to do this in 2-3 batches. Brown the meat – high heat, no stirring for a few minutes per side. Set the cooked meat aside and do the next batch. Add oil as necessary.
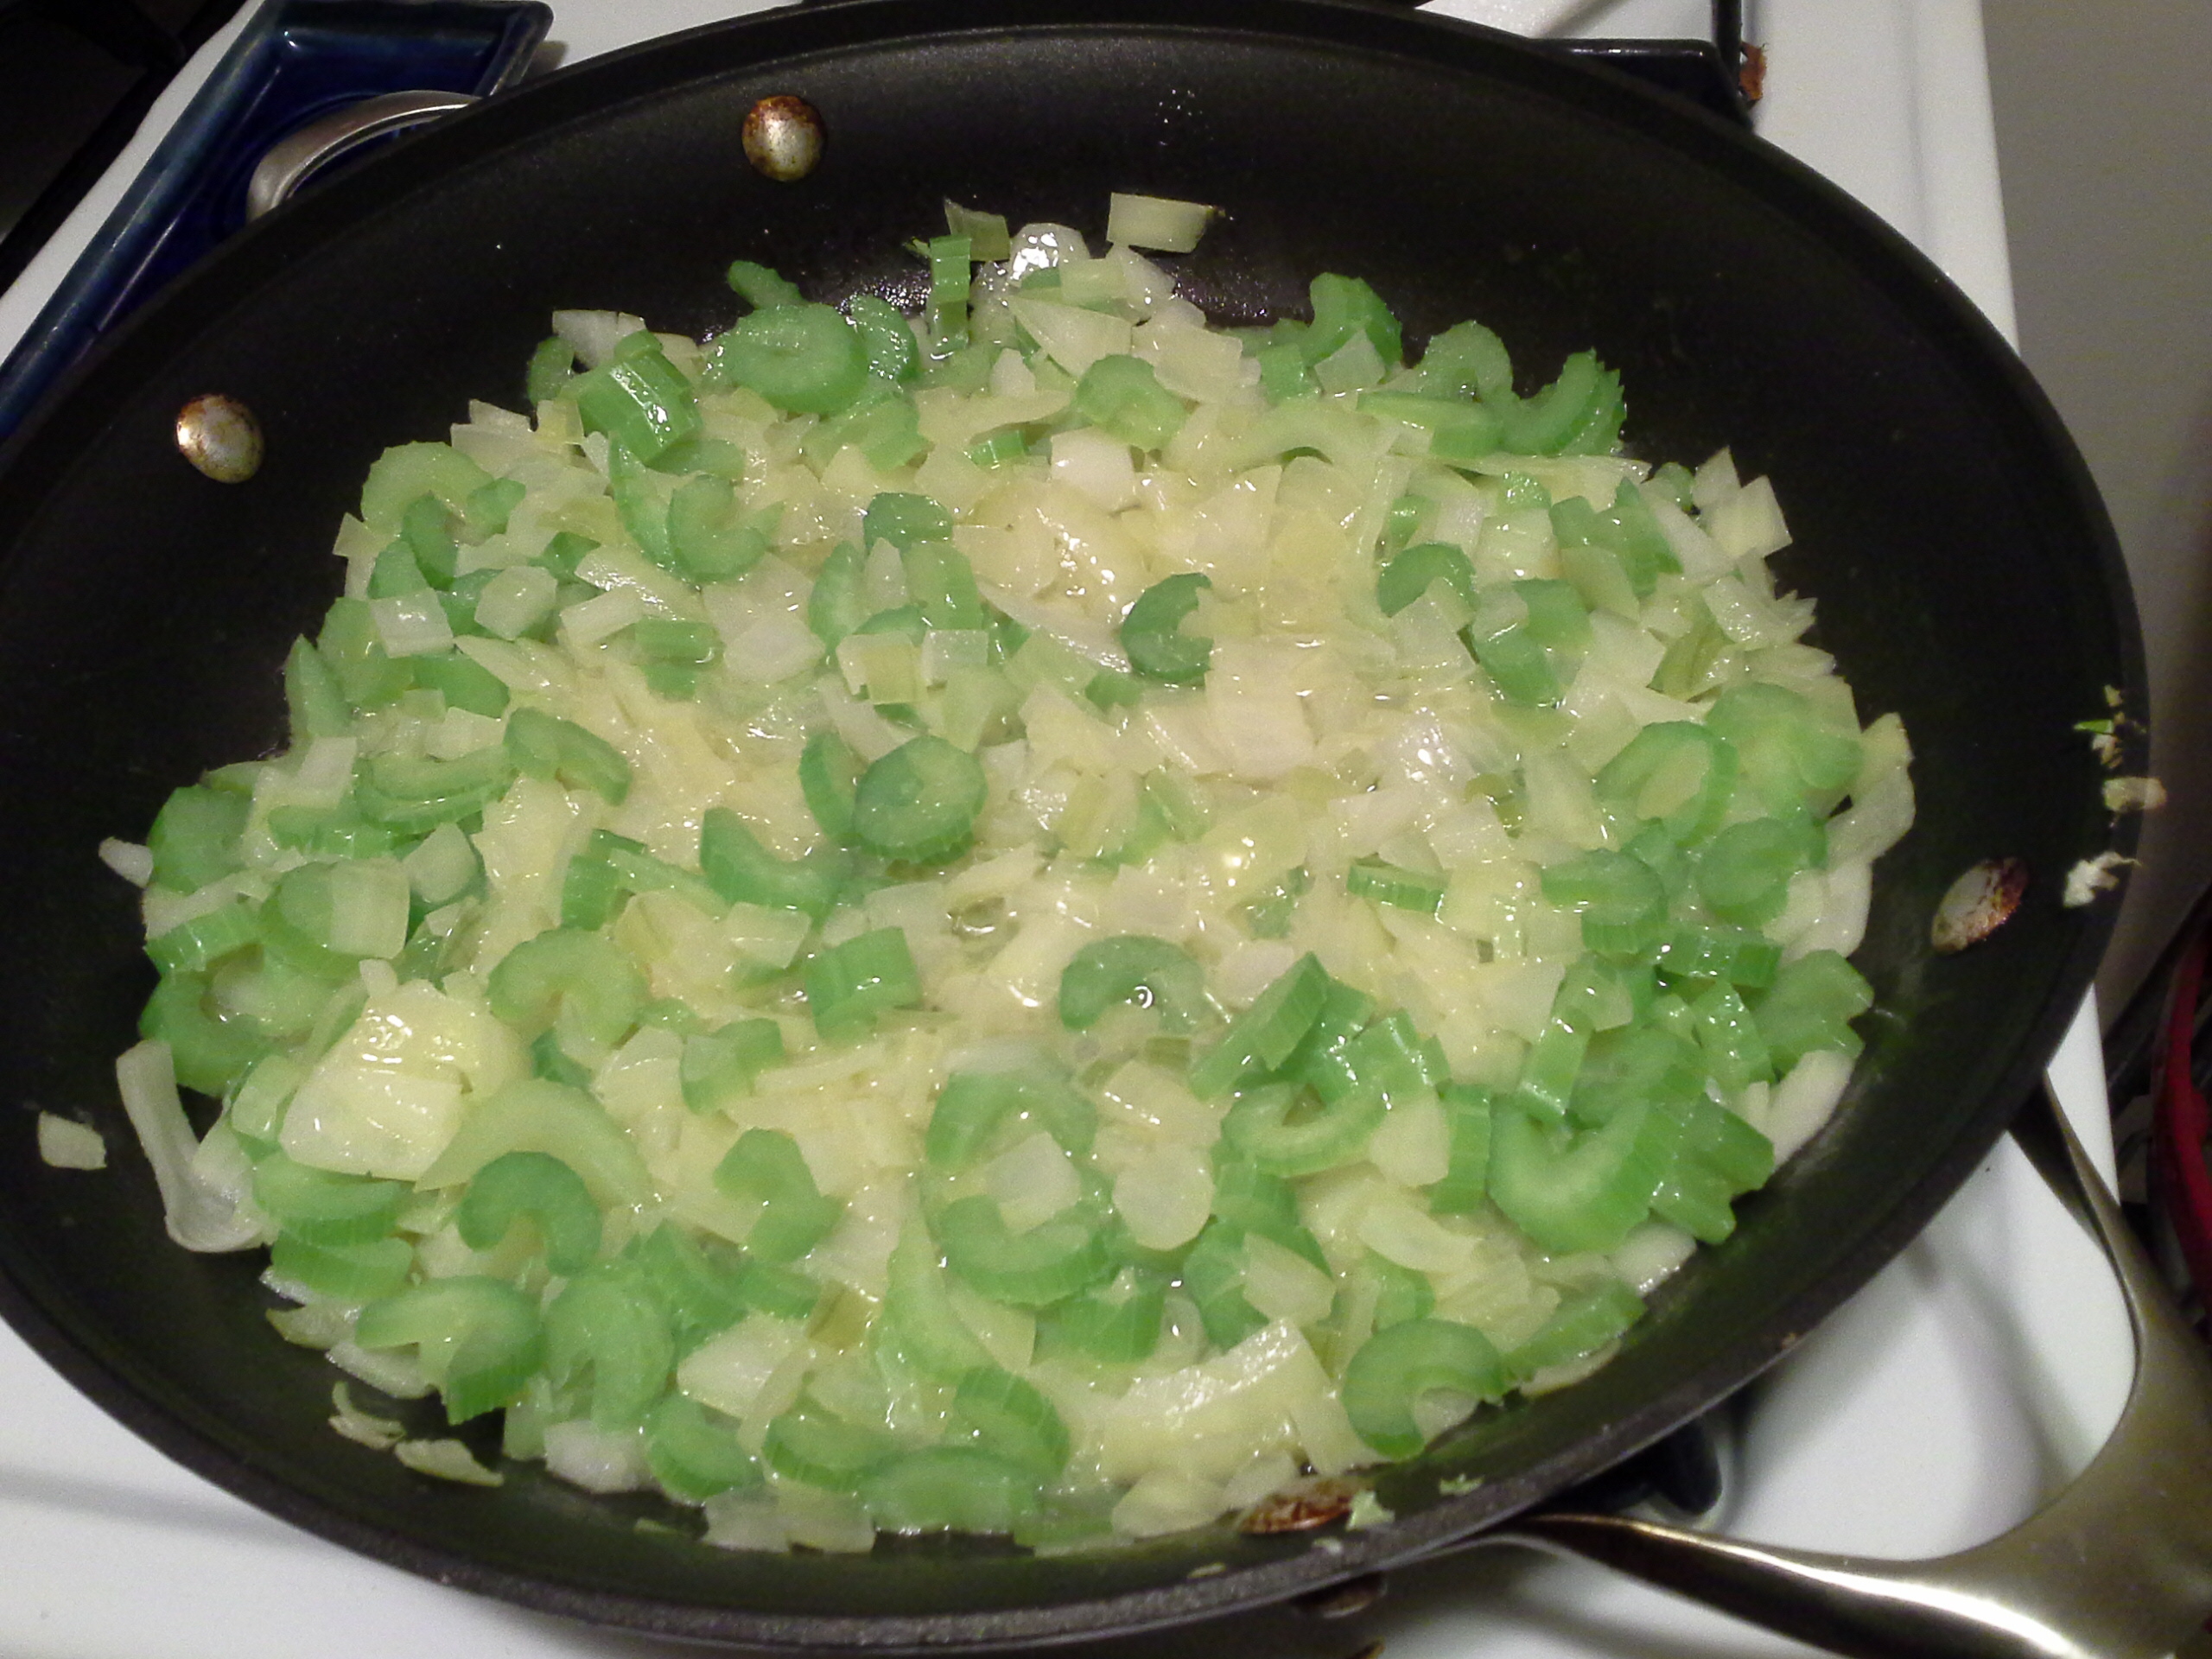
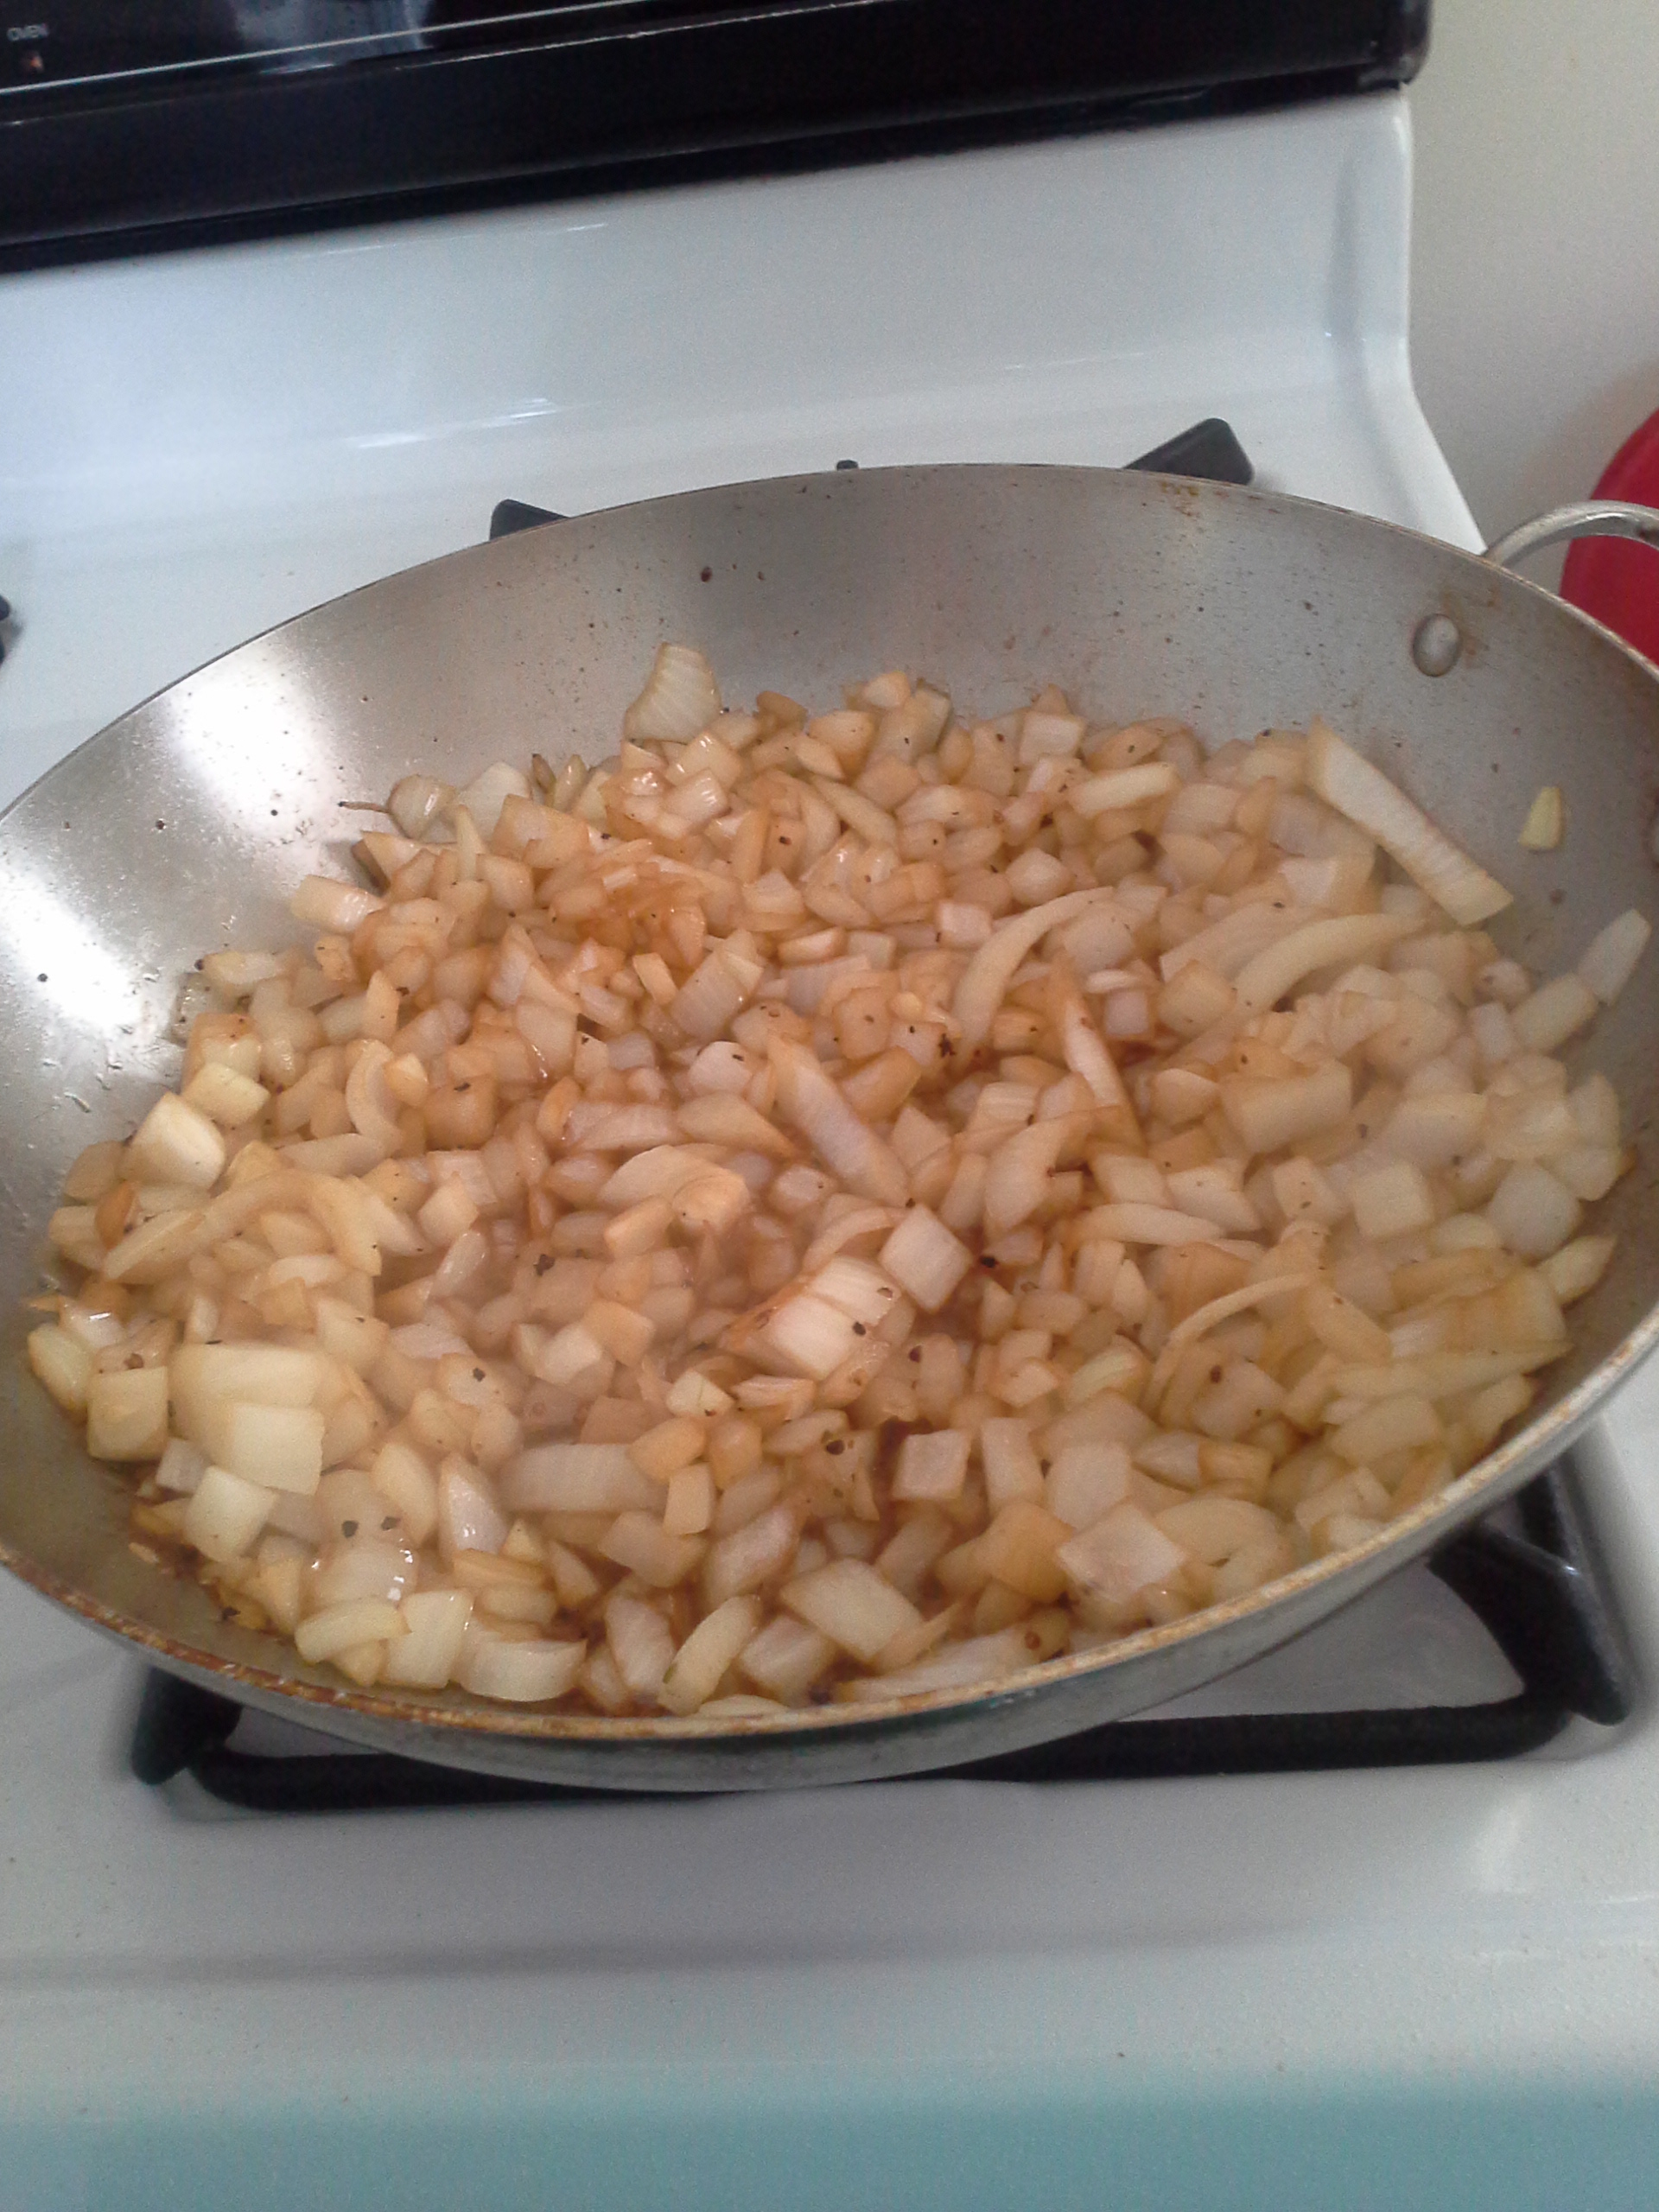
Add a little more oil to the pan if needed and onions until they just start carmelizing. While they are cooking, use a wooden spoon to pull up all the baked-on fond, the bits of meat that carmelized to the pan. Add in the garlic and cook for 30 sec. Add in the ras el hanout and cook for another 30 sec. Add in the saffron in water, cinnamon stick, tomatoes, chickpeas and apricots. Stir well and bring to a simmer.

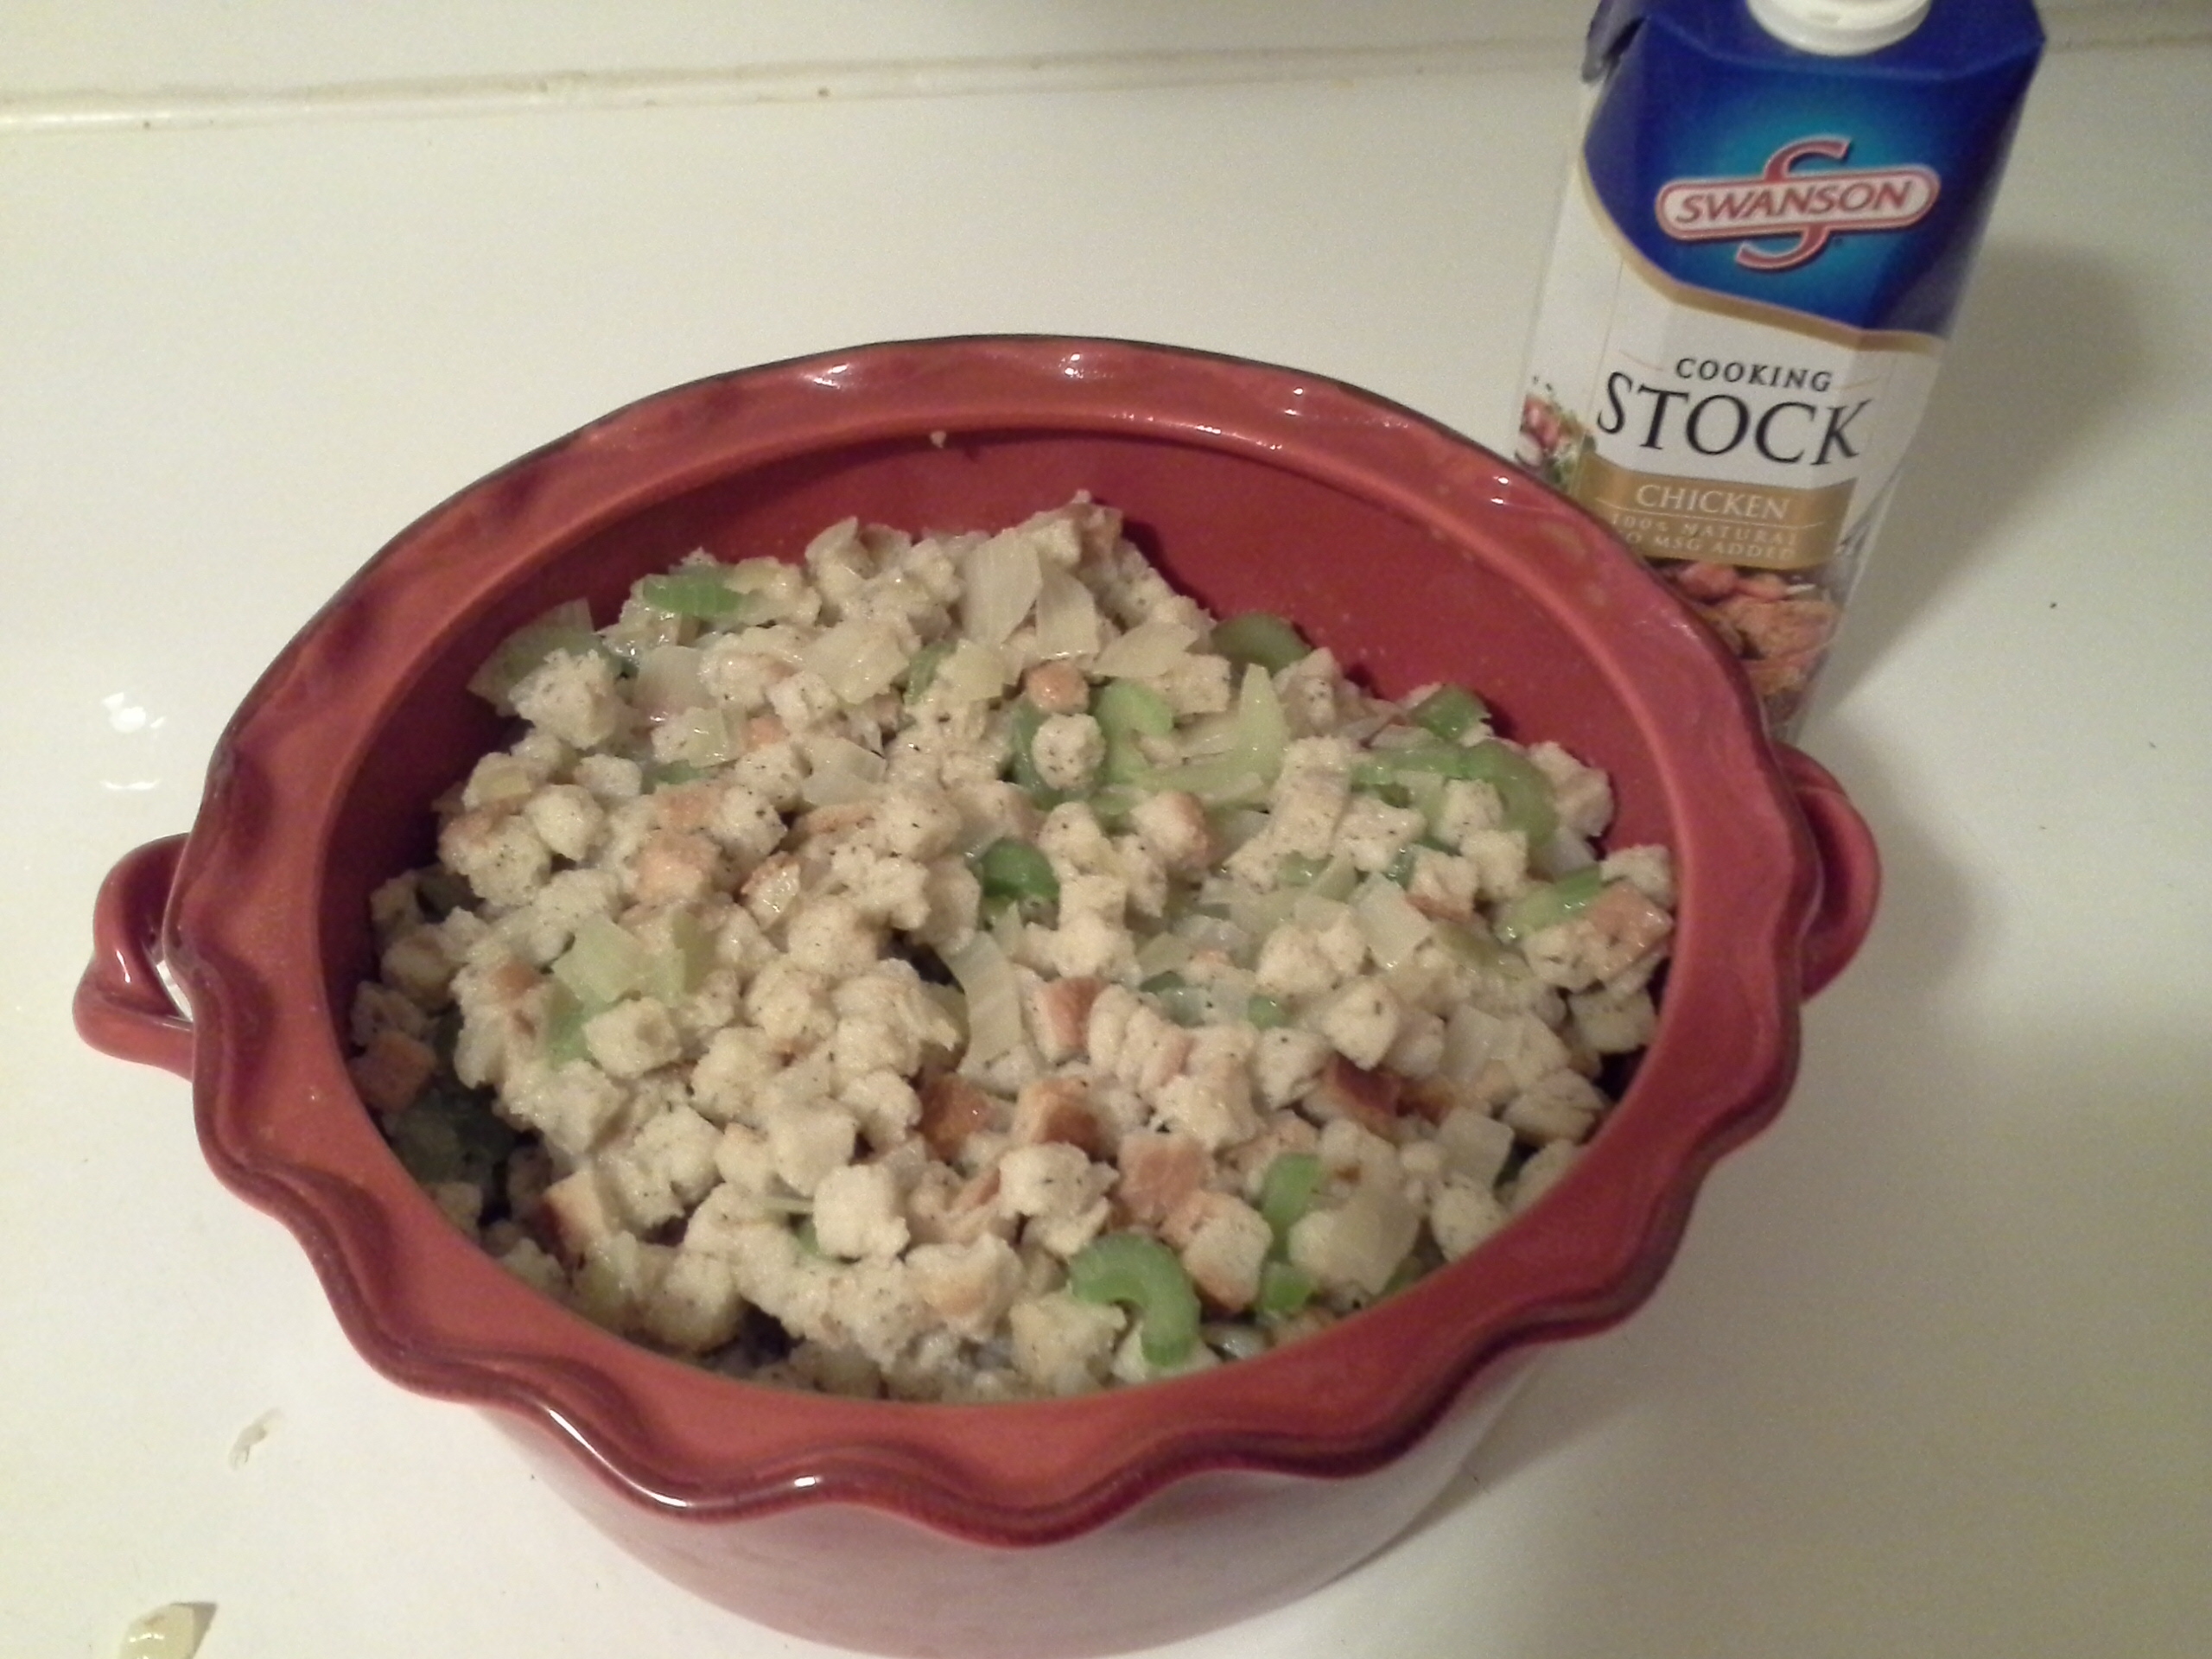
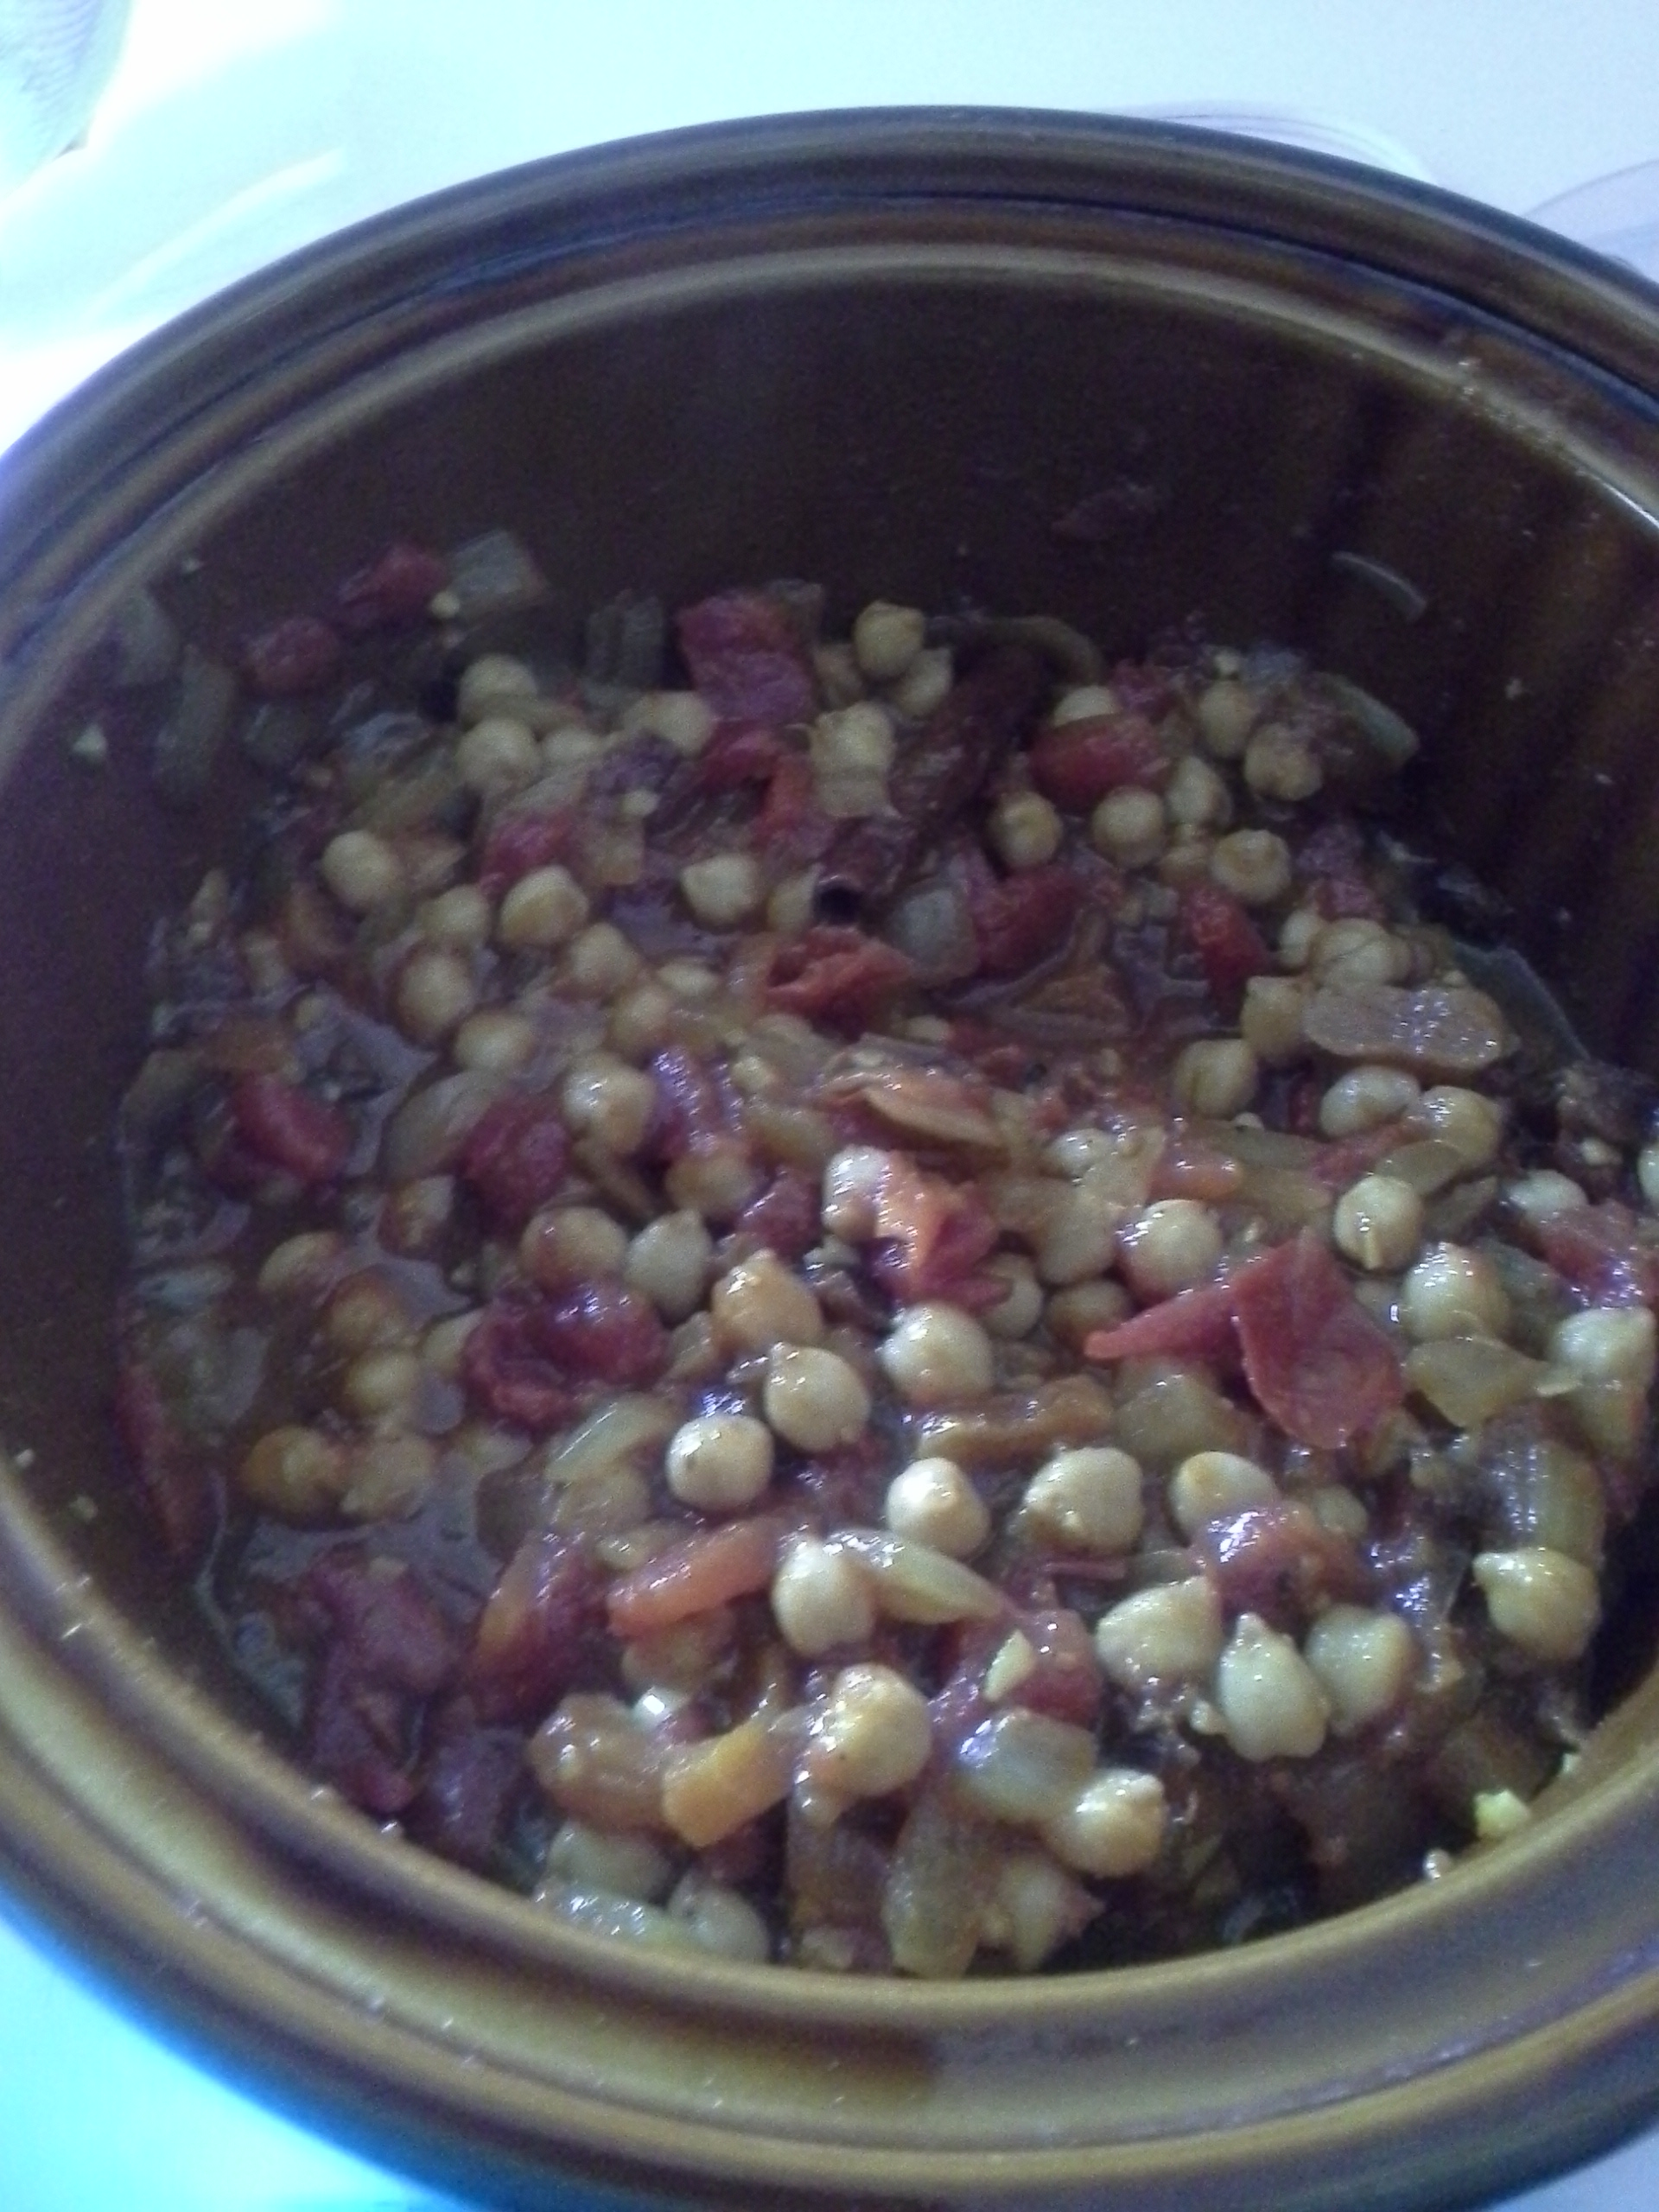
The onion-tomato-chickpea-apricot mixture in the crockpot before adding in the lamb
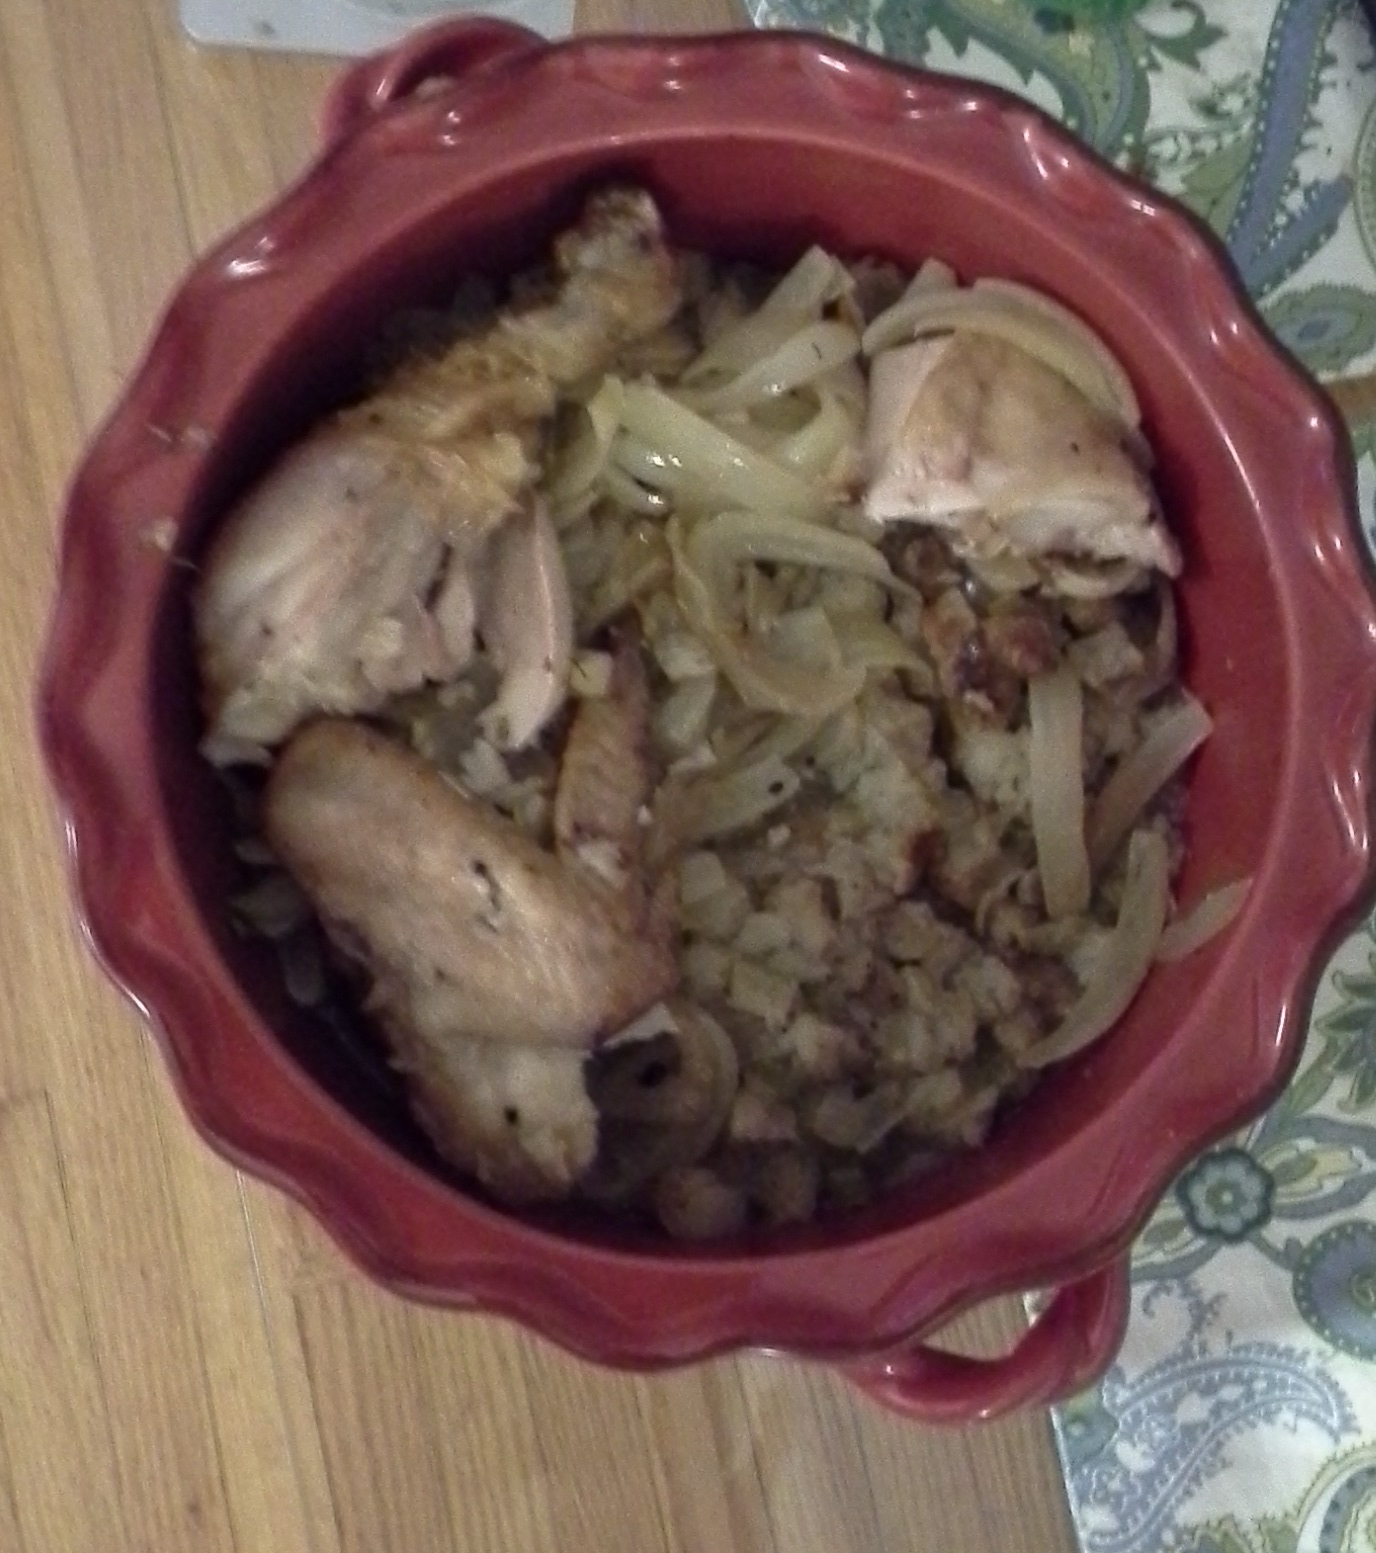
Put the whole mixture into the crockpot and add in the meat. Stir to combine. If you are doing this the night before, put it all in the fridge. (It can be stored in whatever fits in your fridge, just get it in the crockpot before starting up again. Put the crockpot on high until the whole mixture simmers (starting to bubble on the edges). This should not take more than half and hour, if that. Turn down to low and forget about it. For at least 8 hours. Ideally a good 12 hours.
Serve with herbed couscous (recipe below).
Ras el Hanout
1-1/4 tsp allspice
2 tsp ground nutmeg
20 threads of saffron, crumbled
1/2 T black pepper
1/2 T ground mace
1 tsp ground cinnamon
1/2 T ground cardamom
2 tsp ground ginger
2 tsp salt
1 tsp turmeric
Combine in an airtight container.
Herbed couscous
This is another winner from my Moroccan cooking class. Couscous has to be one of the easiest foods to make. This recipe jazzes it up to make it into a dish. I do not always buy all the herbs and sometimes just sub out if I have other herbs on hand. I check out what else I have in the fridge from other recipes and throw that in. The onion, broth and lemon juice ensure no matter what else you do, it will be good. If you do the full recipe, you are in for a really great treat!
1 medium onion, finely chopped
2 T olive oil, divided
1 garlic clove, minced
2 c beef broth (chicken works too)
1-10 oz box of couscous (1-1/2 c)
¾ tsp salt, to taste
½ c chopped Italian flat leaf parsley
½ c chopped basil
1/3 c chopped mint
1-2 T lemon juice
Heat 1 T of the olive oil in a medium-sized pot over medium heat. Add the onion and let caramelize, stirring occasionally. Add in garlic and cook for 30 sec.
Add in broth, raise the heat to high and bring to a boil. Stir in the couscouse, cover and remove from heat. Let stand for 5 minutes.
Fluff the couscous with a fork, stir in herbs, 1 T of lemon juice and 1 T olive oil. Taste to make sure it has the right lemon/olive oil/salt/pepper that you like. Serve nice and hot.