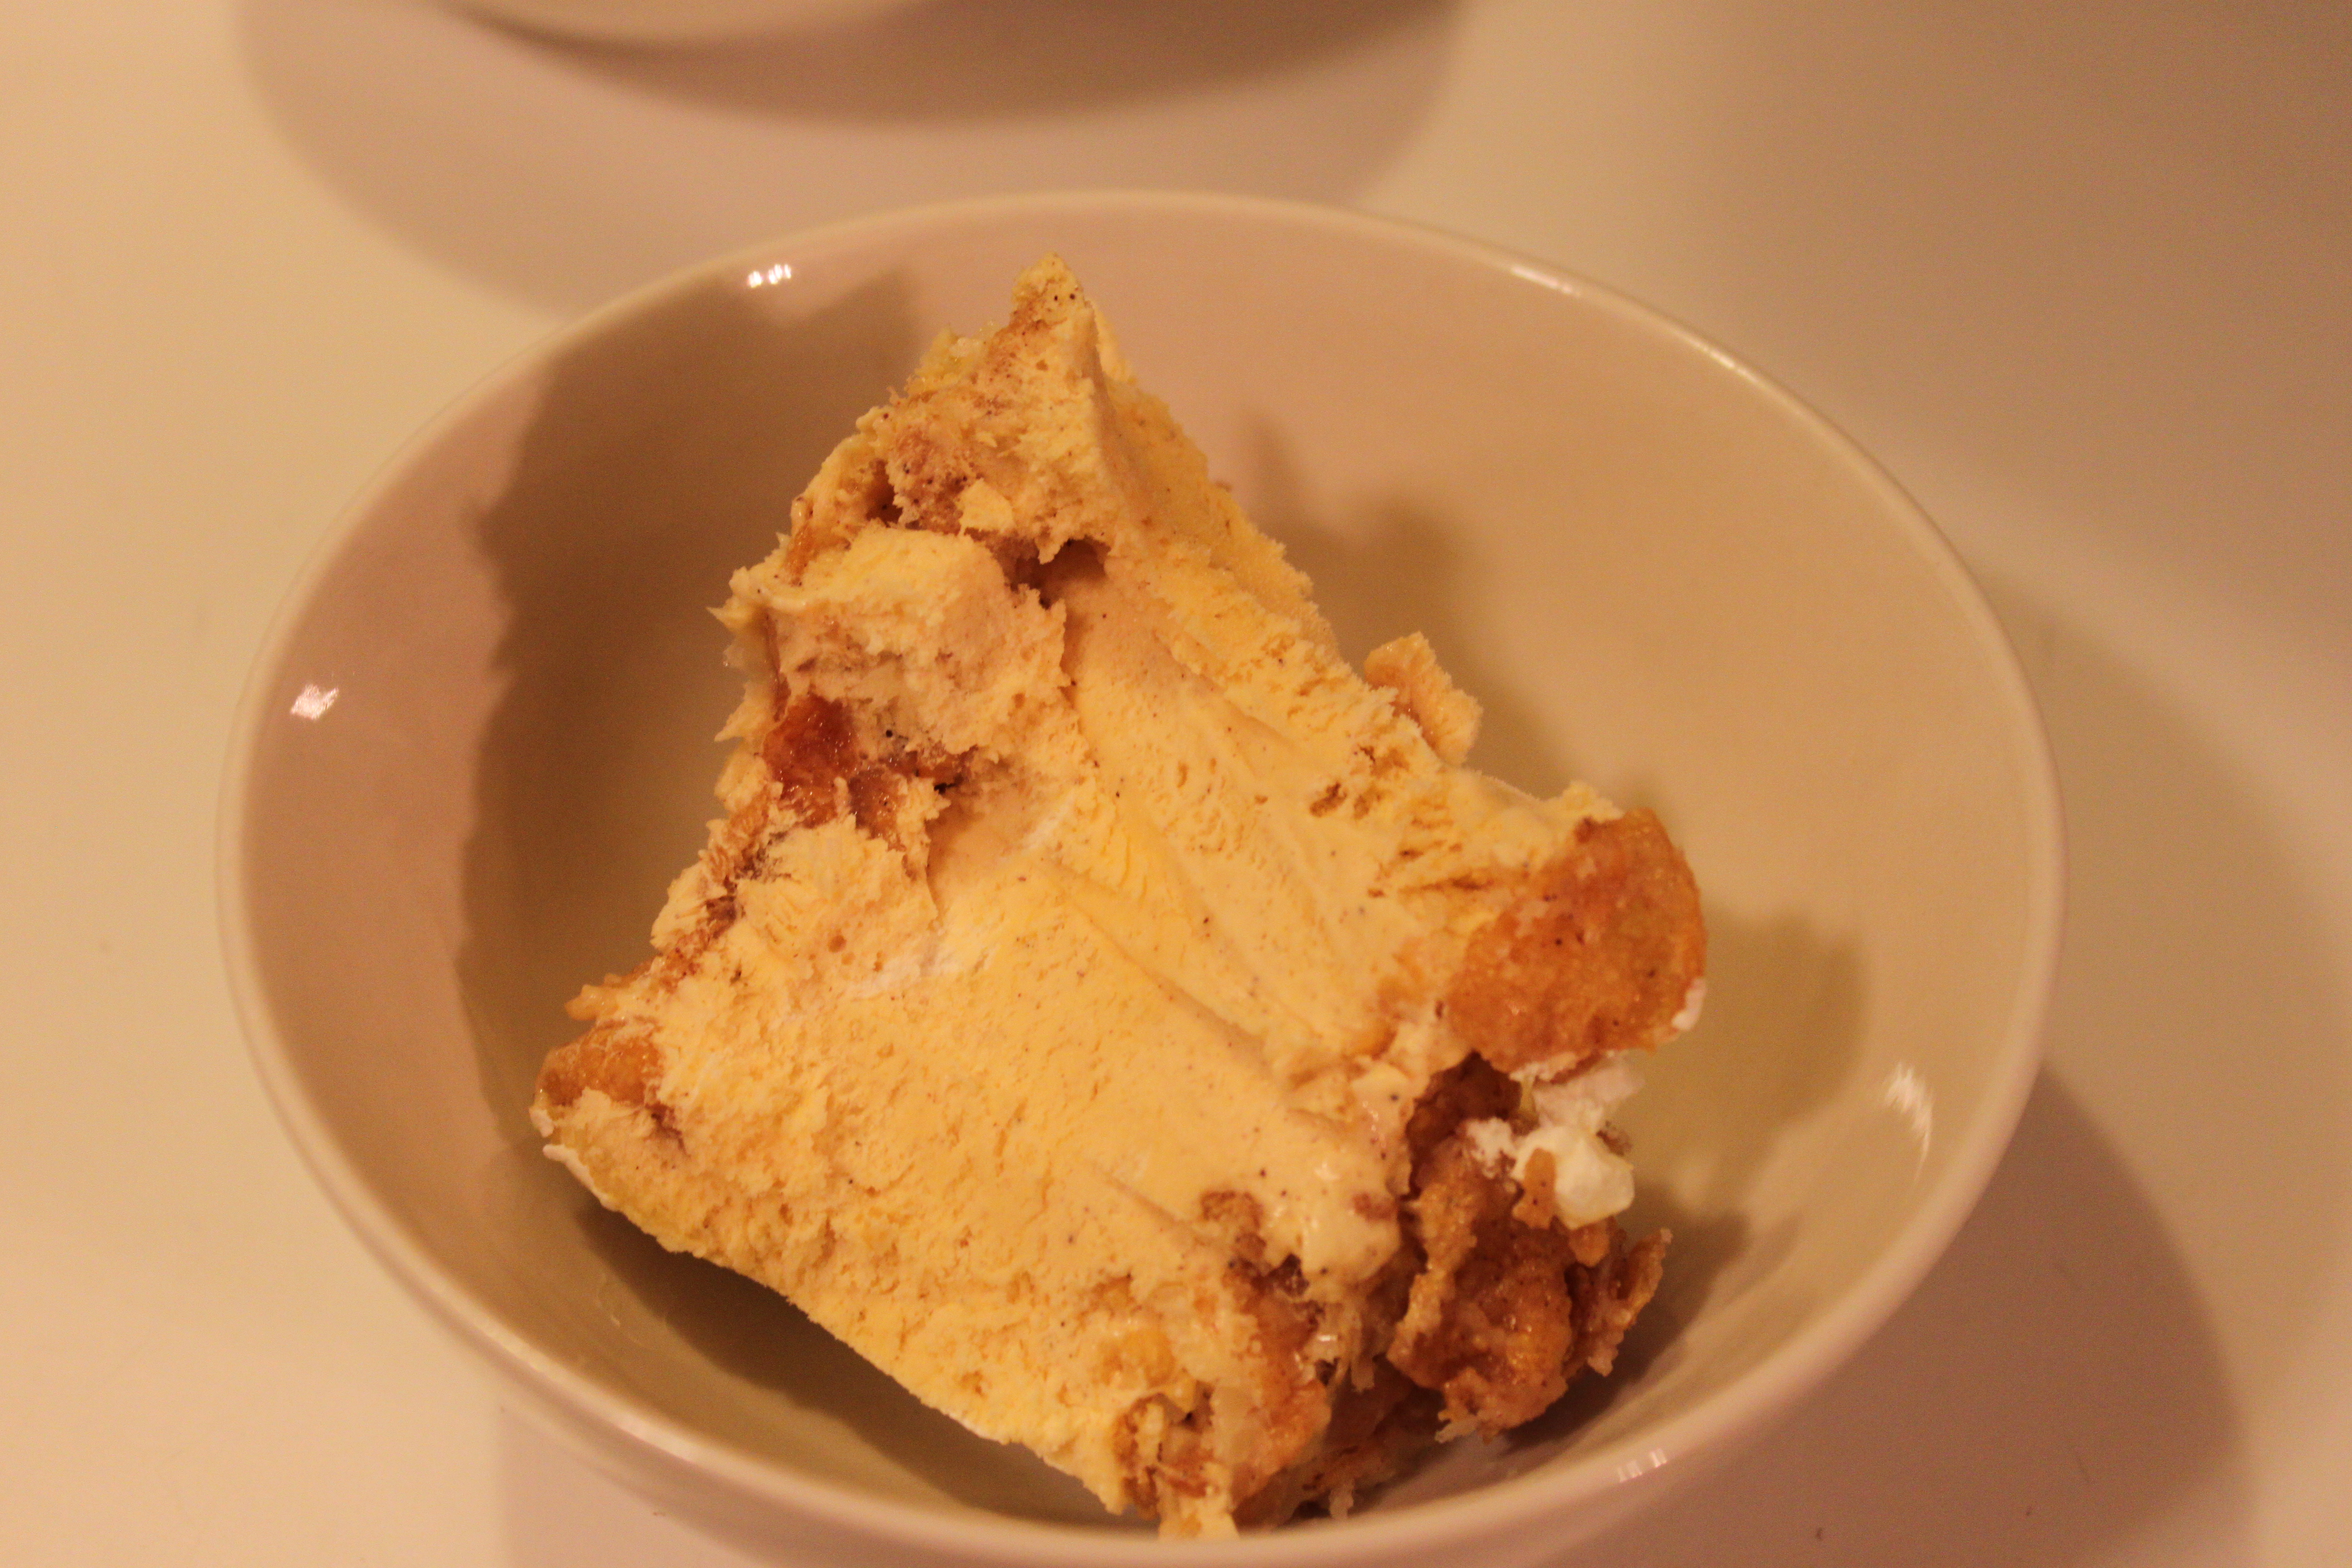
Fried ice cream – layers of sweet, fried Corn Flakes and cinnamon-Cool-Whip ice cream
I am still here! I have had to take a break between selling our house and being pregnant, but I’m back!
The recipe I have today is totally worth the wait! Fried ice cream is a fantastic mix of vanilla ice cream mixed with Cool Whip and cinnamon layered with a sweet, fried Corn Flake mixture. Together, they create perfection. This recipe came to me through a friend of a friend who brought this to a party. It is soooooooooooo yum!!!!!
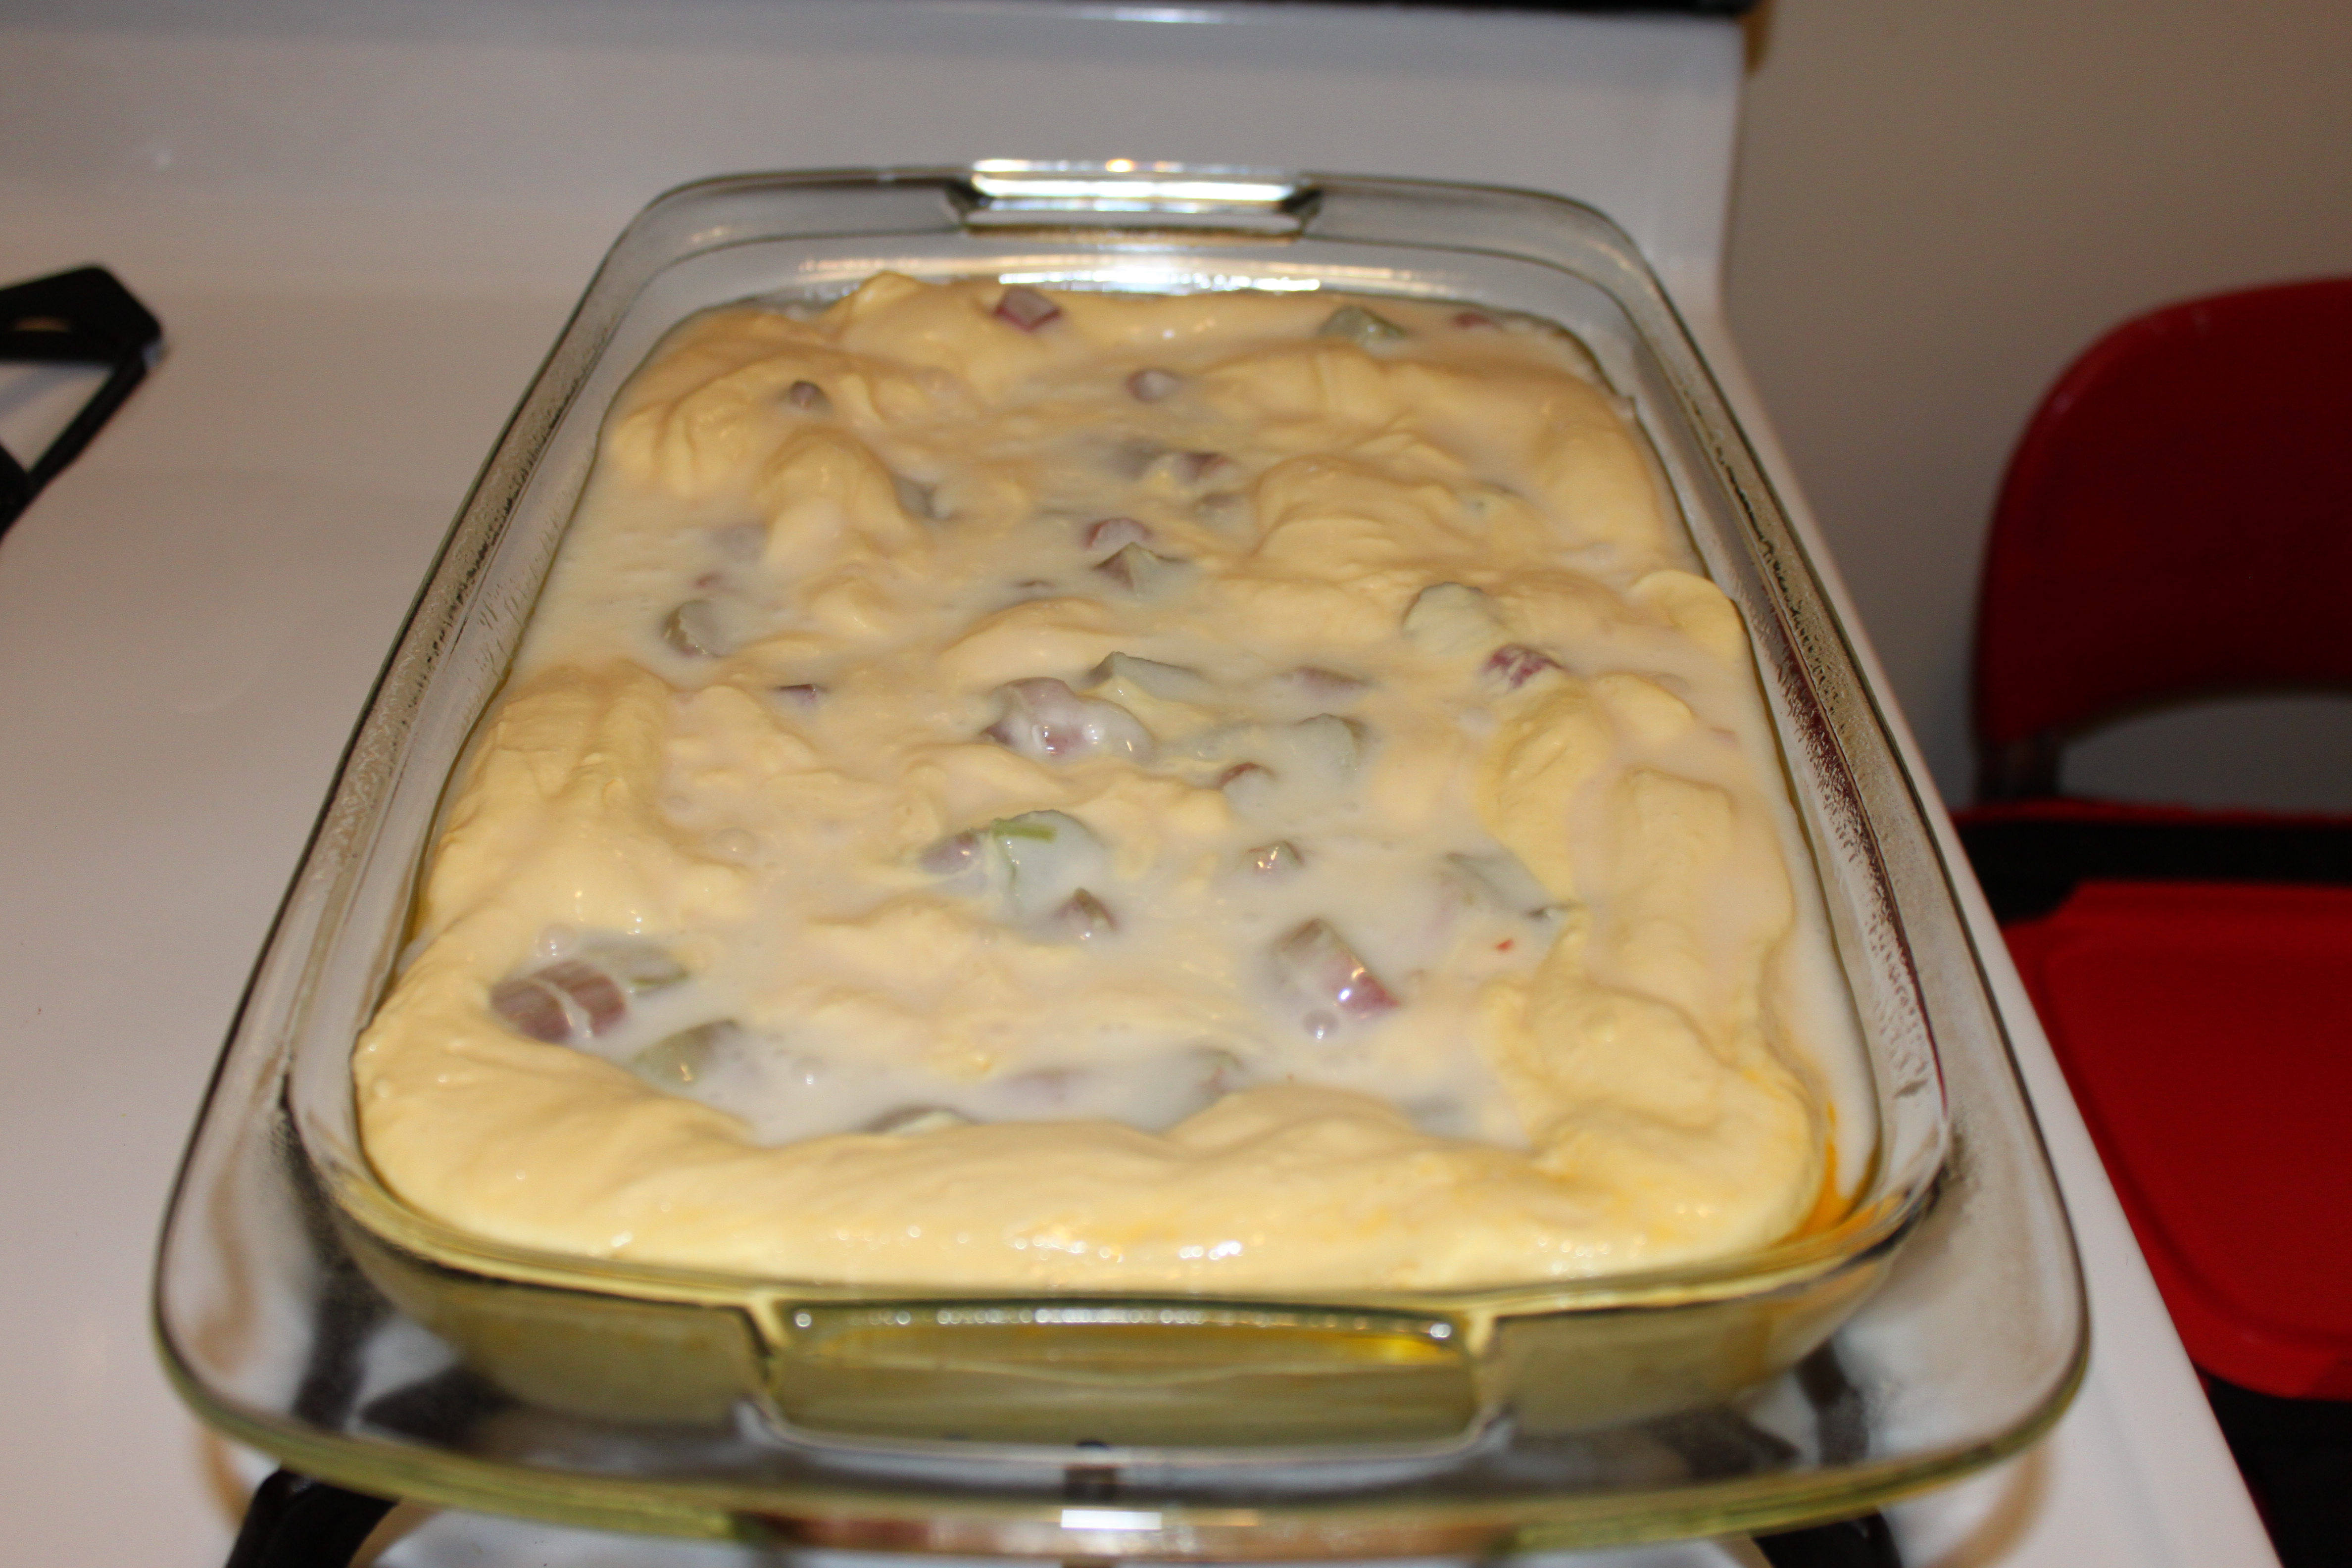
The larger version uses a bucket of ice cream
This recipe you make ahead for a crowd, making it ideal for parties. And I also figured out how to scale it down for a more manageable quantity. I brought the huge version to a chili cook-off and it was almost all gone by the end of the night. Then I made the smaller version for a dinner party (5 adults, 2 kids) and there was none left. It is popular. And regardless of which one you go with, it really doesn’t take too much to make it. You spend more time waiting for the ice cream to get melty than anything else.
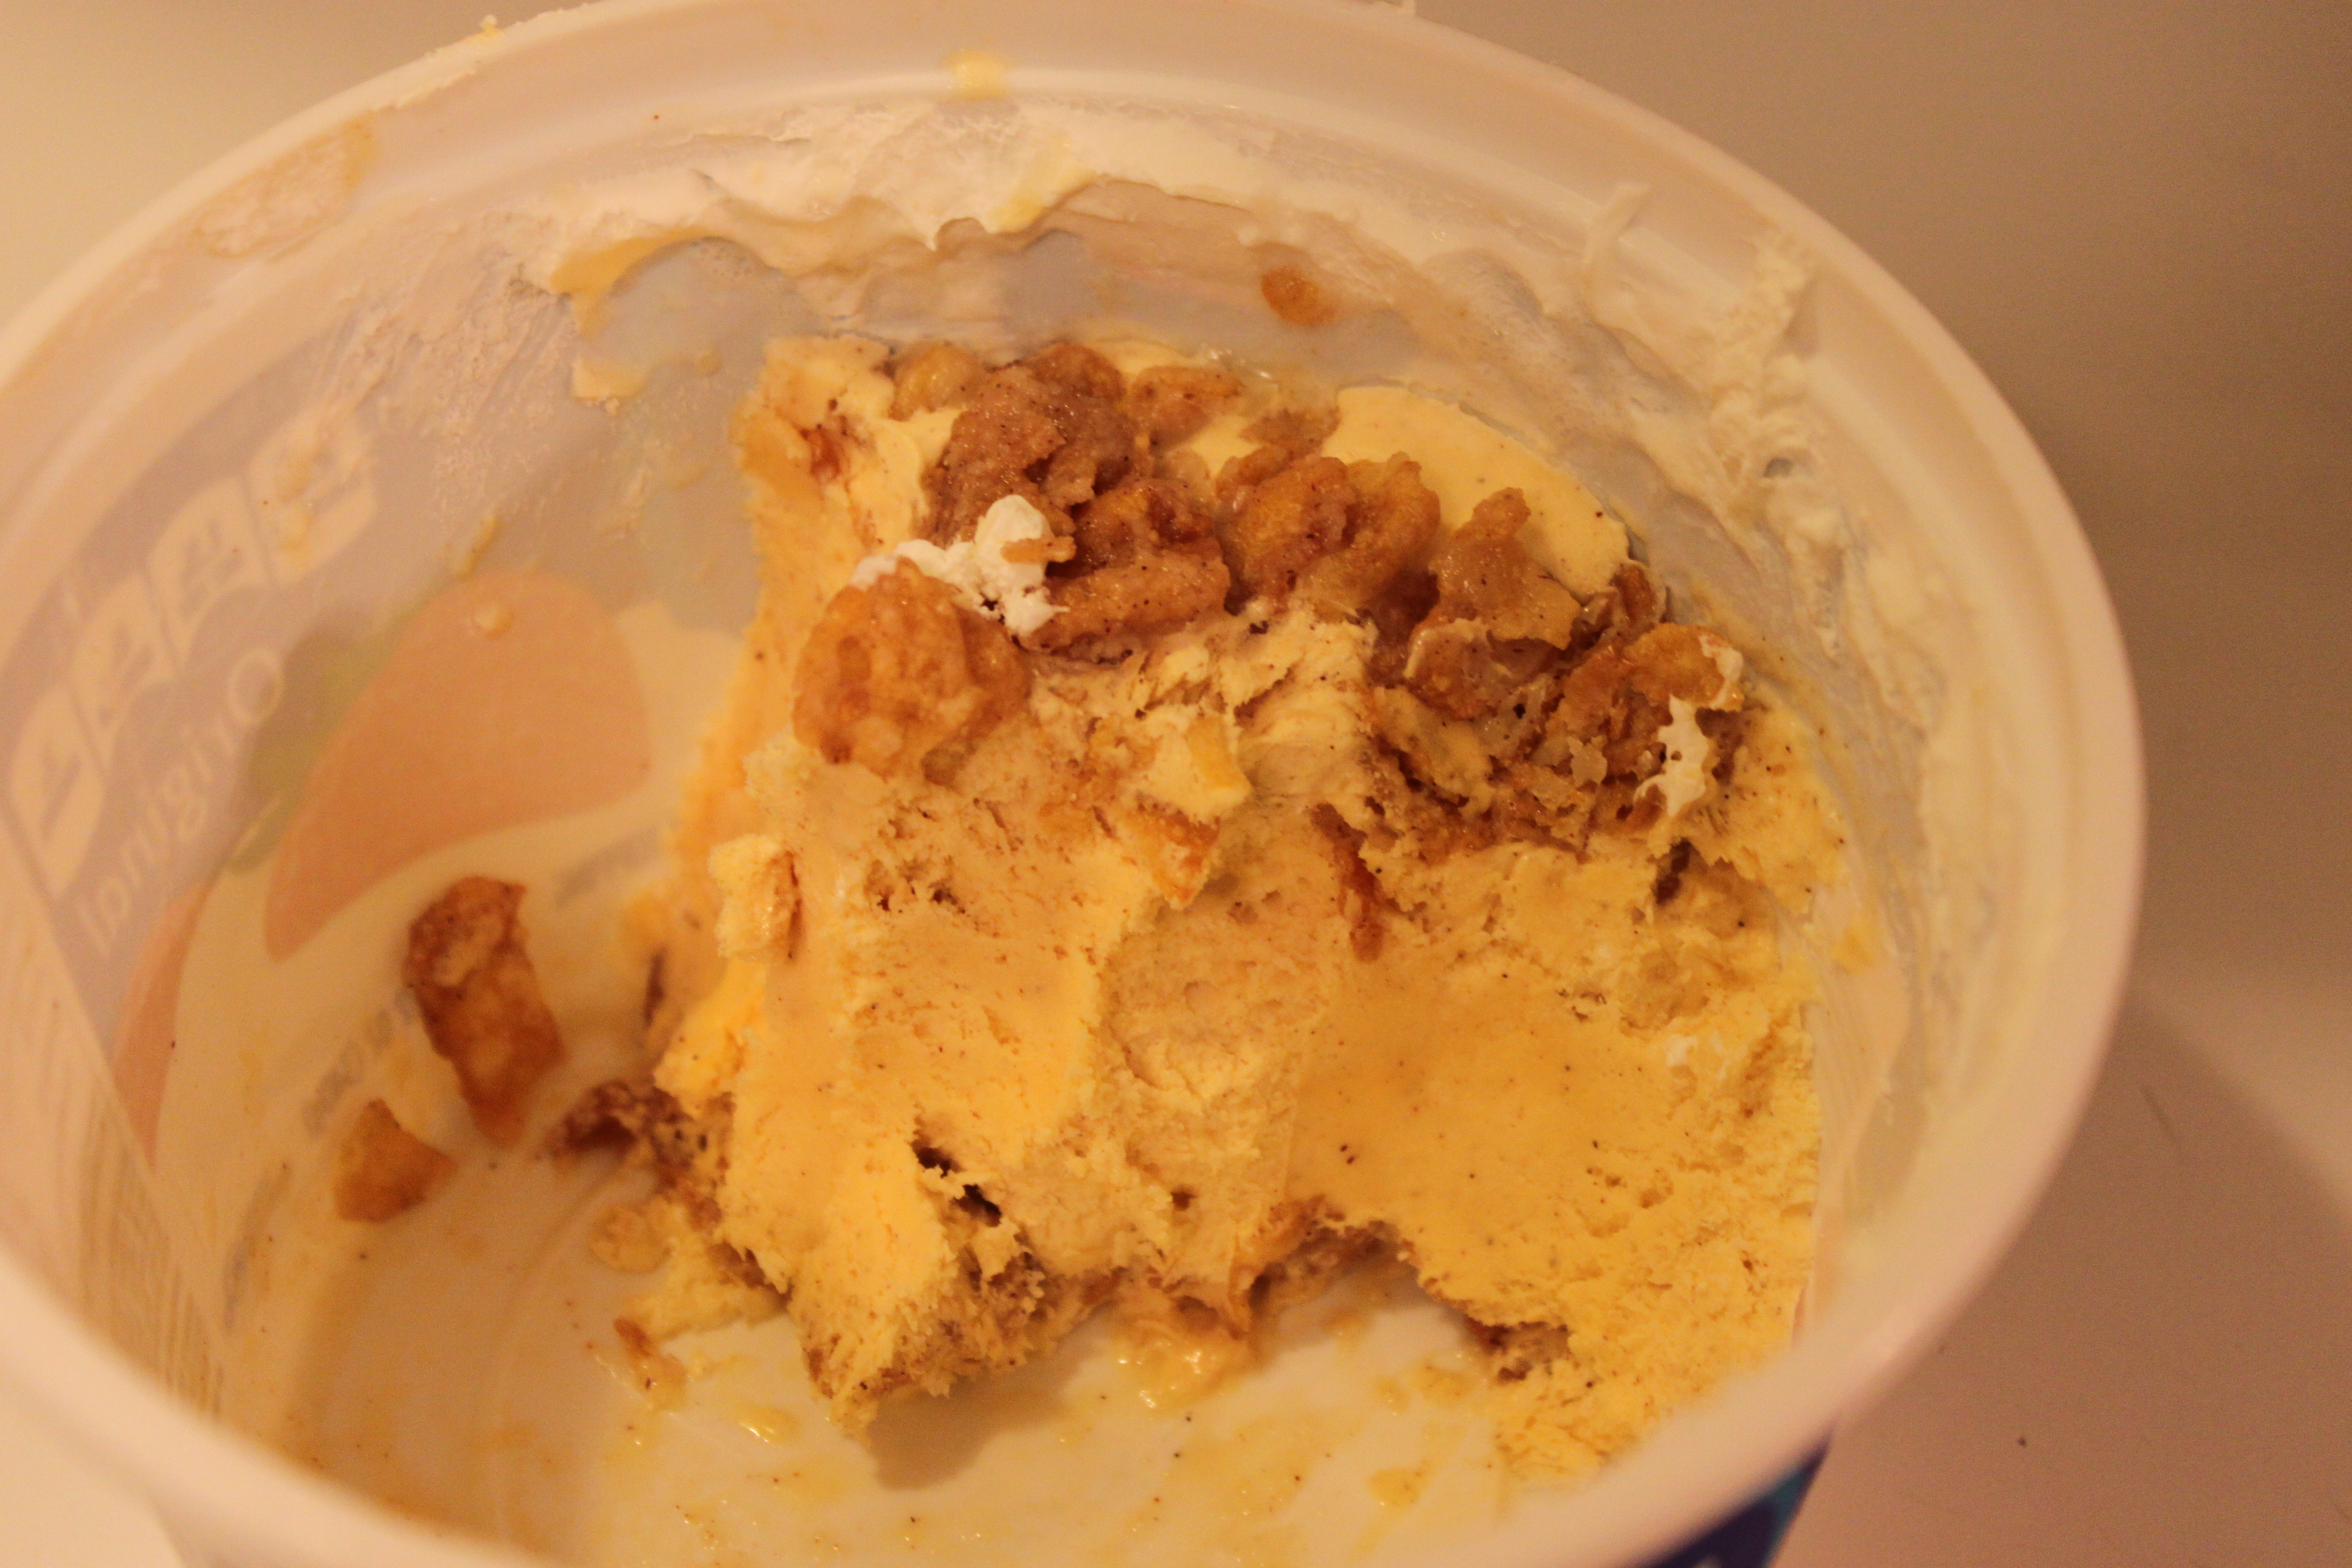
The party-sized version uses a big bucket of ice cream. The upside is that if you are planning on taking this to a party and are torn about leaving the rest of it for your hostess and keeping some for yourself, you get to do both! The final product takes up 1 ice cream bucket plus 1 cool whip container. So everyone wins!
The smaller version uses a 1.5 quart container of ice cream, which you can put into a ton of different containers around your kitchen. Just make sure they are freezer-safe.
The smaller version uses a regular-sized ice cream
Here are the quantities:
Party-sized
1 c butter (2 sticks)
2 c sugar
8 c Corn Flakes
1 gallon of vanilla ice cream, thawed to a workable consistency. The big one from your childhood.
20 oz Cool Whip, thawed (that is one big and one small container)
1 T cinnamon
Smaller-sized
6 T butter (3/4 stick)
1/2 c sugar
3-1/2 c Corn Flakes
1.5 quart of vanilla ice cream, thawed to a workable consistency. Go for the one with real vanilla in it
8 oz Cool Whip, thawed
1 tsp cinnamon
Directions:
Thaw the ice cream and cool whip ahead of time. You need to be able to get a mixer in there.
Melt the butter in a saute pan over medium heat. Mix in the sugar to combine and then add in the corn flakes. When the corn flakes start to look a little darker, turn the heat off and continue to stir them occasionally while they cool.
While the Corn Flakes cool a little bit (and don’t stress over how much, a few minutes is fine), work on the ice cream.
Be sure to put the extra in your Cool Whip container for some to enjoy after the party
Party-Sized directions:
If you are doing the party-sized version, you’ll want to get a huge bowl and split the ice cream between the original container and the big bowl. I used an enormous salad bowl. Eyeball about the right ratios of Cool Whip and cinnamon into each container. Again, no stressing over this. Just guess. Using a mixer, mix up each one until combined.
Layer the Corn Flakes and the ice cream mixture in the ice cream bucket. This might mean dumping everything in your other bowl for a minute. I do about 3 layers of Corn Flakes in one bucket, if that helps. And try to end with Corn Flakes so people at the party know it isn’t just ice cream. But do what feels best for you. With the remaining Corn Flakes and ice cream, layer them in one of the Cool Whip containers. Put everything in the freezer overnight. Take the big one to the party and know you have the small one at home for you.
Smaller-sized directions:
In a large mixing bowl, add ice cream, Cool Whip and cinnamon. Using a mixer, combine well.
In a freezer-safe bowl or dish, layer the Corn Flakes and ice cream. I end with Corn Flakes so it looks nice. Cover and put in the freezer overnight.
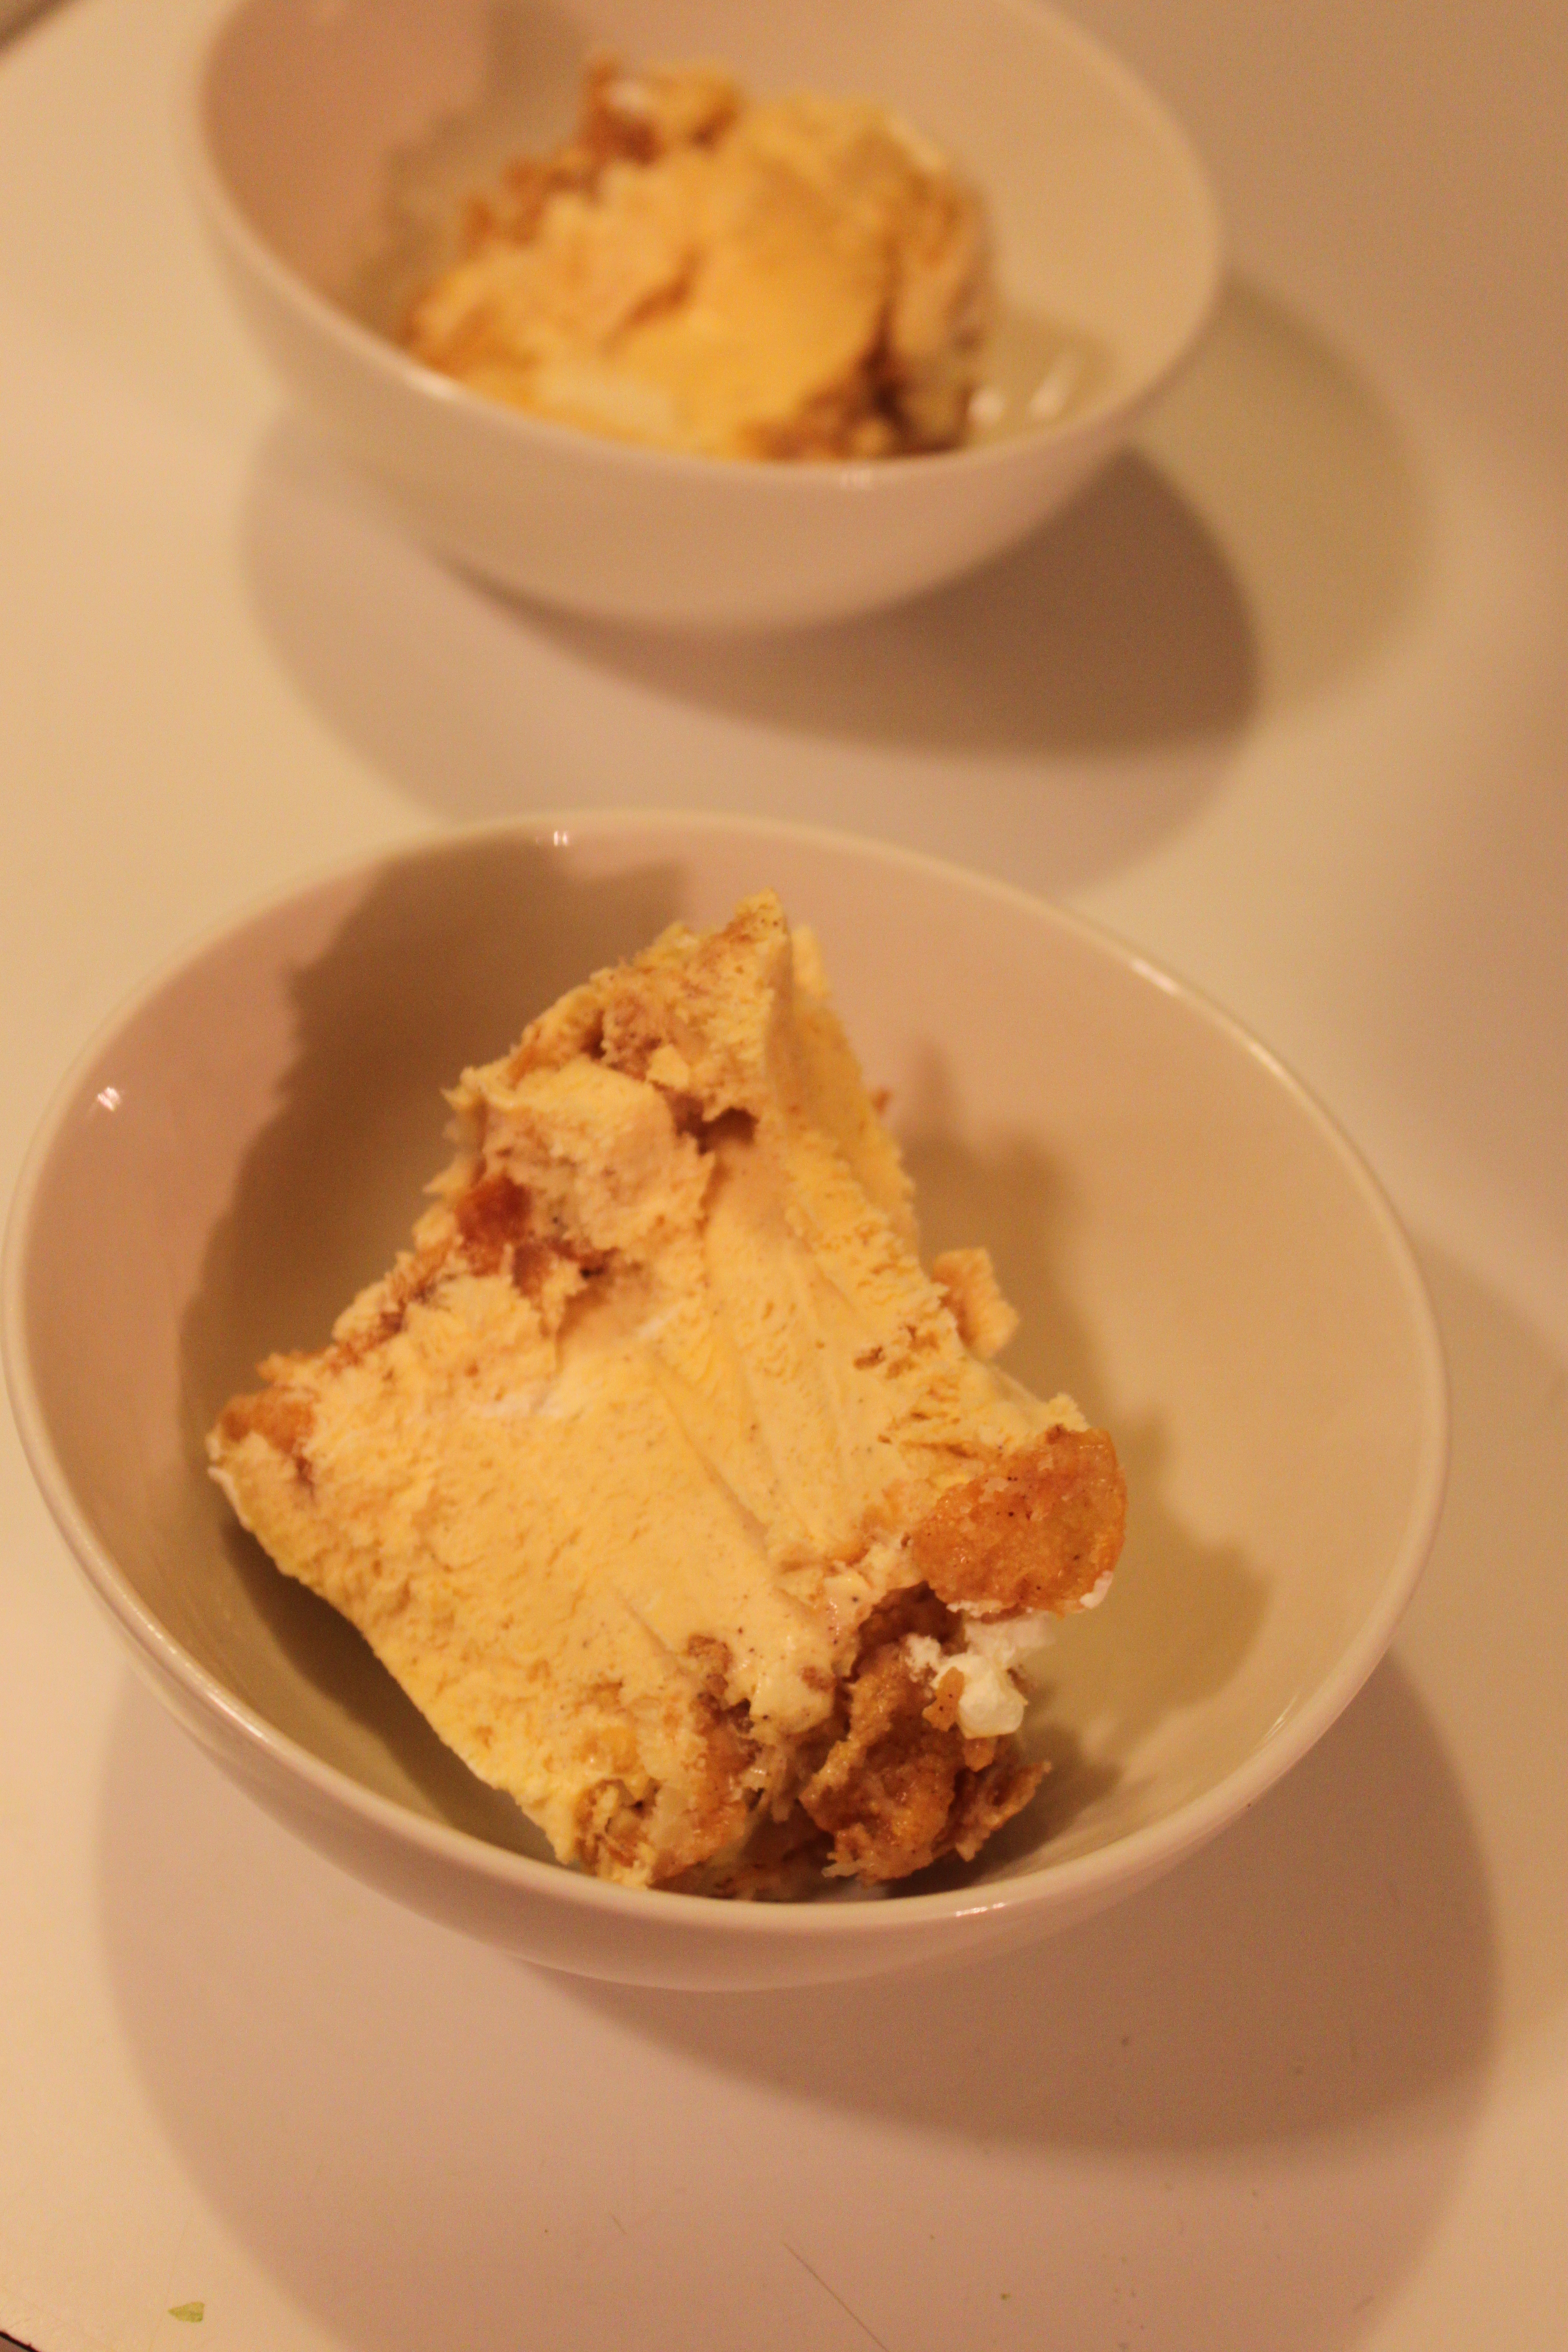
You will be amazed at how quickly this disappears!