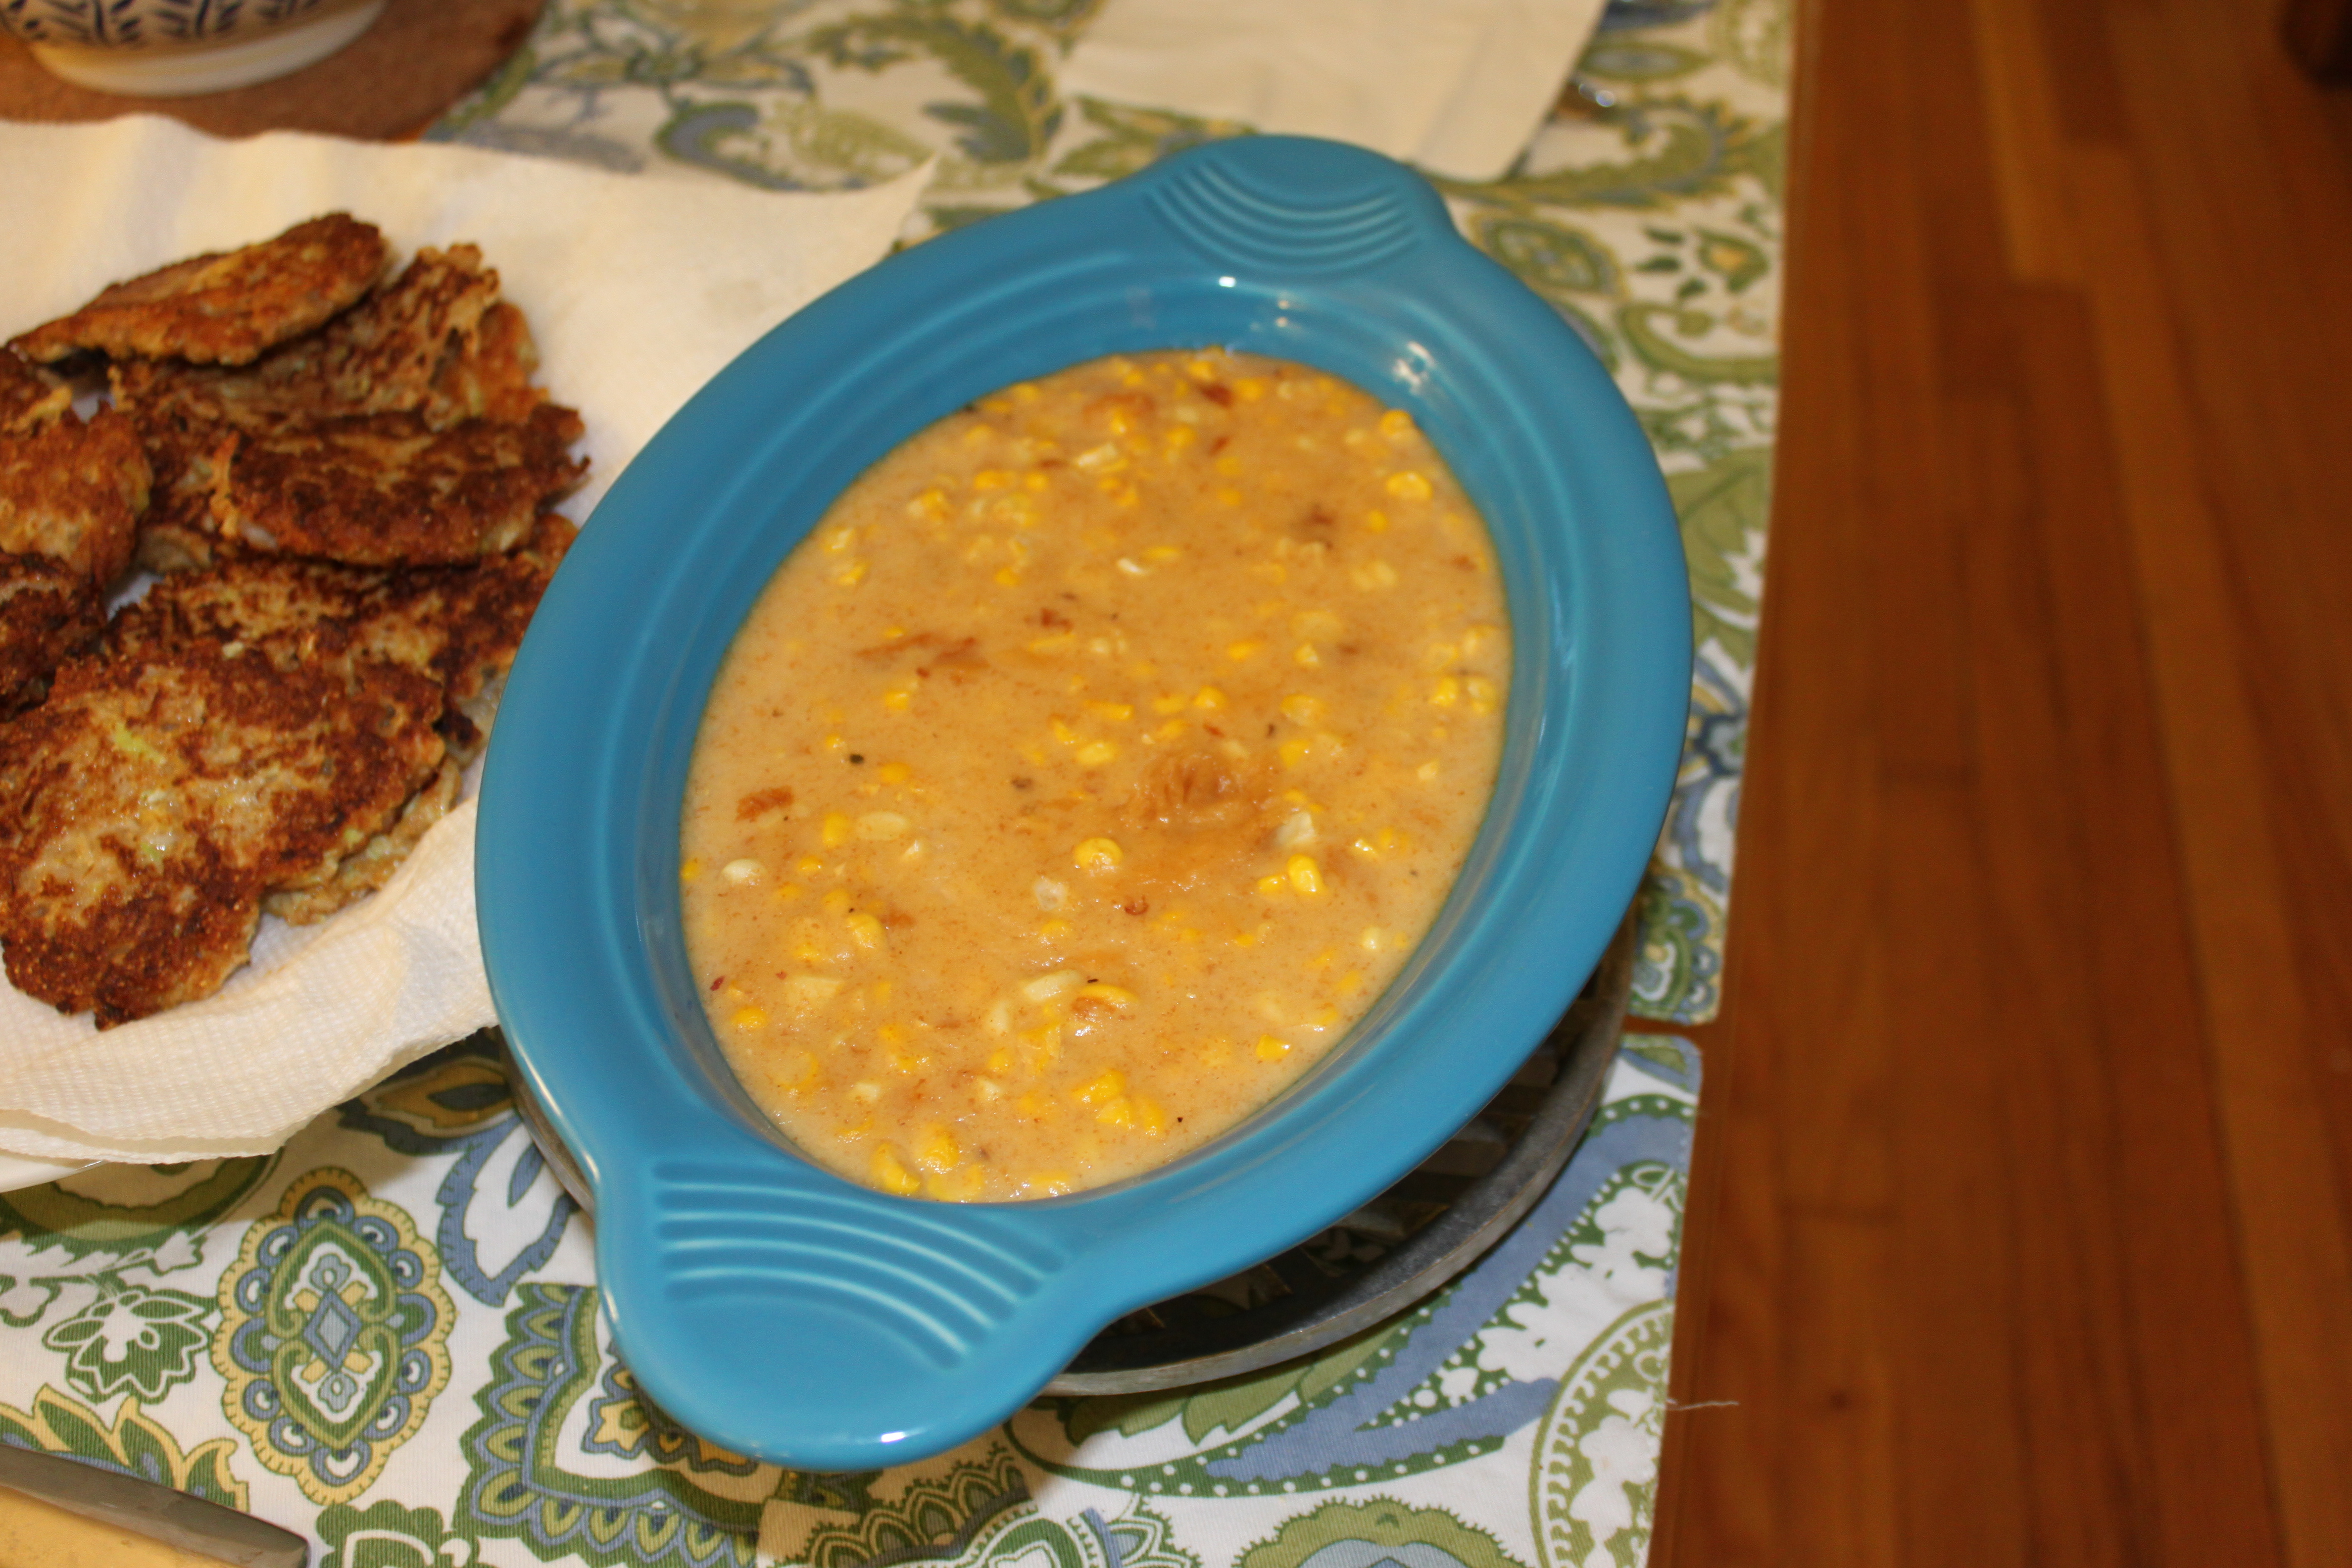
Creamed Corn that is guilt-free!

Corn Casserole – all sorts of yumminess
It is corn season. And like any self-respecting Midwesterner, that means I’m drawn to the large pick-up trucks full of sweet corn stationed on county roads, parking lots and farmers markets. We’ve had plenty of grilled corn and boiled corn on the cob, but sometimes you want to mix it up. Or I have overbought in my excitement about yummy corn and realize I need to do something with it while it is still all fresh and juicy. Here are 2 recipes to use up yummy corn and mix it up a bit.
The first recipe is for creamed corn. I know you are picturing that little can of creamed corn from your childhood. This is anything but that. Think more adult, more flavorful and best of all – nearly fat free! I whip up a batch of this and use about half for the following casserole recipe. But Arvind and I fight each other for the last drop of this one!
The second recipe you may already have. Perhaps written on the back of an envelope or a scrap of paper stuck in with the rest of your recipes. It is the corn casserole you make with the Jiffy cornbread mix. Super easy! Almost no measuring involved. It is juicier than cornbread, but more solid that creamed corn.
If you still have more corn after this, save some for the winter. I grill corn, cut it off the cob and then put it in freezer bags. In the winter when I’m making something that calls for frozen corn, I have some all ready to go!
If you now have cornbread on the brain, I would recommend this recipe for quite possibly the very best corn bread ever. Personally, I only make ¼ of the maple butter and serve that on the side. And I have made it in a 9×9 pan or doubled the recipe and put it in a 13×9 pan.
If you want to see any of the pictures more closely, just click on them.

Get a firm hold of the cob and cut off the kernels
Creamed Corn
4-5 ears of corn, kernels cut off (see picture for how)
1 teaspoon salt
2 tablespoons sugar
1/2 teaspoon freshly ground black pepper
2 tablespoons butter
2 cans fat-free evaporated milk
¼ c whole wheat flour (all-purpose is OK too)
Cut the corn off the cob. There are different schools of thought on how to do this. I find holding the cob flat on a cutting board and cutting along the length of it, then rotating a little and repeating works well. When I’m done, I go around the corn looking for stray pieces.

Creamed corn as it thickens
Mix the corn, salt, sugar, pepper butter and 1 can of milk in a skillet. Pour about 1/3-1/2 of the milk in from the second can in as well. The mix the flour into the remaining milk until it is fairly smooth. Add that into the corn as well. Heat over medium-high heat, stirring occasssionally. When it comes to a boil, stir constantly until it is as thick as you’d like it to be. Turn off heat and serve or use in the following recipe.
Corn Casserole
2-3 ears of corn corn
2 c creamed corn (see above)
1 (8-ounce) package Jiffy corn muffin mix
8 oz container (1 cup) sour cream
1/2 cup (1 stick) butter, melted
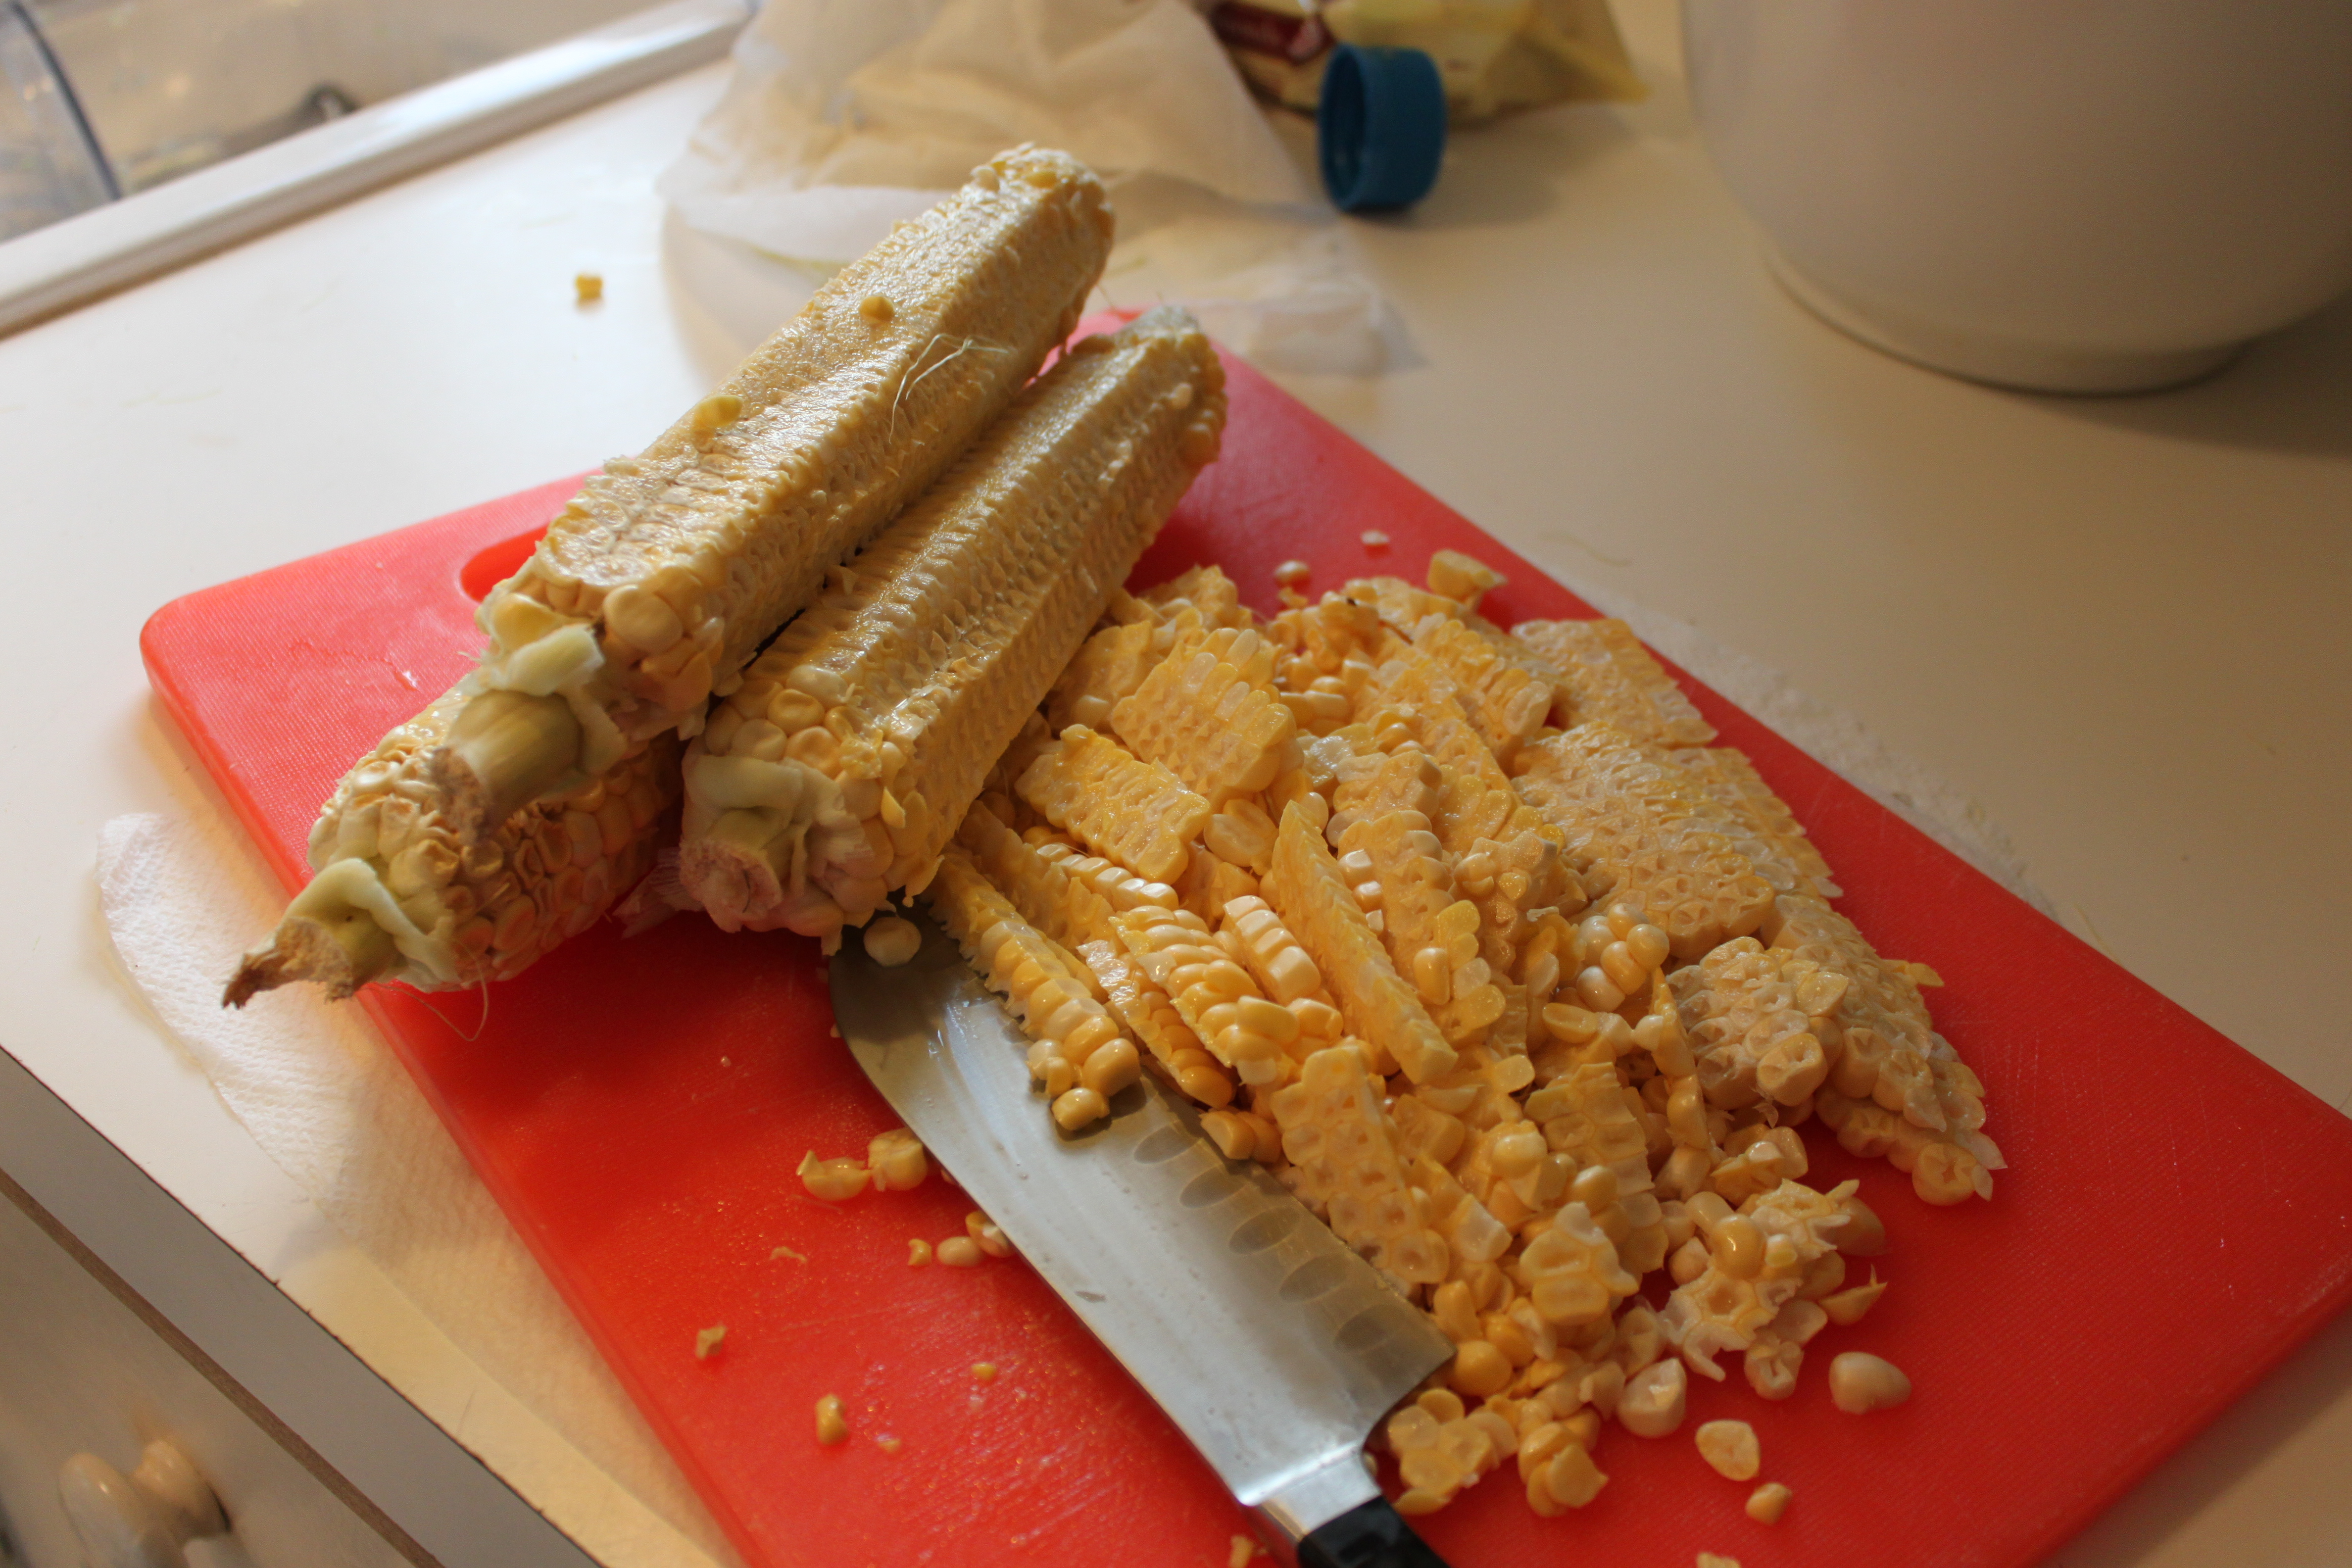
Have at those cobs to get all the corn off of them
Preheat the oven to 350. Grease a 13” x 9” pan. Cut the corn off of the cob. Mix everything together and put in 13 x 9. Bake for 45 min until starts to brown on top.

The casserole before it goes in the oven. (See above when when it is done)