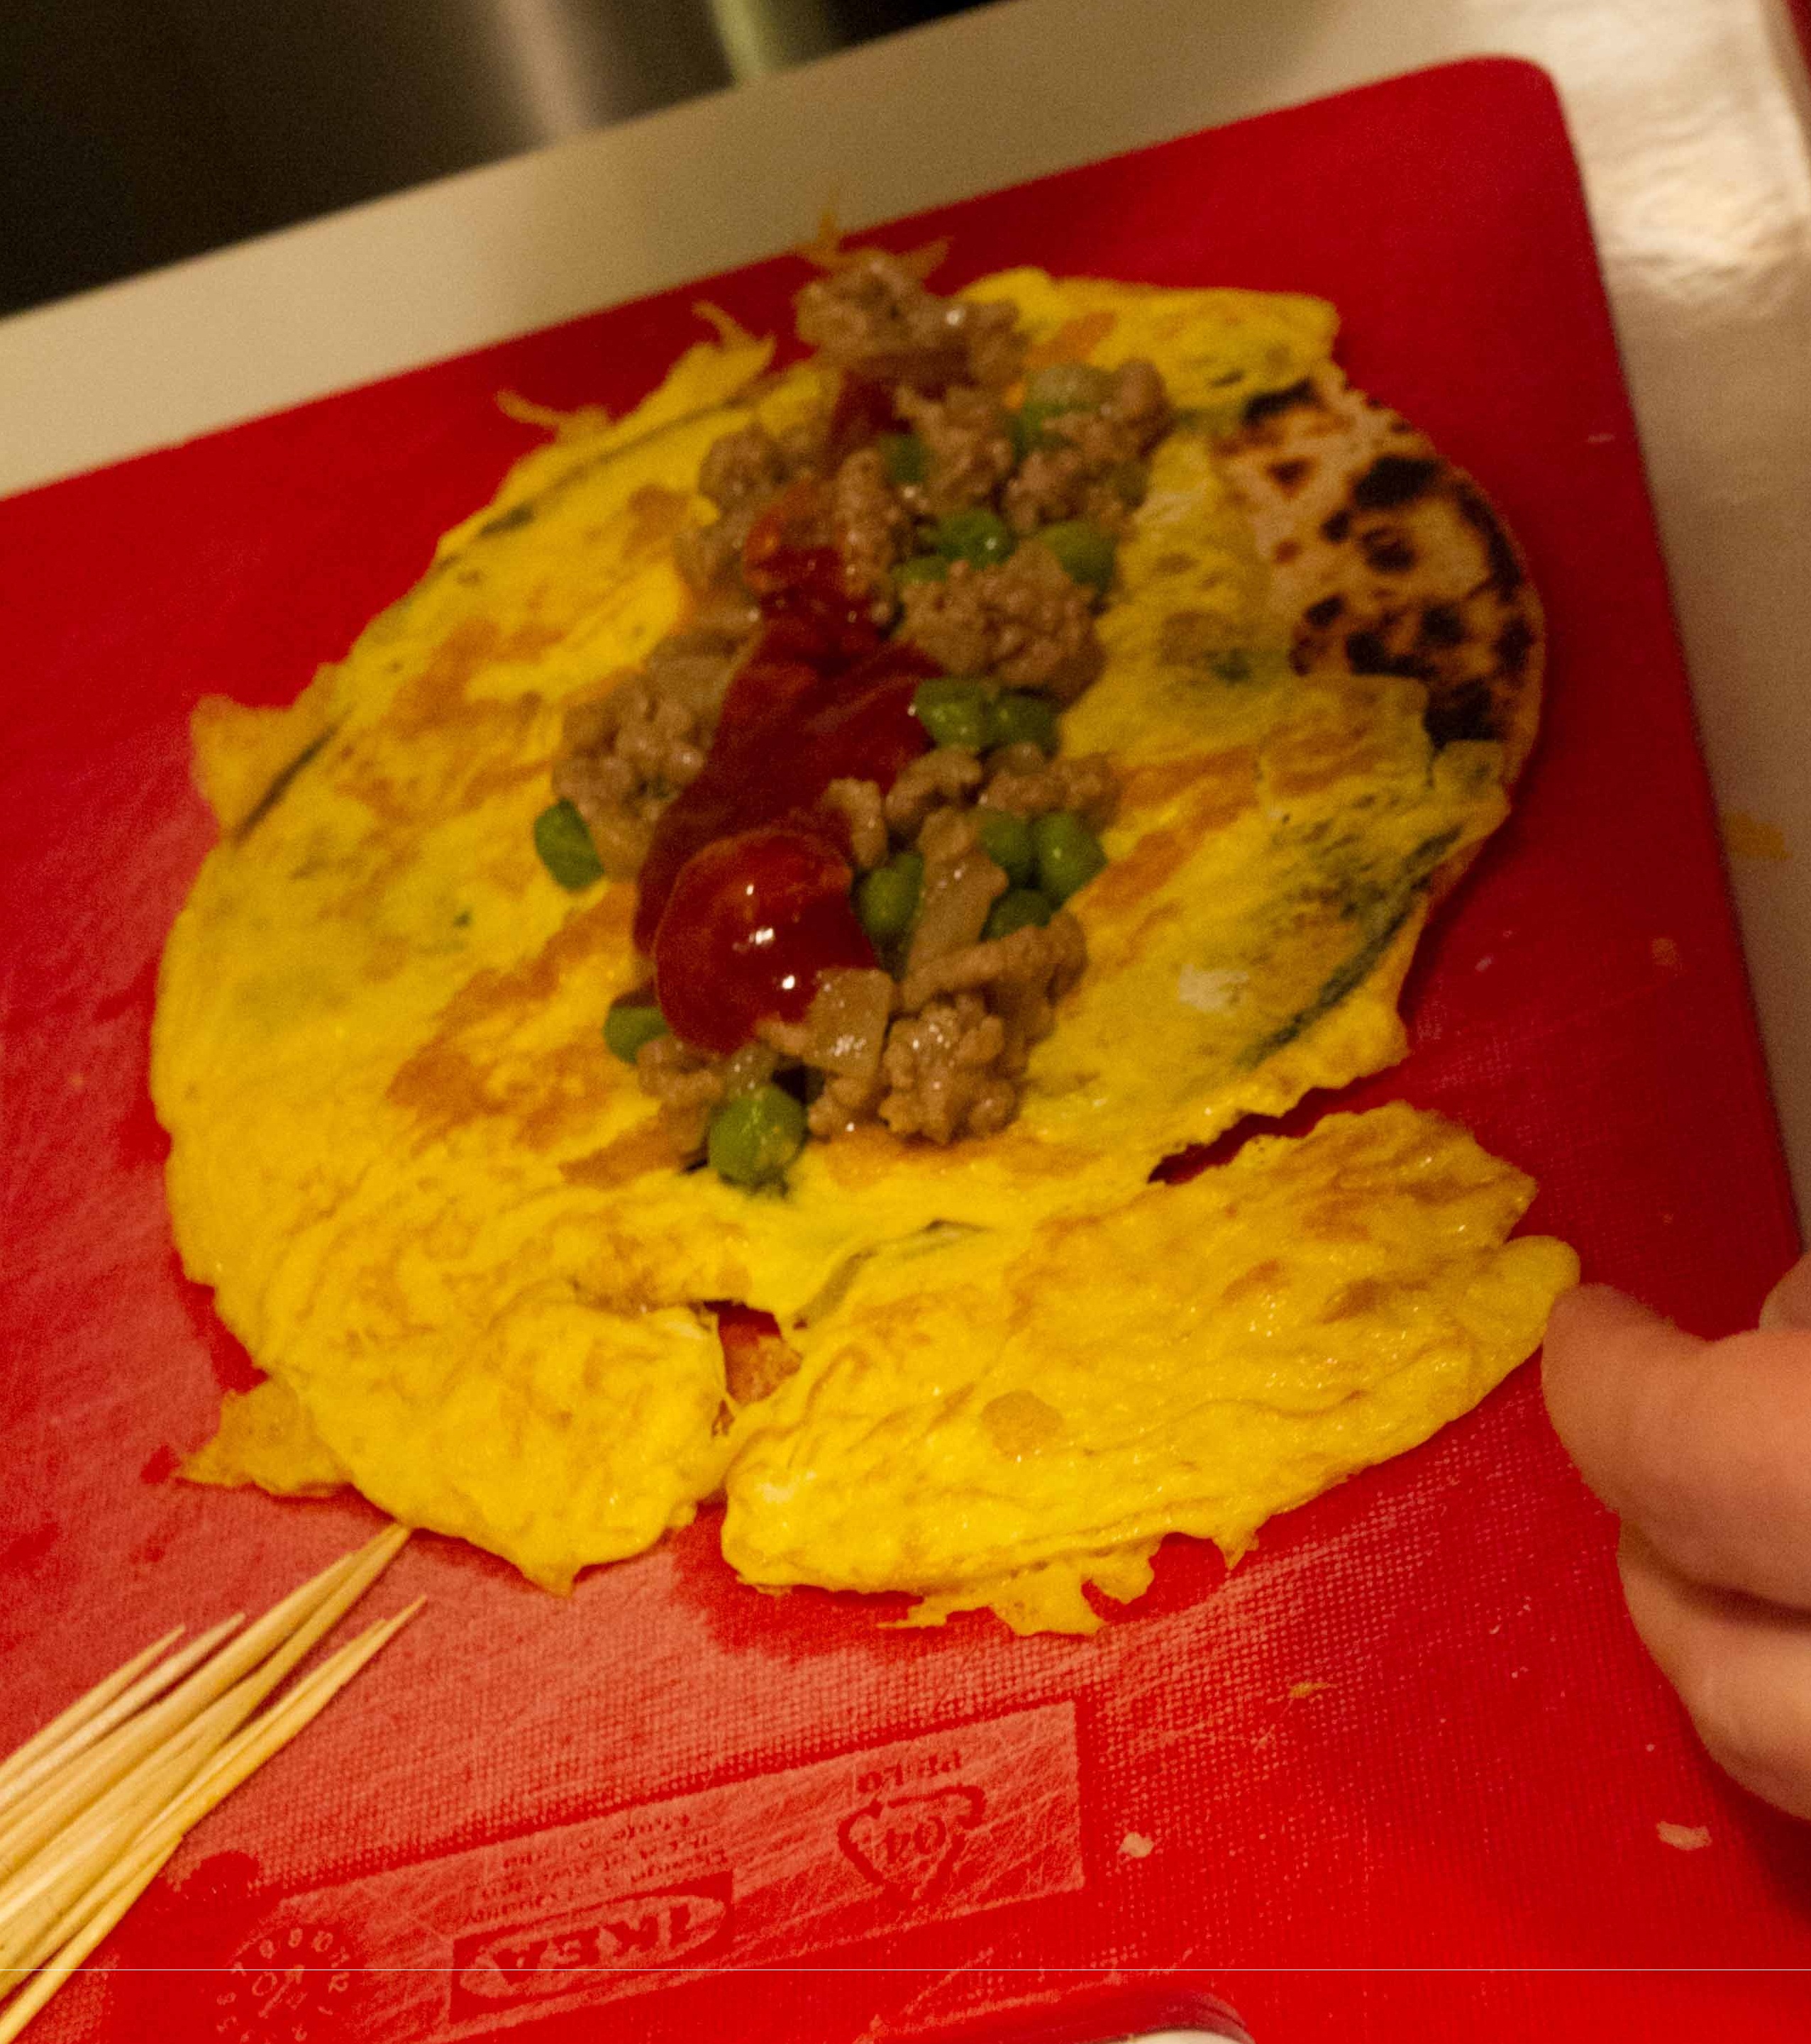
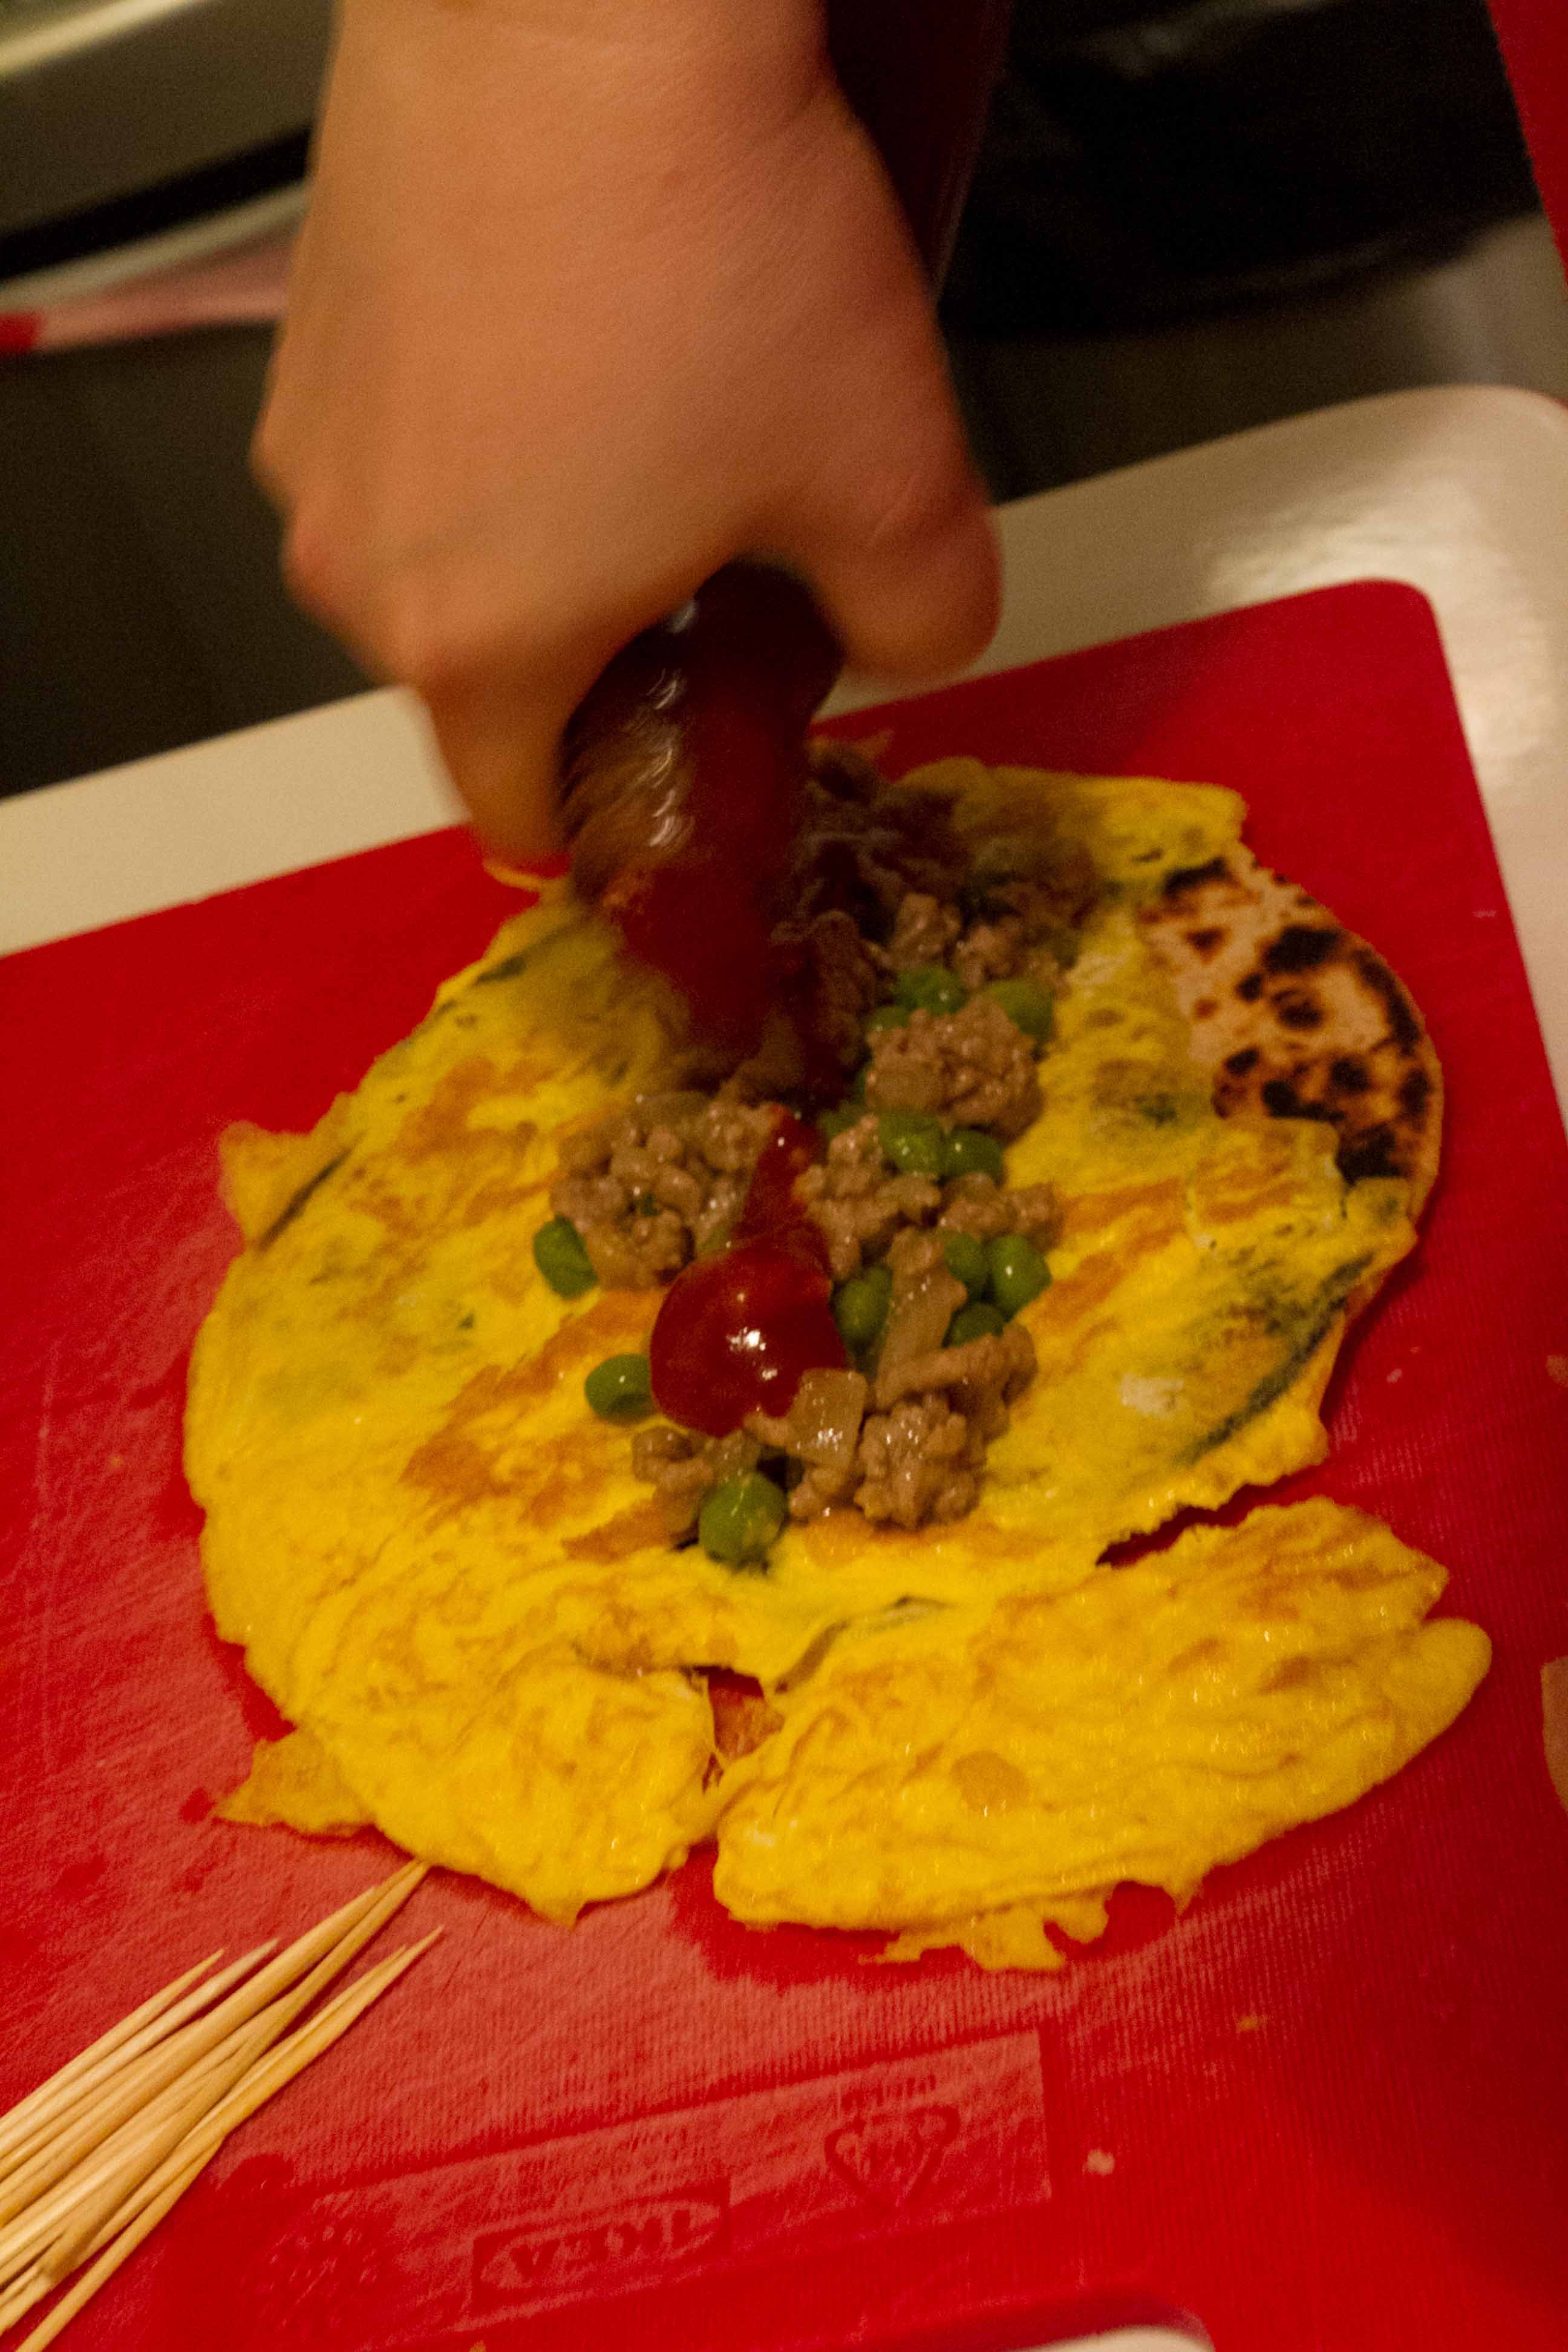
Egg roll before it is rolled – parathas, egg, keema and sauce, yum!
This is part 3 in a 3 part series of recipes that go together – parathas, keema and Bengali egg rolls. They are called egg rolls because they actually have eggs in them, so forget Chinese egg rolls and give these a try. This is one of Arvind’s all-time favorite dishes. You can tell, he stopped taking picture once they were almost assembled. It is a snack, but if you make enough of them, they can become a meal.
The filling is extremely flexible and is nearly begging for you to add your own fusion style here. For this recipe, I’m going with keema (see recipe in meat section), but you can put any leftovers you have in there that is not too liquidy. The recipe is for 4 egg rolls, but you can see how to easily move it up or down to fit any quantity you want. Also, prepare to be hooked on parathas, the most wonderful Indian bread ever. The directions are in excruciating detail, so don’t worry, it sounds like more work than it is. They are actually super quick once you get everything assembled.
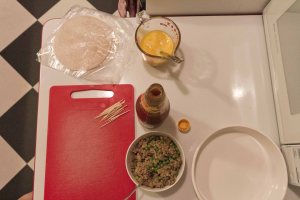
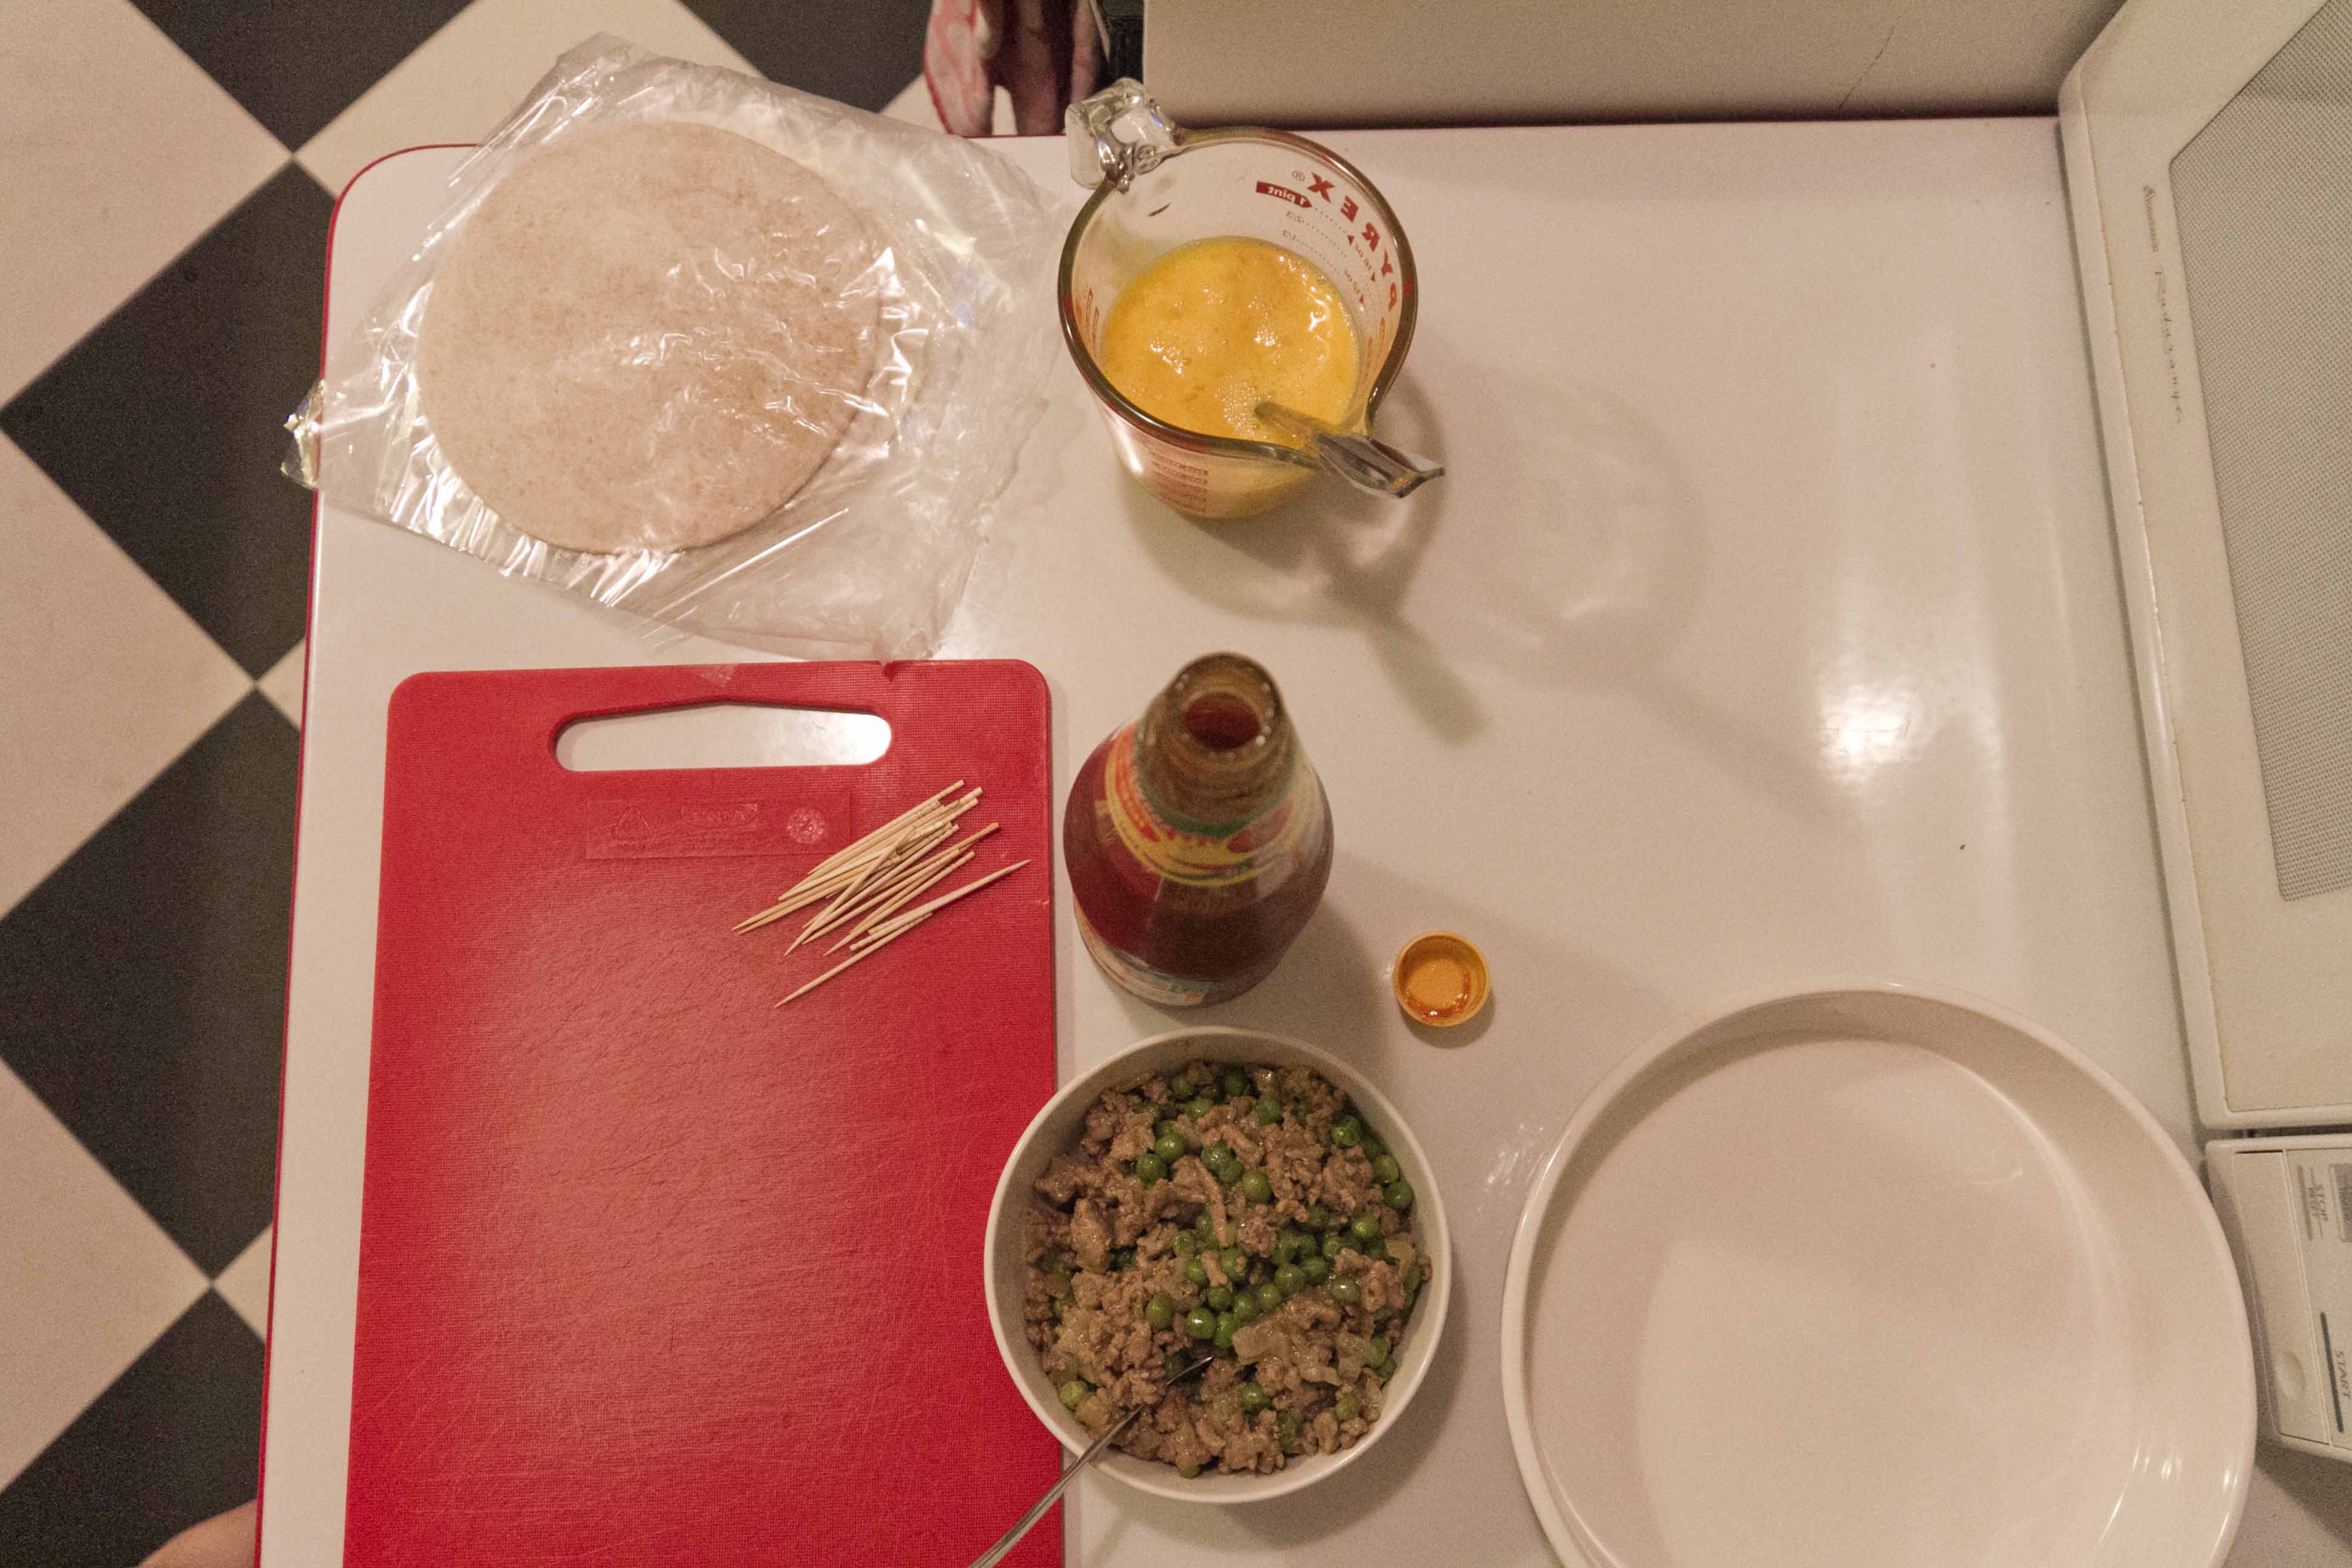
Get all your ingredients laid out ahead of time – it goes quickly
Ingredients
4 eggs
½ of an onion, finely chopped (if you have onions in your meat, you can skip this)
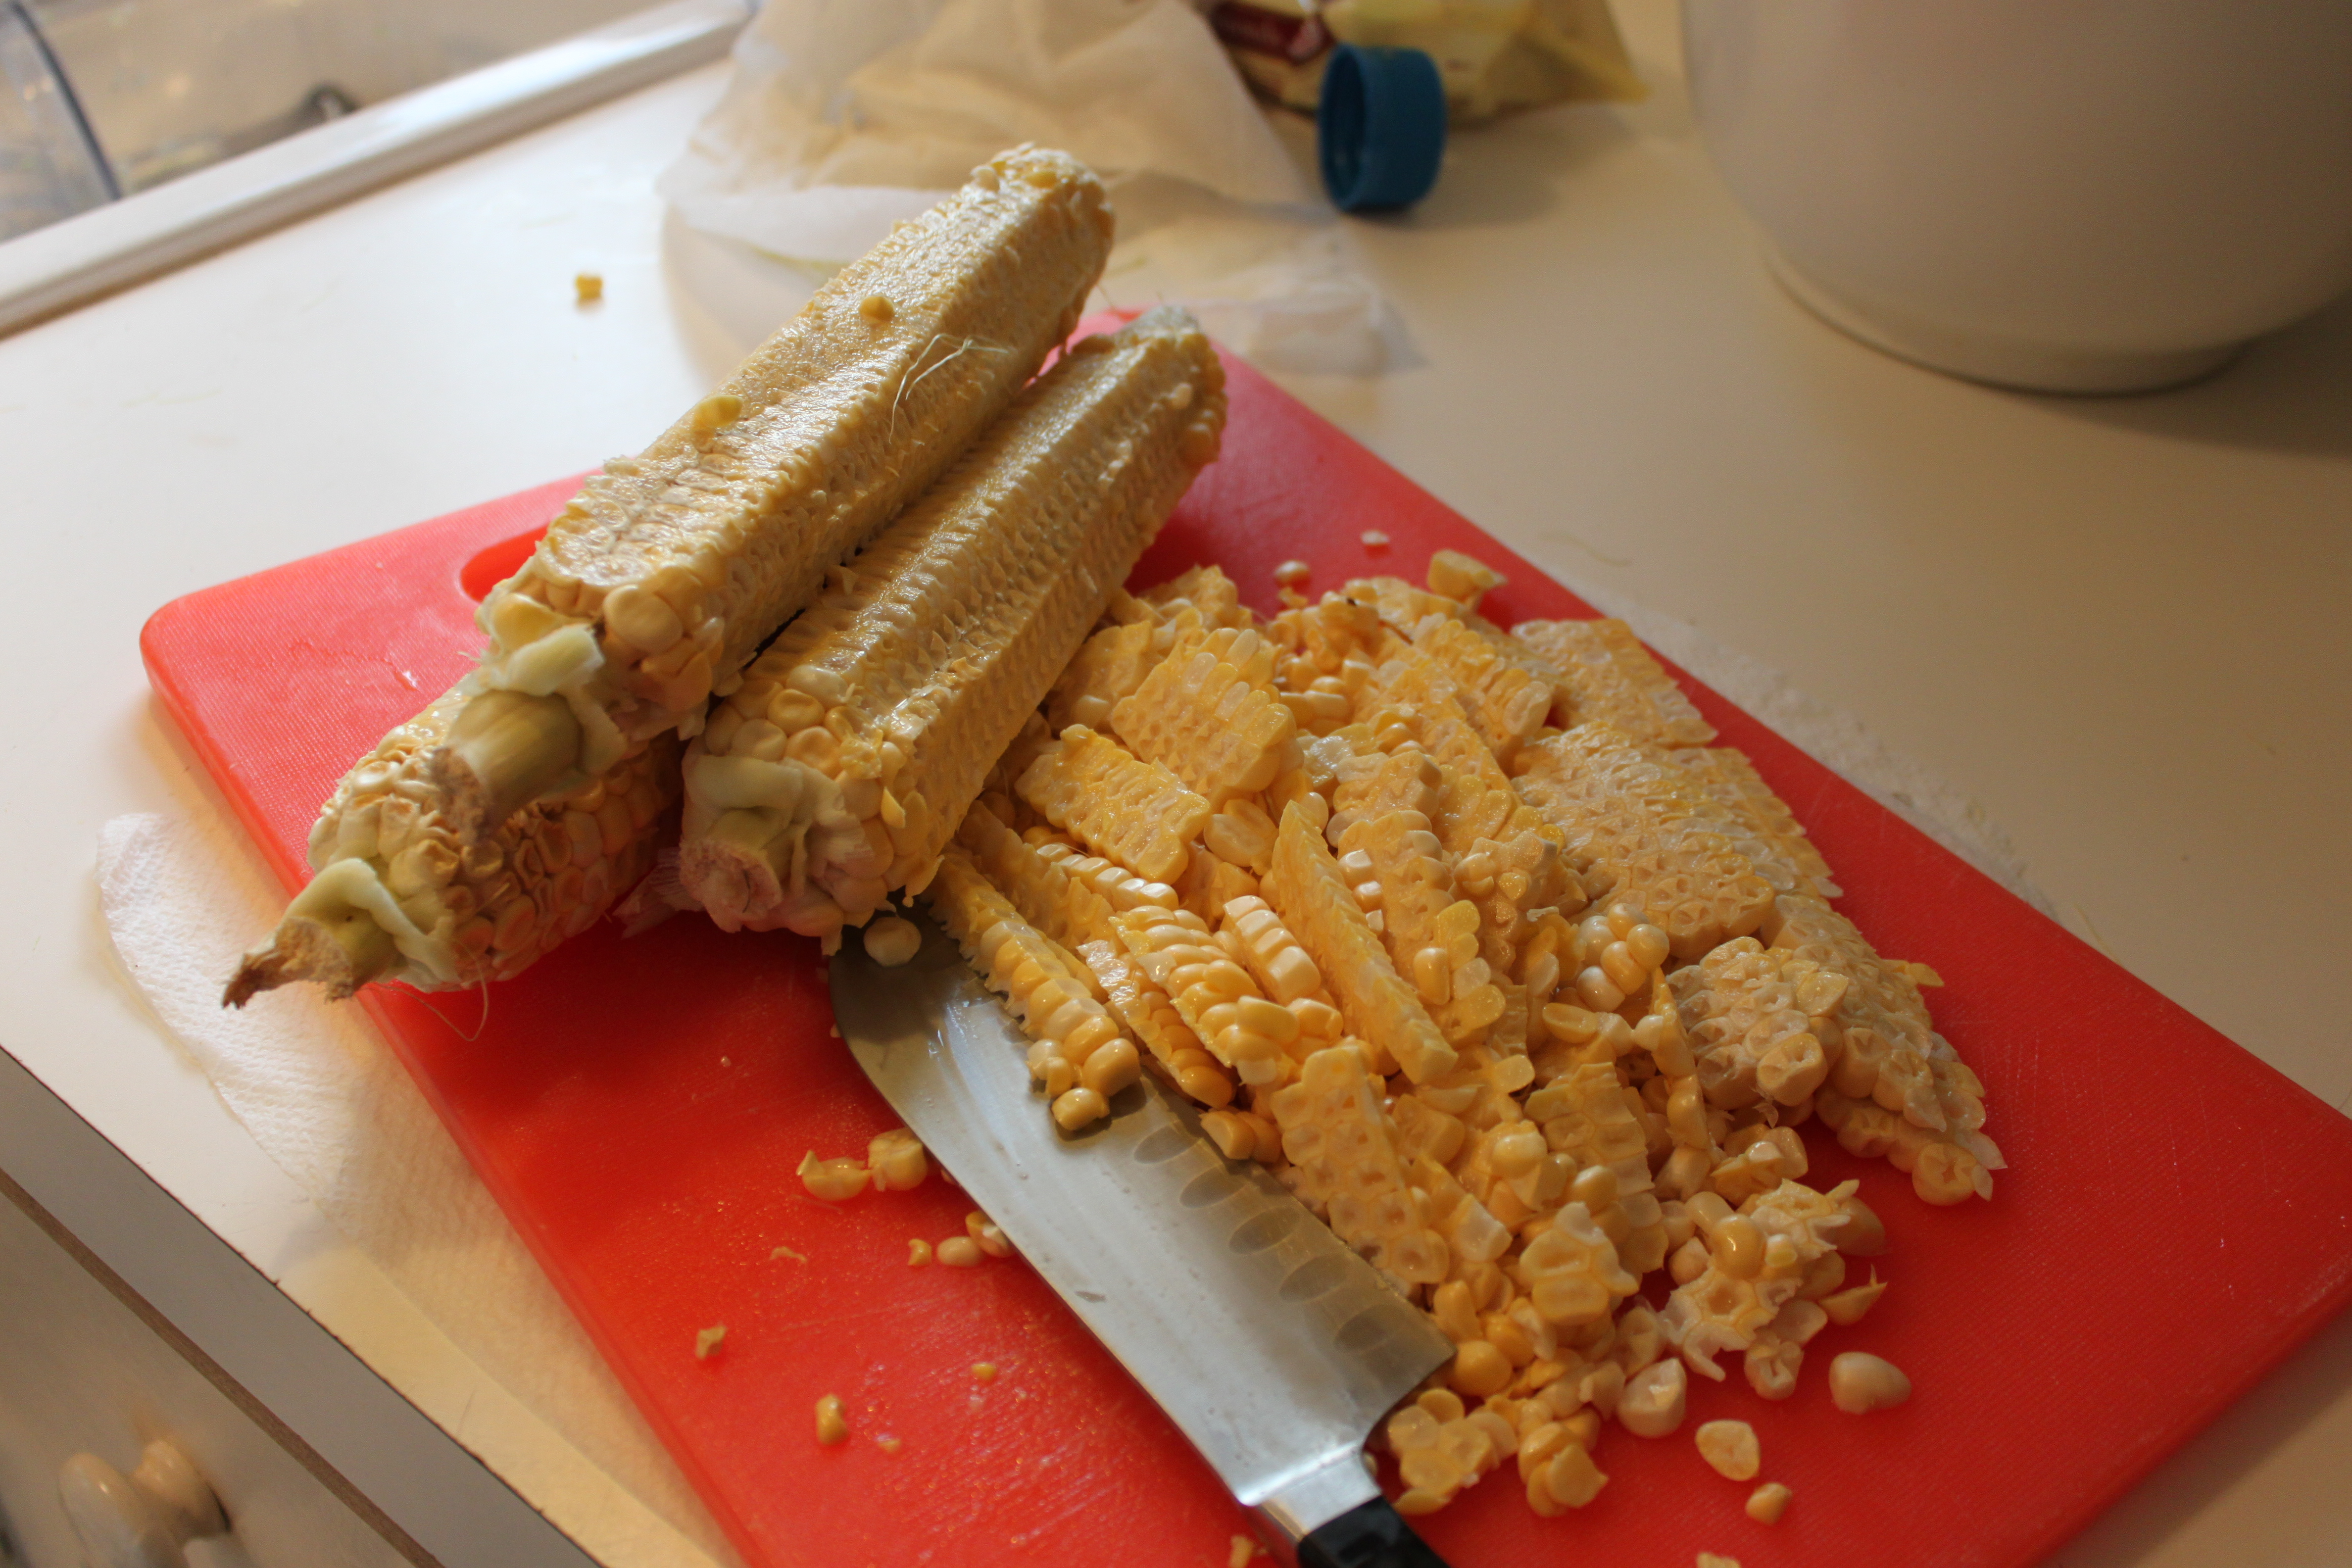
1 c keema, (but see notes below)*
Maggie Hot and Sweet Sauce**
Cilantro for garnish
4 parathas, still frozen***
toothpicks
Notes
* You just want finely chopped meat (or nice veggie) here for contrasting flavors. I like keema (here’s a link to the recipe), but you could used chopped up cooked chicken (like leftover from rotisserie chicken), cooked hamburger, leftover Indian dishes that aren’t too saucy, etc. Or go fusion and come up with something entirely different!

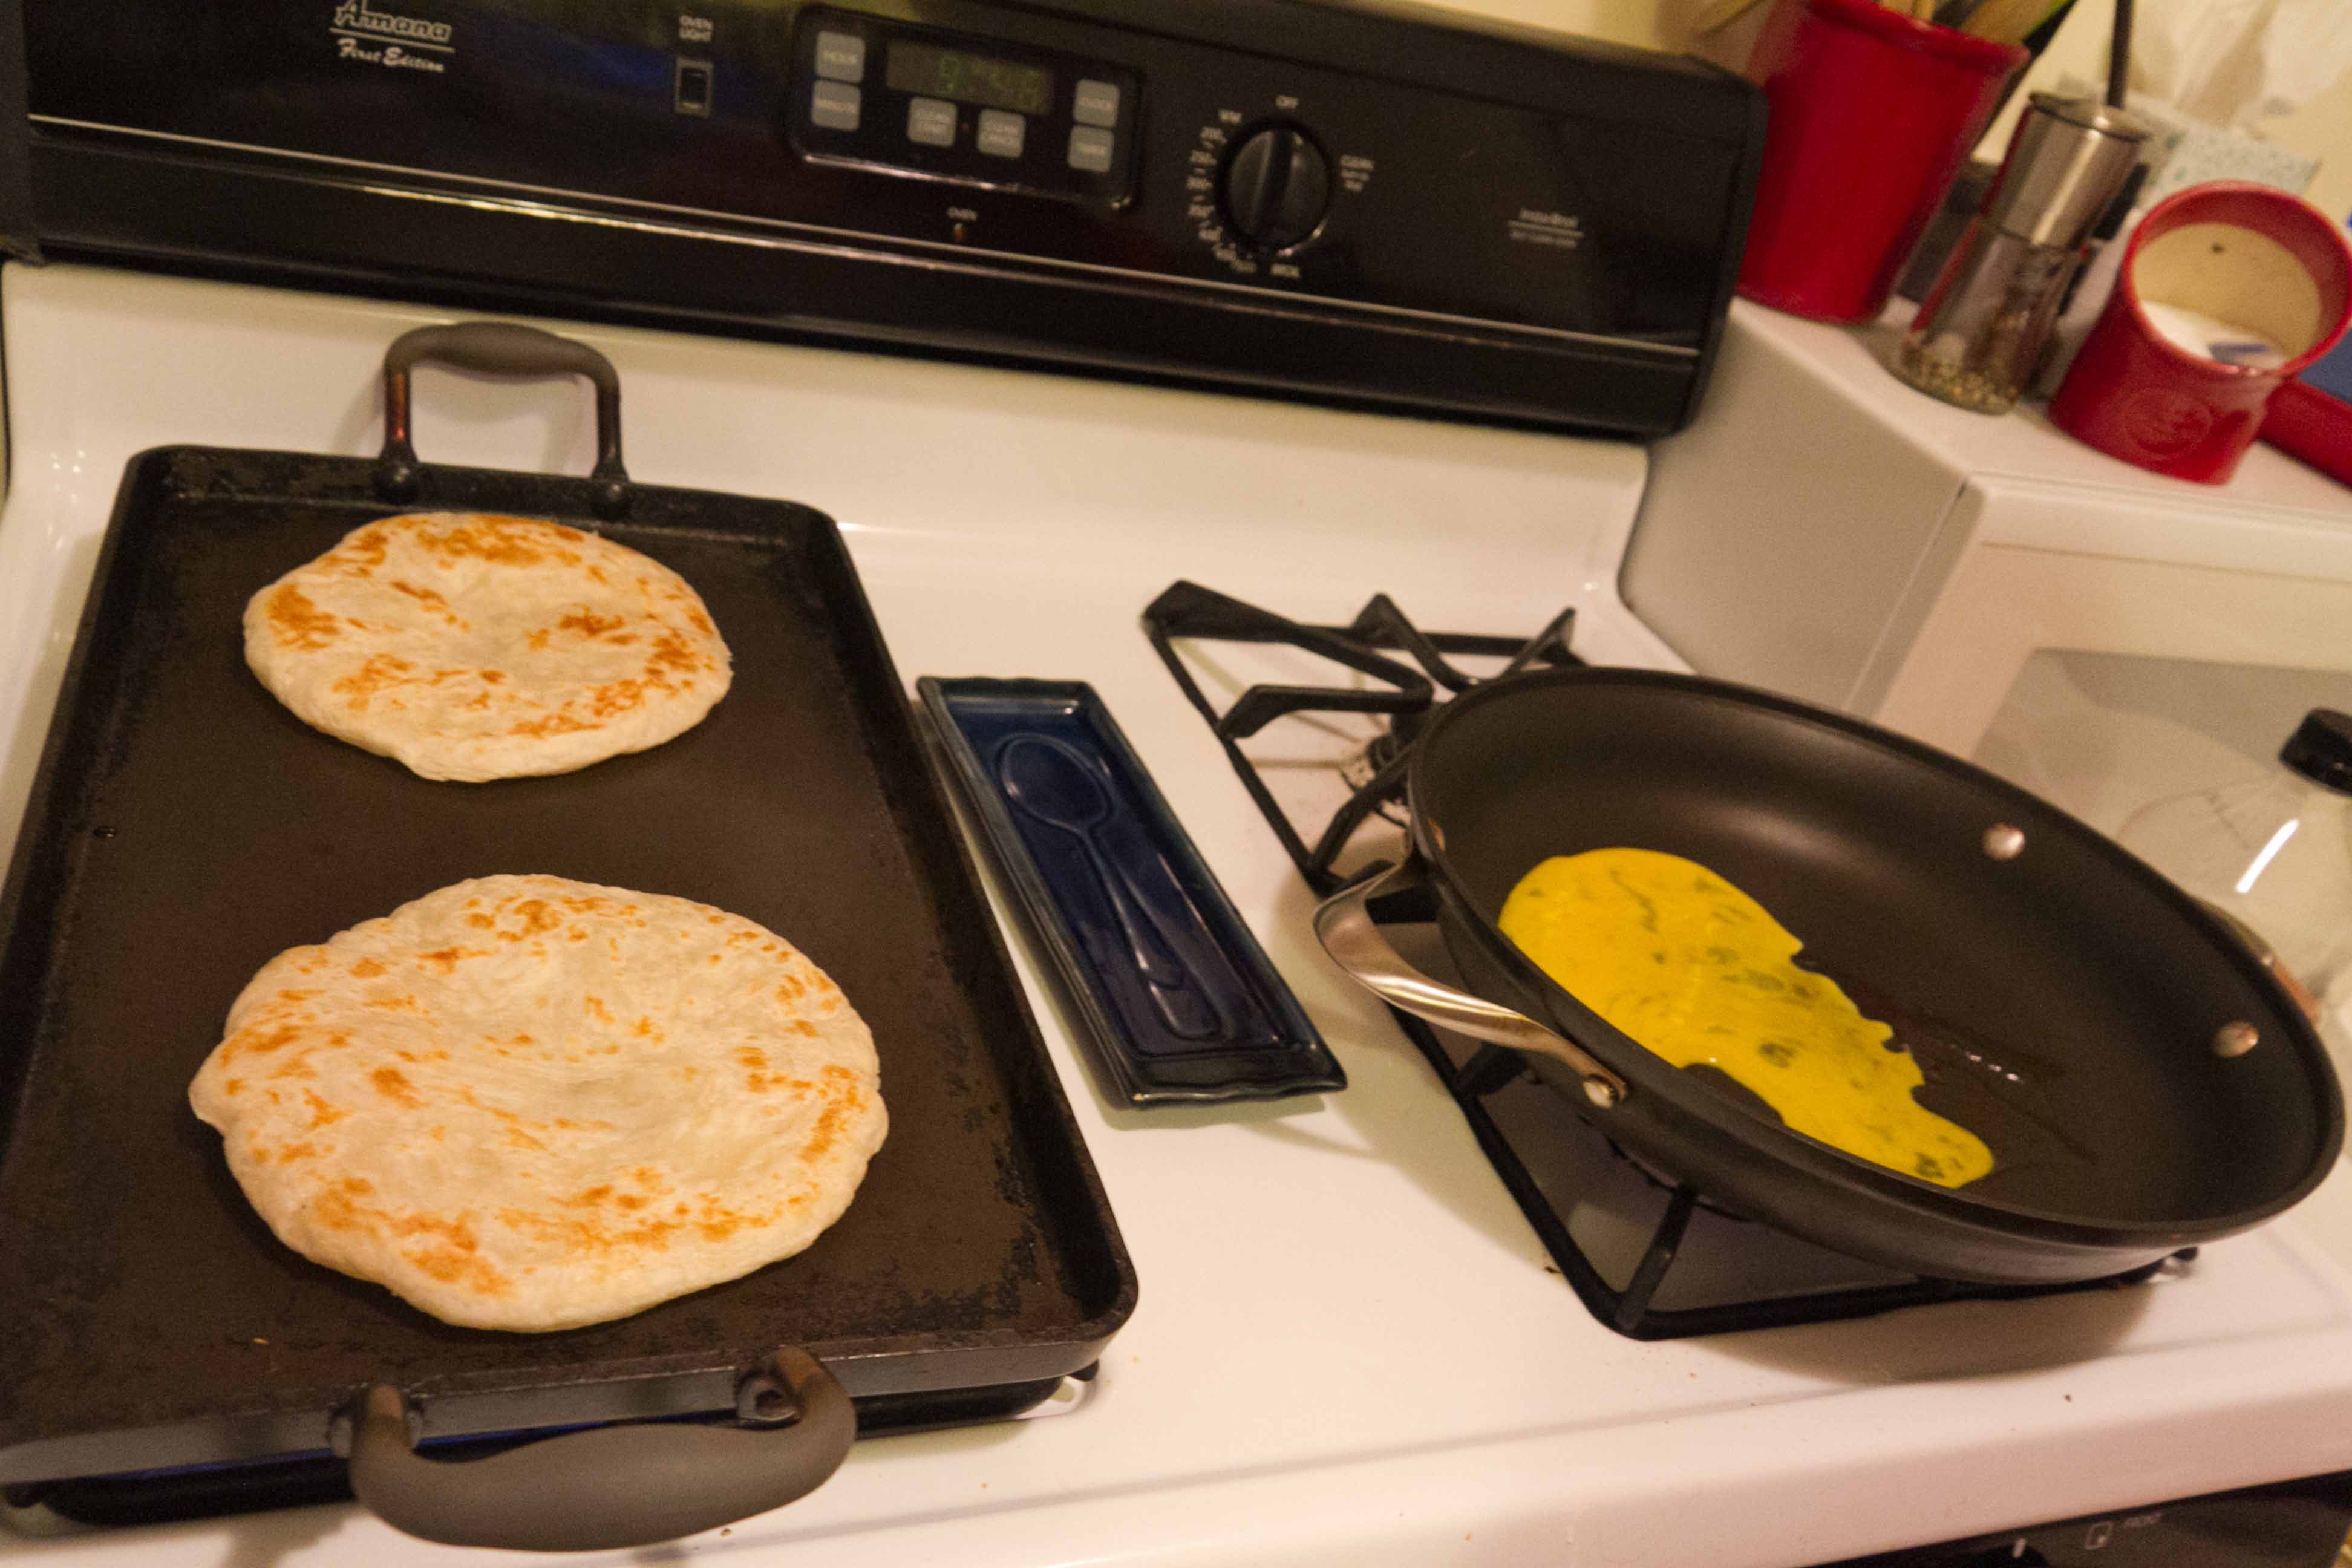
Heat up parathas and then start the first egg when they are almost done
**Maggie Hot and Sweet sauce is sort of an Indian ketchup. Their tagline is “It’s Different!” and it is. It is also great on scrambled eggs, potatoes, etc. It has a little heat and is a little sweet
*** For paratha directions, see the blog on how to make parathas (click here).
Directions
Crack eggs into a bowl with a lip (like a measuring cup). Scramble them. Set aside. If you like raw onions, set those aside. If you don’t, brown the onions and set aside. Heat up the meat. Have the Hot and Sweet sauce and cilantro ready to go. (You may want to taste the sauce to make sure you like it before adding it to the food. Arvind does not like it, I love it.) Get your toothpicks handy.

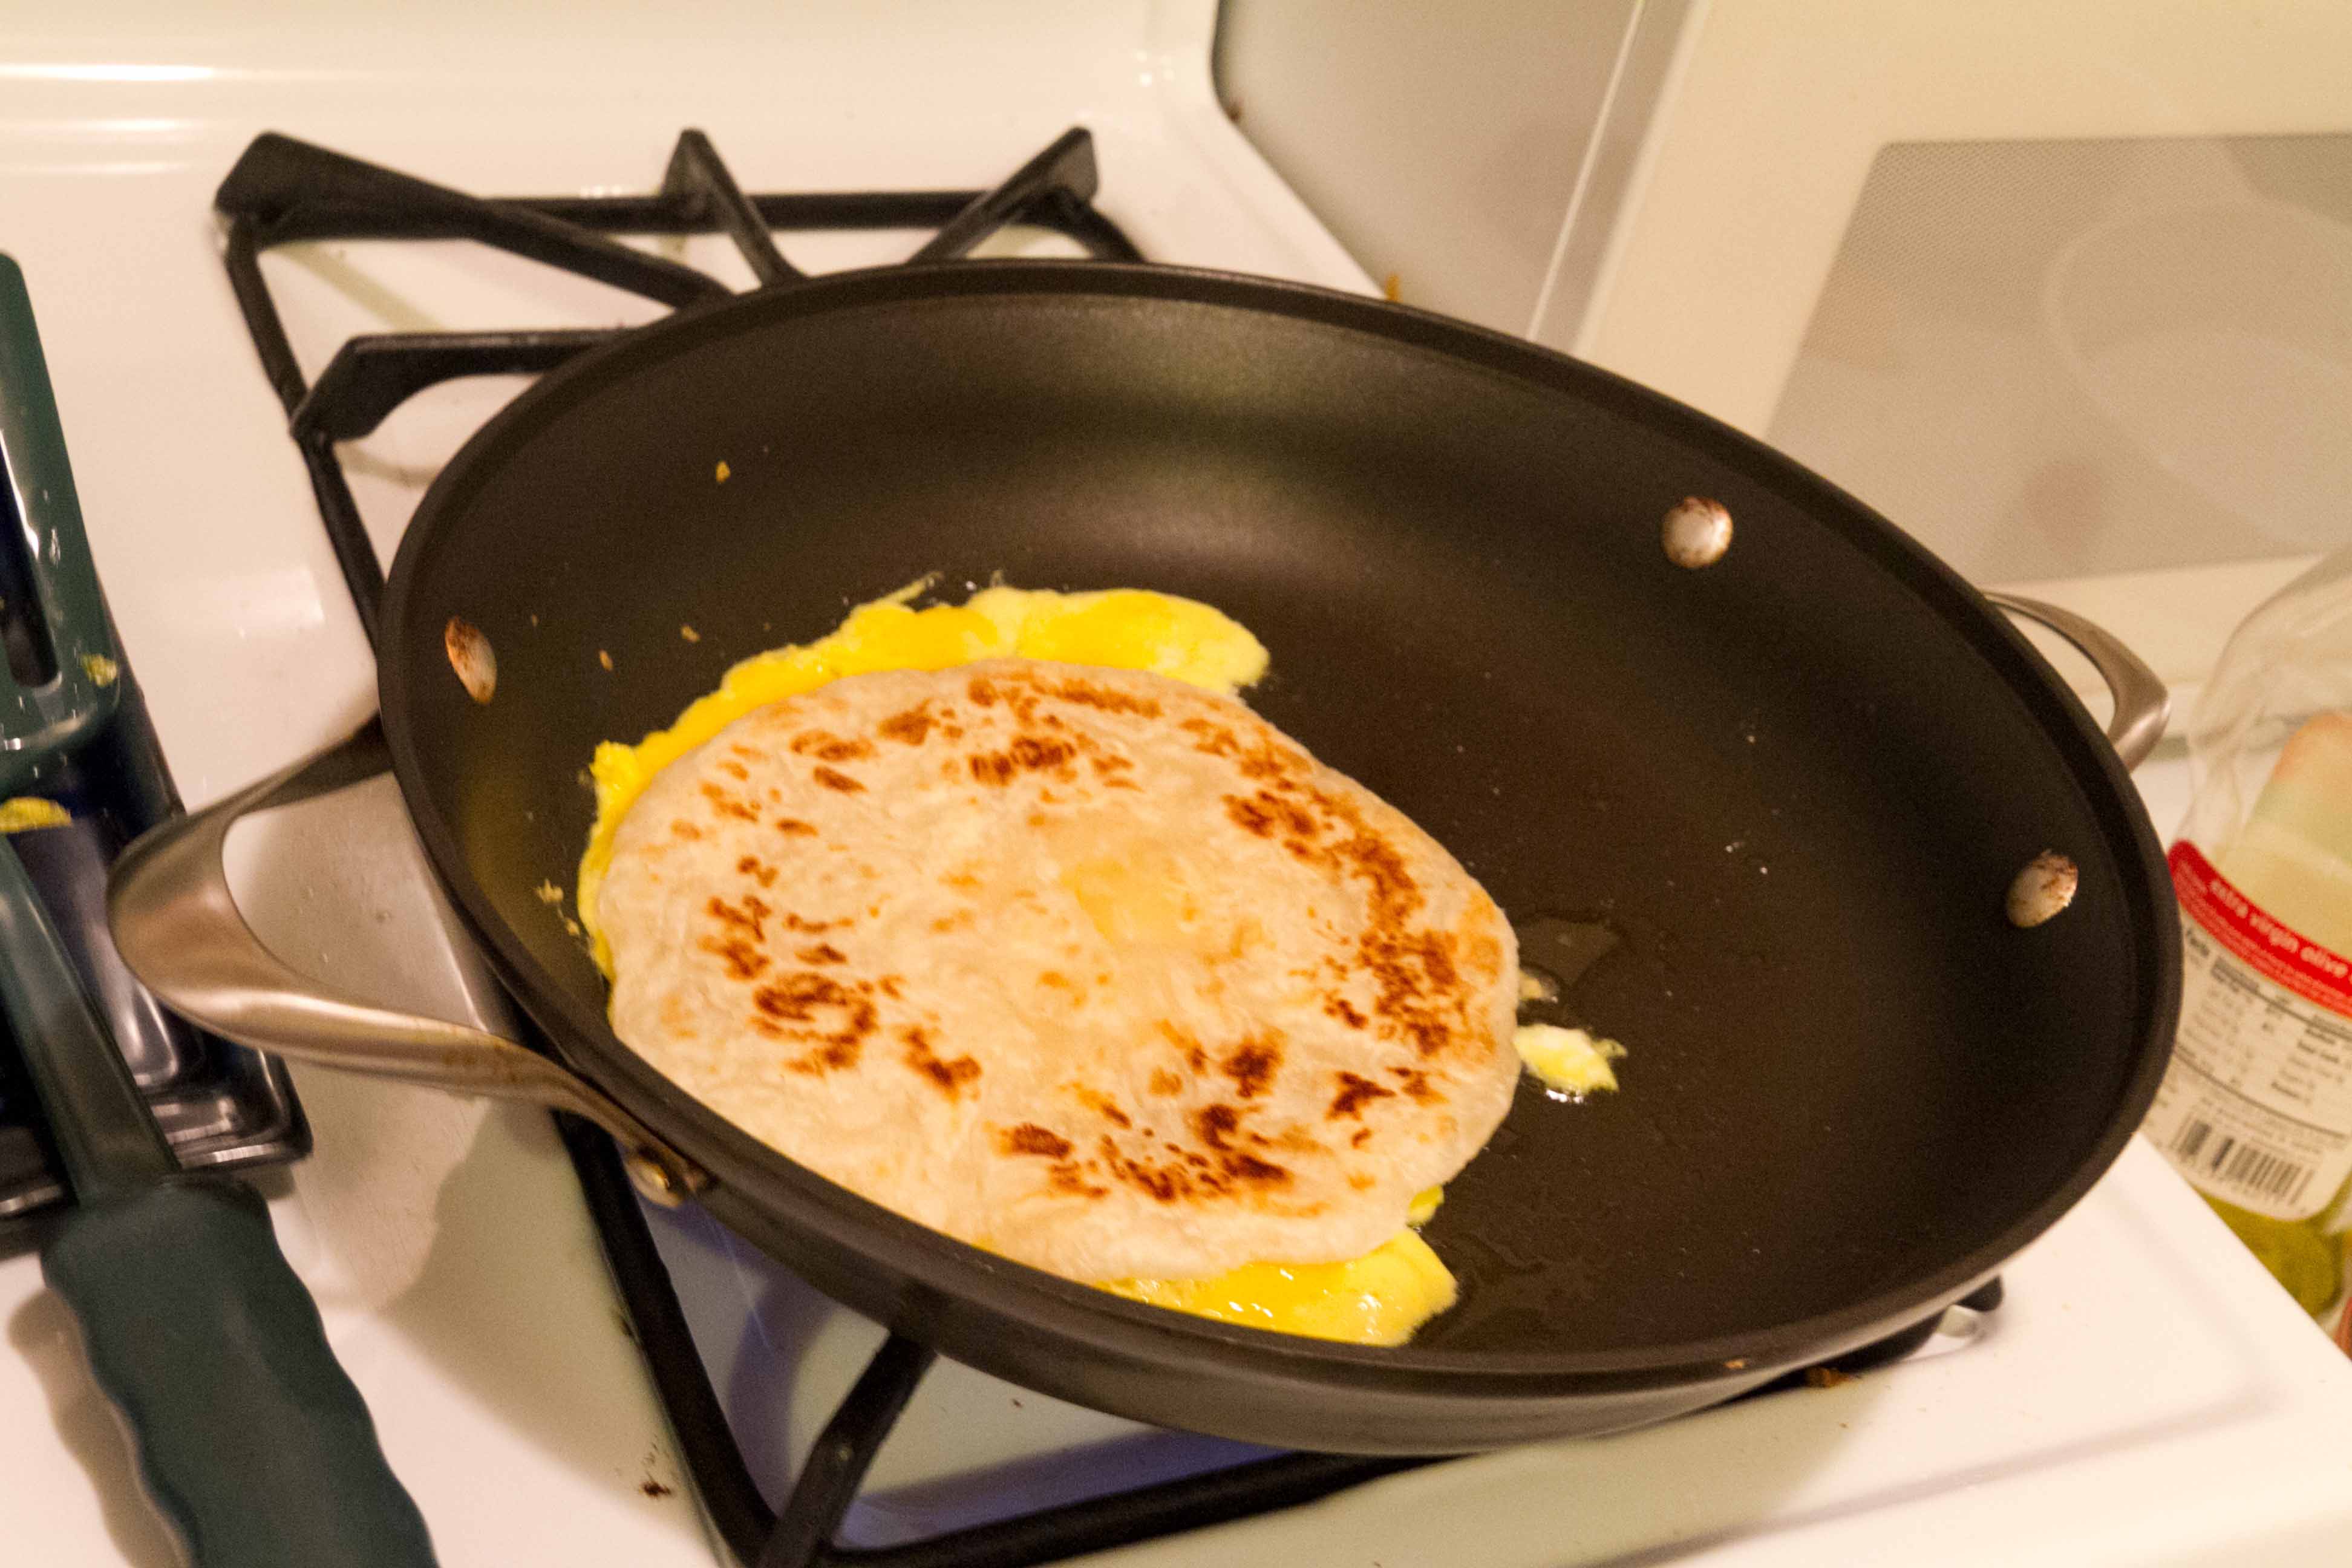
Put the cooked paratha on the egg as it cooks
Heat up a paratha according to my previous post.
Meanwhile heat up a second non-stick pan over medium heat. When the paratha is almost done, put some oil in the second pan and pour in about 1 egg’s worth into the center of the pan and do not touch it. You’ll see the egg start to set. When that happens, put the cooked paratha on top of it. Use a spatula to push the paratha down into the egg. Then use the spatula to get under the egg and paratha in one go and flip it over (they’ll go together). Then transfer the paratha, egg-up onto a work area.

Take the paratha/egg off the heat and add the filling. (There is a litte too much egg on this one)
Top the paratha with meat, onions, sauce and cilantro. Roll it up and secure it with some toothpicks. Set that one aside and continue on making the rest of them the same way. Arvind and I create an assembly line – he makes the parathas. I do the egg and fill them. It goes really fast, so that is why you want have everything all ready to go before you start.
The basic thing is paratha and egg with a little something else mixed in. Have fun experimenting with flavors you like or leftovers you don’t know what to do with. Think of it like I’m giving you the recipe for burritos. Sure, this combo is good, but really, you can mix and match up stuff you like.
Post combinations below that you like so other people can enjoy your combinations.