Making sushi at home can seem intimidating, but it is a ton of fun! It is far, far cheaper than eating it out, but generally is less pretty at home too. Arvind is not a huge fan and he is traveling, so my friend and co-sushi-chef Nikki came over to make a ton of sushi before watching Game of Thrones. Sushi is one of those dishes that is more prep than cooking, so make sure you do all your prep work before you start rolling. Also, I tried to cover a ton of different kinds of sushi in one go, so this is a looooooooong post. Apologies in advance! You can focus on the ingredients and types you like. That is the beauty of making sushi at home – you control what you make, so every roll has stuff you love in it.

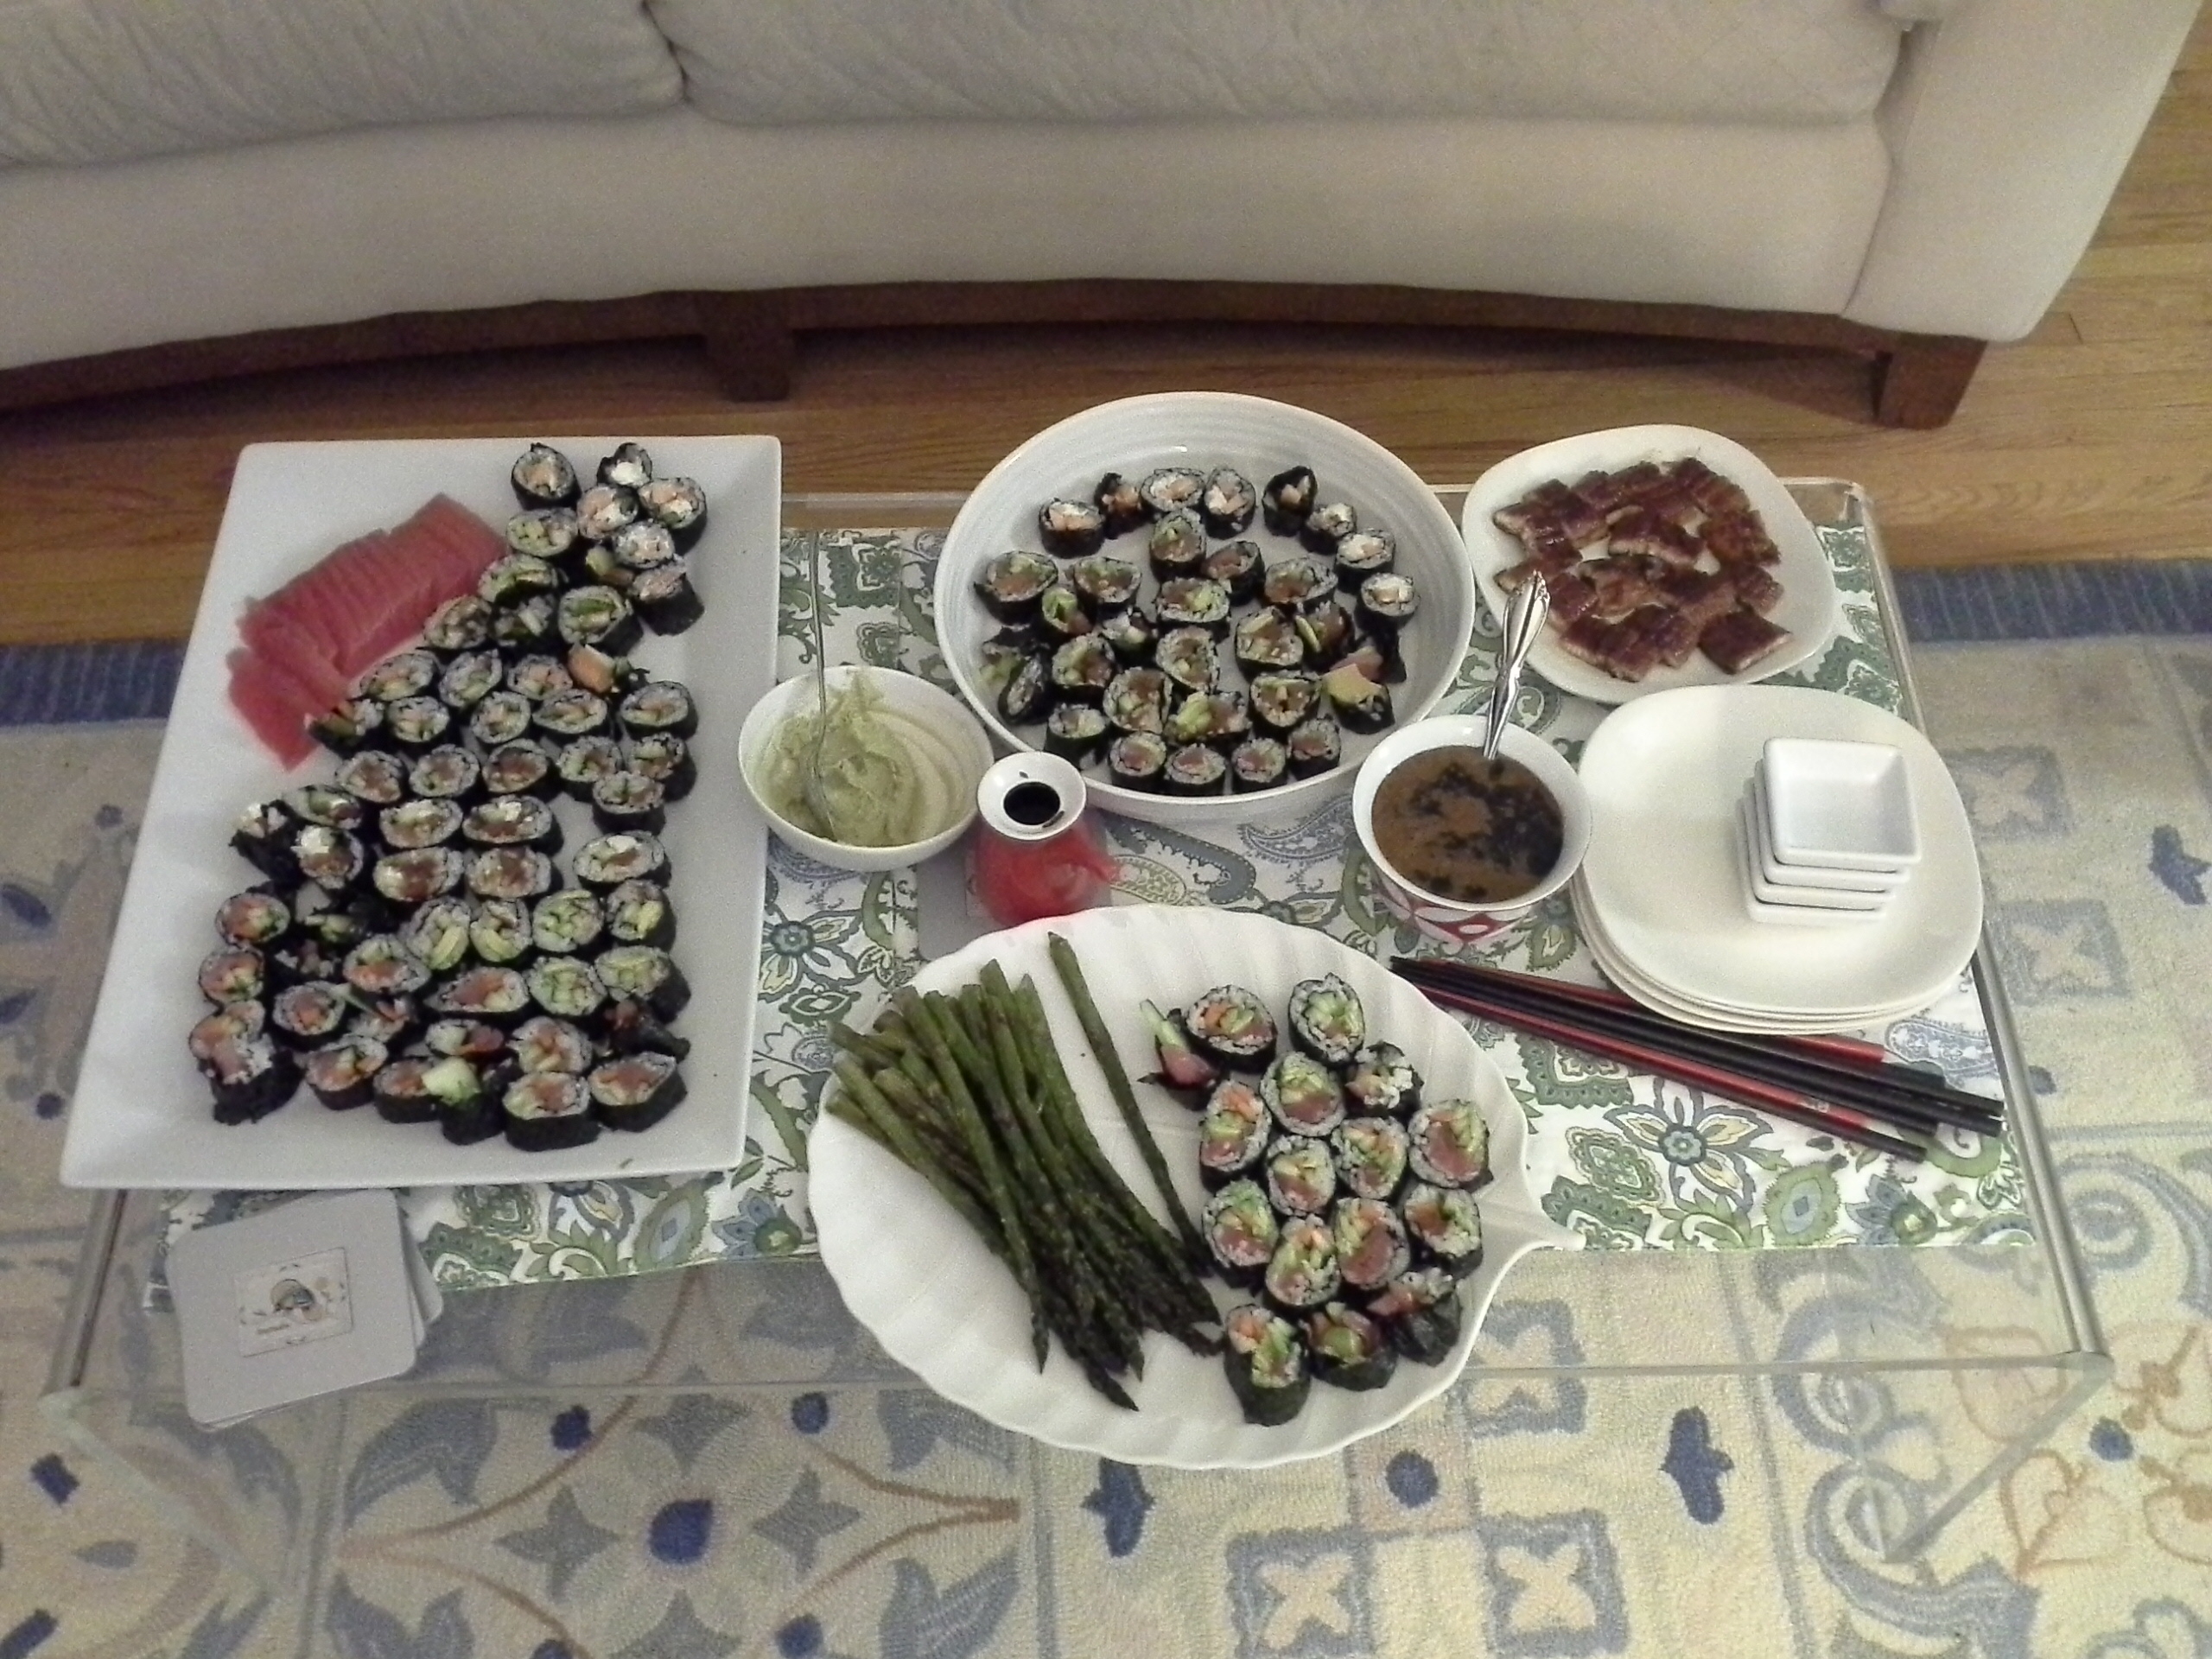
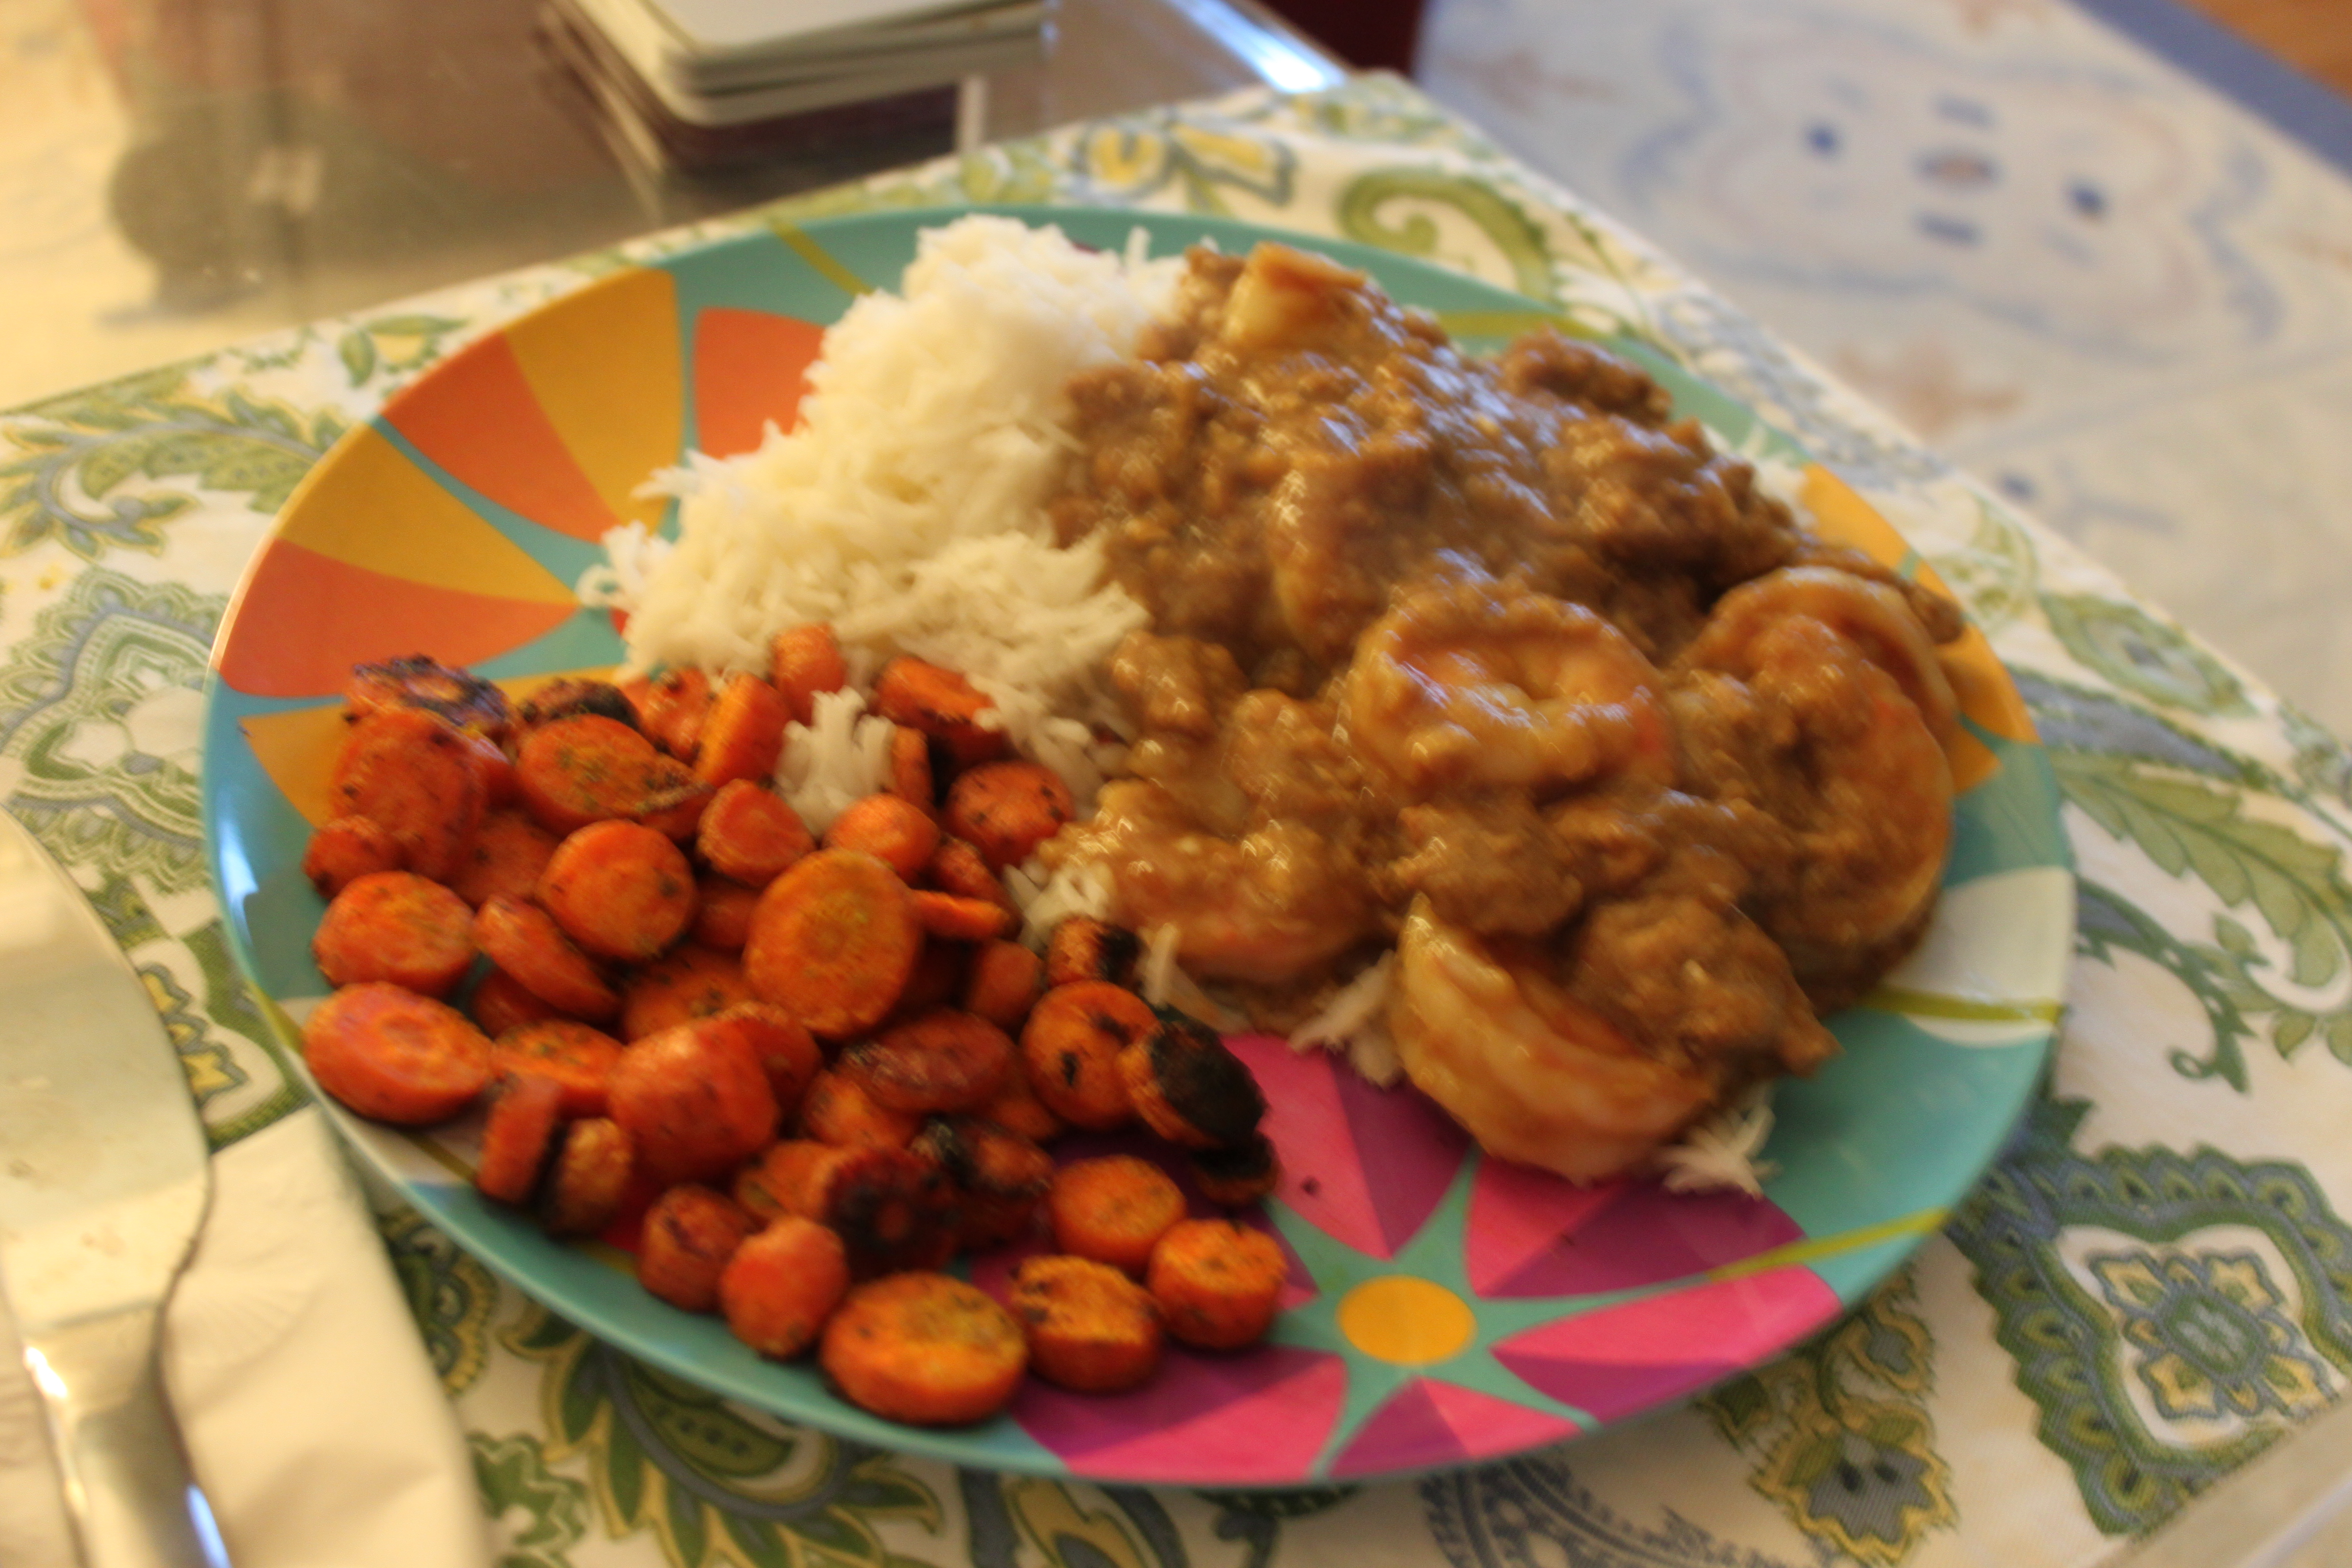
Sushi for 4: tuna, spicy tuna, eel, salmon, cream cheese and veggies all in various rolls, tuna and eel on the side, served with wasabi, eel sauce and roasted asparagus
I have covered: making sushi rice, tezu (which is necessary when using sushi rice), prepping ingredients, making spicy tuna and eel sauce, rolling up rolls and making sashimi. In addition to the ingredients, you will need a sushi mat. It is a bamboo mat that helps you roll the sushi up. You can get them from most Asian grocery stores.
Before getting started, let me state – sushi is raw fish so please be careful and follow strict food safety rules. You don’t want to get sick from your sushi. Part of being safe is to make sure that the fish you buy is sushi-grade. Confirm that when you buy your fish. Oh, and since this is just the internet and I can’t watch you – I take no responsibility for your cooking!
Sushi Rice
This is the backbone to everything you’re going to make. While you’re at the store picking up your mat, pick up sushi rice. Other rices won’t cut it because they aren’t sticky enough. This recipe made exactly the amount of rice you see in the picture above.
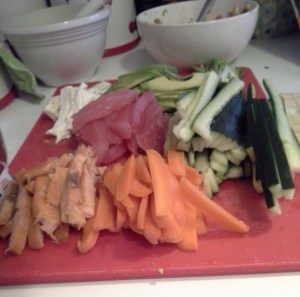
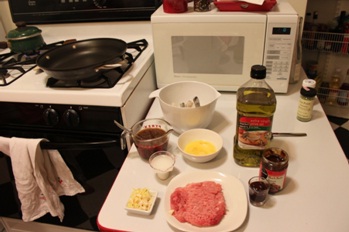
While your rice cooks, get all of your other ingredients prepped and put together for easy rolling. Here we have a bowl of spicy tuna, cream cheese, tuna, avocados, cucumbers, green onions, carrots and smoked salmon.
Sushi rice
2c sushi rice (some brands are Kokuho, Nishiki or Calrose brand)
2c +2T water
Sushi Seasoning
1/4c rice vinegar
2-1/2 T sugar
1/2 t salt
(Or 1/3 c premade sushi seasoning)
Wash rice until water is clear. Drain in colander. Add water and rice to heavy pot or rice cooker. Bring to a boil, lower heat and continue steaming for 15 minutes more with the cover on at all times. Remove from heat. Spread a clean cloth (a dishtowel works great) over the pot and recover. Let it sit 15 minutes more.
Mix rice vinegar, sugar and salt in a non-aluminum pan. Heat and stir to dissolve sugar. Cool. Quickly add seasoned vinegar to the rice. Mix it using a cutting motion. Do not smash the kernels. Keep it at room temperature (don’t refrigerate it). Cover with the cloth and lid and use within an hour if possible. The trick is it has to be cool enough to handle, but not too cold or it hardens.
Tezu
This is a very necessary liquid you will need as you make the sushi. The rice is so sticky that it will stick to your hands. I usually take out a bowl big enough to comfortably hold both of my hands. I only fill it up about half way. There is no exact science to the ratio, but the vinegar is the cutting-the-sticky agent.
½ bowl of water
2 T or so of rice vinegar
Mix together.
Sushi Ingredients

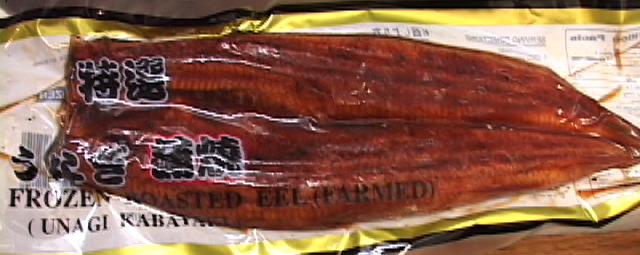
Frozen eel comes pre-cooked and ready to be cut up and microwaved
Items with at * are available at Asian grocery stores. The most important thing to keep in mind when buying sushi ingredients is to buy sushi-grade. No one wants to get sick. Follow strict food safety rules.
Nori* – seaweed sheets used to make sushi. You can toast them before using them. Or not.
Eel*– available already cooked and in their delicious sauce in the freezer section of Asian grocery stores, thaw in the fridge before using
Block of frozen sushi-grade tuna* –Make sure it is sushi grade! Thaw in the fridge before using. Sometimes it comes pre-sliced.

Blocks of frozen tuna come in different sizes and sometimes pre-sliced. Make sure it is sushi-grade!
Sushi-grade salmon – I cannot stress the importance of getting this one right. You’ll have to buy it fresh, so get it from a place you really trust. I will only go to Coastal Seafood and tell them it is for sushi. Don’t let them take the skin off – you can fry that up for yumminess.
Various cut up veggies – you want to practice your julienne skills or pull out that julienne do-hicky in your drawer. Carrots, cucumber, green onions and avocado (slices) are all my favorites
Cream cheese – if you’re into that.
Pickled ginger* – no need to do any prep to this, it comes pre-sliced
Wasabi powder* – just add water, you’ll be surprised at how much stronger it is when you “make” it yourself.
Mirin* – It is a sweet cooking wine critical for making eel sauce
Sushi Recipes
Before you start rolling up your rolls, you might want to whip up these recipes

You can mix and match ingredients to come up with interesting rolls. Notice the tezu bowl above the rolls is handy for sticky hands.
Spicy Tuna
This makes a TON of spicy tuna. You can use it in rolls and you can add it to a salad the next day for lunch. If you want to make a smaller amount, just adjust the quantities down, which is super easy since you have to adjust the flavors in this one as you go anyway.
1-1/2 – 2 c yellowfin tuna
6 green onions, thinly sliced
1-2T Sriracha, (to taste)
1-2T toasted sesame seed oil
1-2 cloves garlic minced
1 T soy sauce
Lots roe, optional
Start by cutting up about half of your your tuna. Make it as finely chopped as you can. If you choose to go with a smaller amount of tuna, do even less than half of what is listed, just be sure to reduce everything else. Add in about 3 of the green onions, a little of the chili sauce, a splash of the sesame seed oil, some garlic and roe. Mix it all up well. If it is bland, add in the rest of the green onion, garlic and more chili sauce to what you like. The sesame oil can undo a little too much spiciness, but the best defense against that is more tuna. Just keep tinkering with it until you love it.
Don’t forget to cut some eel in strips for rolls
Eel
Make sure the eel is thawed before starting.
1 package of eel
Take the eel out of the package. Cut the eel lengthwise in half, then width-wise about 1-1/2” slices. Arrange on a microwave plate and microwave for about 2 minutes, until you hear some popping. Voila, ready to serve. To use in rolls, slice the pieces even thinner.
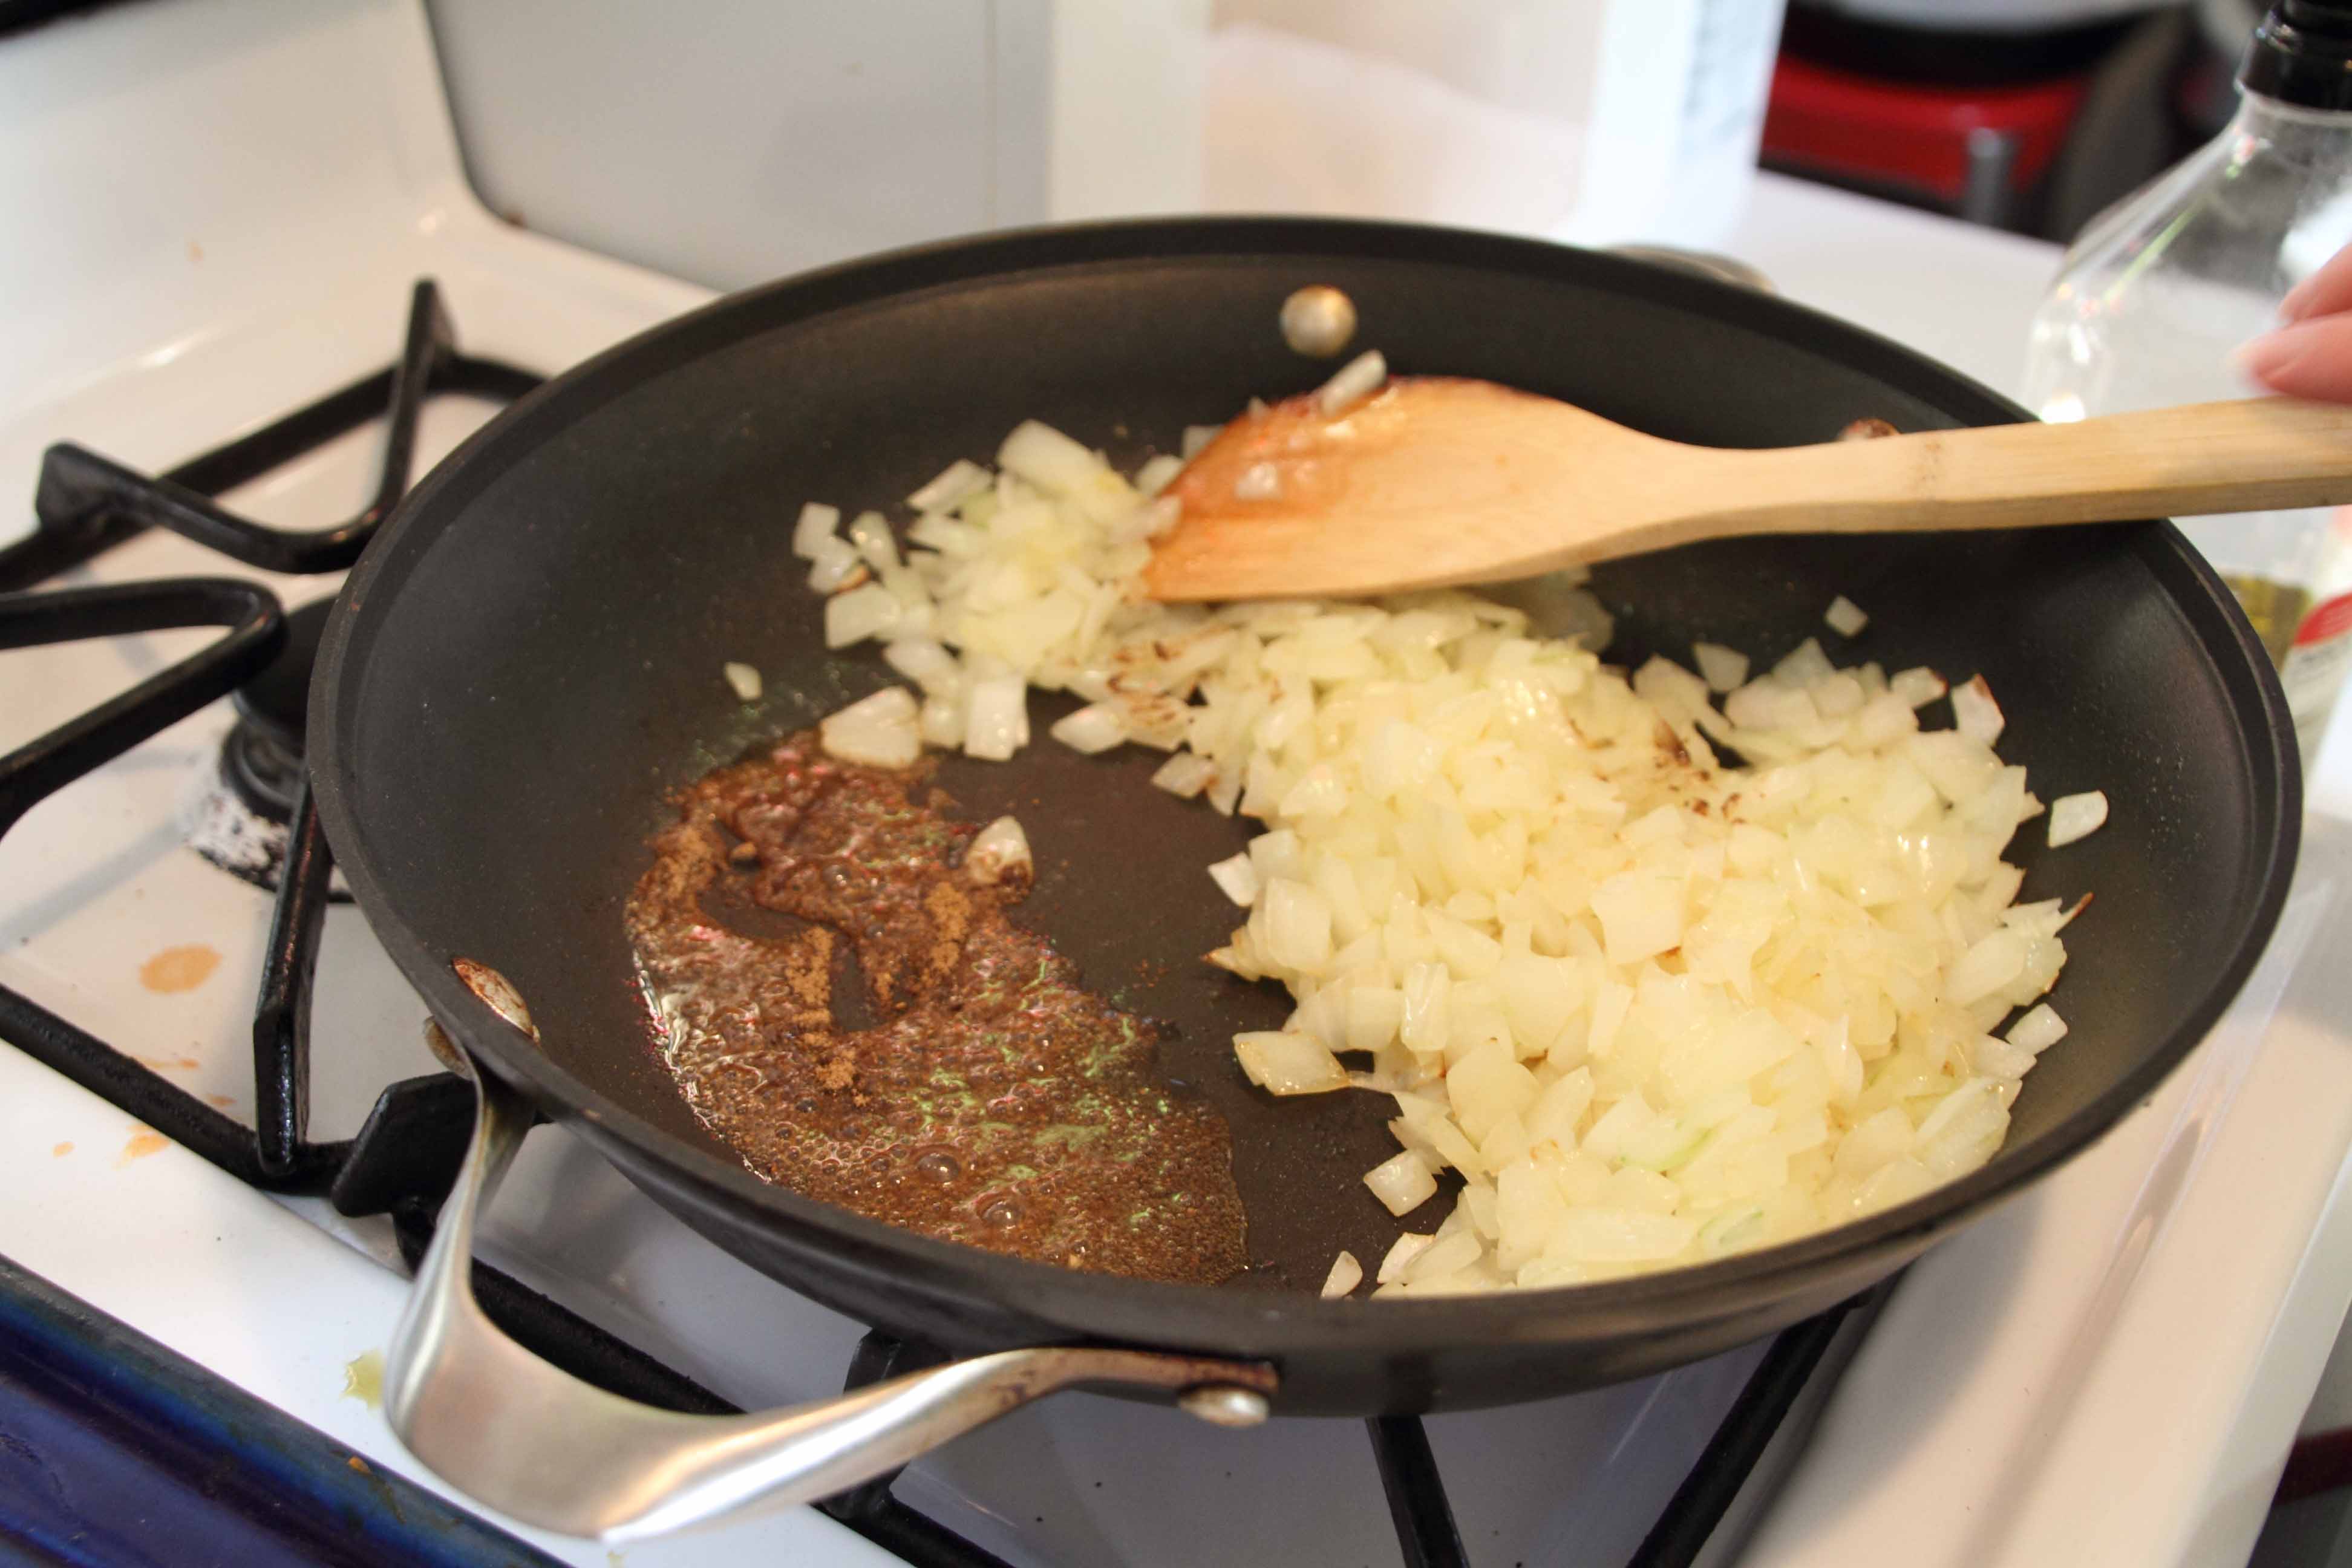
Eel Sauce
Yes, that heavenly sauce that has moved from just eel to all sorts of rolls. Make your own for dunking your rolls in instead of soy sauce.
1 part soy sauce
1 part mirin
Brown sugar, optional
Bring the soy sauce and mirin to a boil, reduce and simmer until it thickens, stirring occasionally. As it thickens, taste and adjust as necessary. The mirin makes it sweeter and the soy sauce saltier. But if it is too far from where you want sweet-wise, add in a pinch of brown sugar. It should be thick enough to coat a spoon.
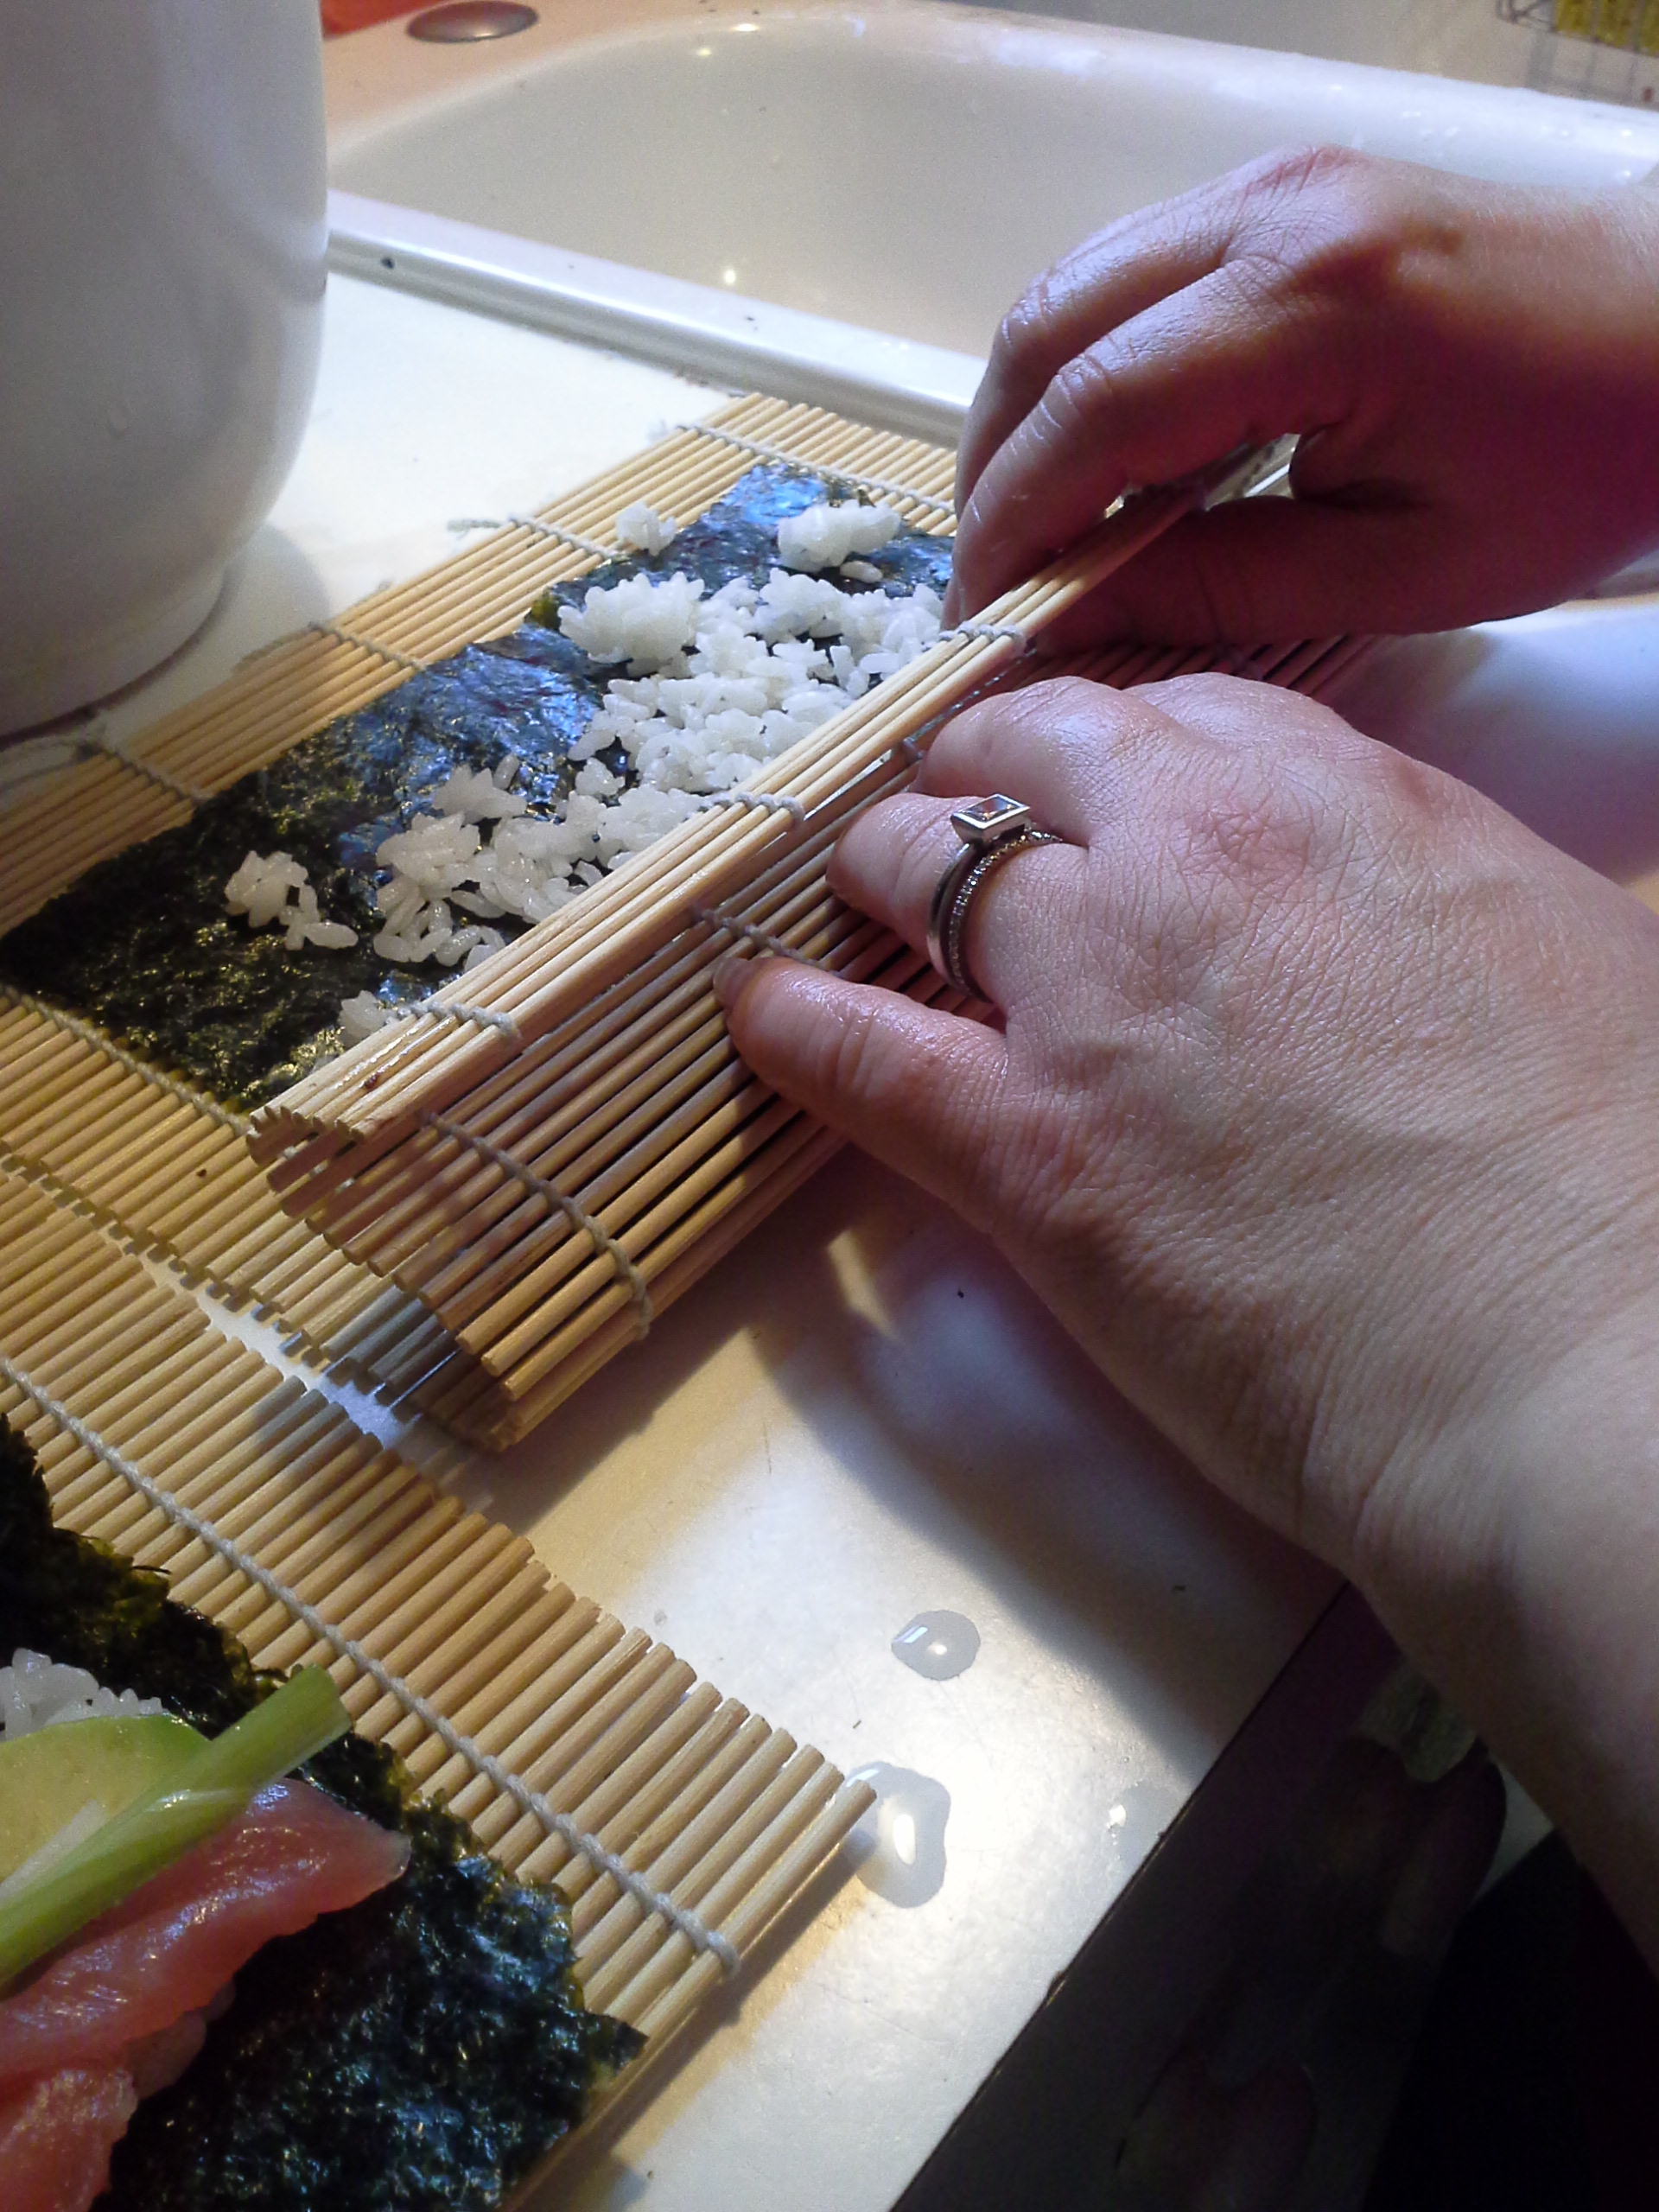
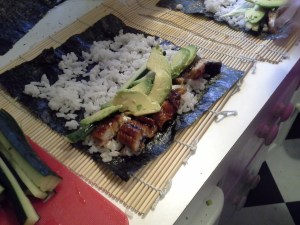
Rolling up rolls
And now you’re ready to begin. The good news is, this is one of those “prep is everything” dishes. You are all set to get moving. Hopefully the pictures will help you see what I’m talking about.

Use the mat to roll everything up nice and tightly
Set your bamboo mat so the bamboo runs side-to-side in front of you. Put a piece of seaweed on it and take a handful of rice. Spread the rice on as thinly as possible on the seaweed. You may need to dip your hands in the tezu as you go since it will be sticky. Make sure it is fairly evenly spread out side to side. It is ok if it is heavier on the bottom of the sheet than the top. As you can see, it doesn’t need to be a thick layer, but just try to keep things even side to side.
Now put your roll contents across the bottom of the sheet. Don’t overfill them! Then, using your mat, roll the seaweed up, starting at the bottom and rolling to the top. You may find that you do some, rearrange your mat or adjust the roll and keep going. Once it is rolled up, slice into bite size pieces and put on a serving platter. Practice will really help with this. Expect some not-so-pretty rolls to start with.
If you want the rice on the outside of the roll, put saran wrap around the mat, put the rice down first, then the seaweed on top of that, add in fillings and roll up. (Personally, I find it too fussy to bother).
Sashimi
Form a rice ball that is almost football (American) shaped. Set the fish or eel on top of it. In our picture above, we didn’t bother with that, but did keep the eel and tuna handy for yummy eating on their own.
Drinking note
You can go with the usual sake or beer, but we have found a dirty martini is the perfect pairing with sushi.
In closing
Have fun experimenting with different combinations. And it is always more fun in a group. When Nikki and make sushi together, we prep everything together. She did some time in culinary school, hence nicely sliced veggies. I took the sushi class, so I make the spicy tuna. Then form an assembly line. Nikki comes up with combos, I roll, she cuts and arranges on platters. Inevitably we make a feast so always good to have a hungry, yet patient group to enjoy the fruits of your labors.